

 Mama Cat
I really want to take the kids to see the Nara deer… but can I actually do Todai-ji with a stroller? And what if the deer scare my toddler?
 Travel Mama Bear
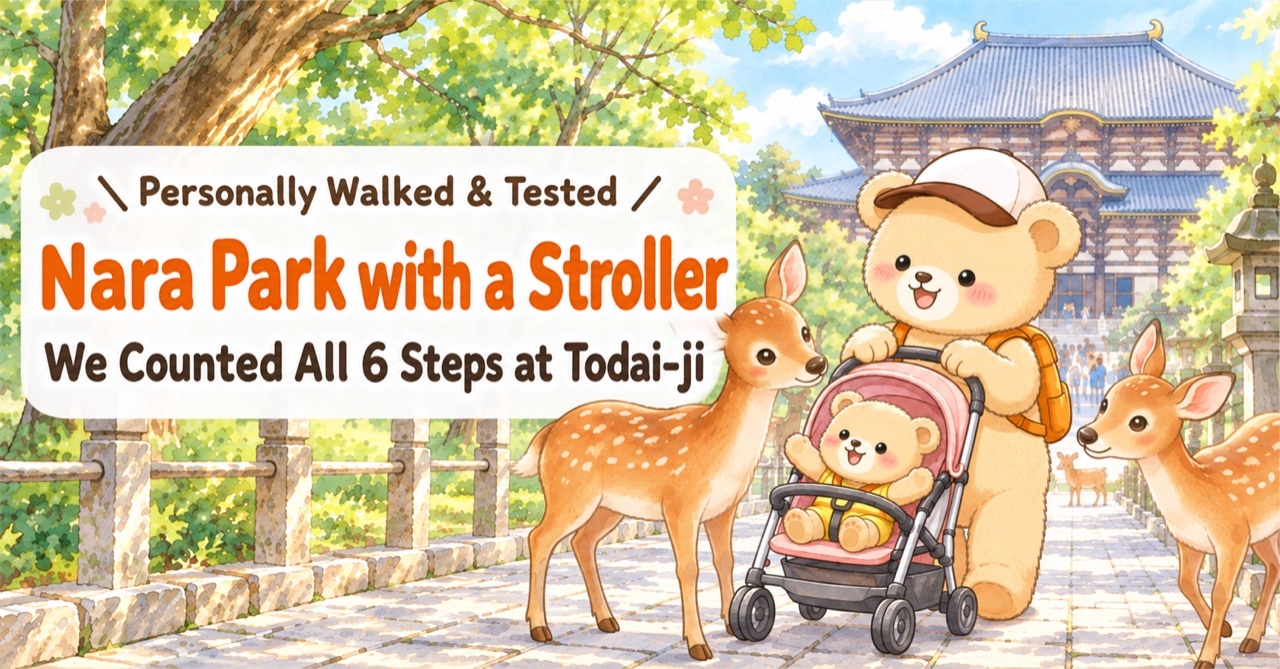
I walked the whole route on September 1, 2026 — station restrooms, elevator transfers, every single step you’d have to carry a stroller over. This guide is exactly what I saw, with photos. 🐻
Hi — I live in Nara. And here’s a small confession: even as a local mom, I had never properly done the full Nara Park day with my kids until now. So we finally did it, and I walked it the way a first-time visitor would: checking where you can push a stroller, where you can change a diaper, where you can pay by card (spoiler: not many places), and where you can escape the heat.
If this is your first trip to Japan, Nara is one of the best family day trips in the country — wild deer that bow, the giant Buddha, and everything within walking distance of one station. It just has a few very Japanese quirks (cash-only temples, unmarked elevators, deer with zero respect for traffic lights) that nobody warns you about. Consider this your warning — the friendly kind.

This article contains affiliate links.
Japanese version (written for Japanese families)
⏱️ The Route We Actually Walked (With Real Times)
This is our real itinerary from Monday, September 1, 2026: Kintetsu Nara Station → Nara Park → Todai-ji Temple → Yumekaze Hiroba → taxi to JR Nara Station. Every path on this route is stroller-passable.
| Time | Where | Family notes |
|---|---|---|
| 10:13 | Arrive Kintetsu Nara Station | No diaper table in the platform restroom |
| 10:30 | Exit the ticket gates | Diaper change at the accessible restroom near Exit 2 / drop bags in a locker |
| 10:45 | Tourist info center & fountain | Free maps in 5 languages / a deer was already at the fountain |
| 11:00 | Uphill walk to Nara Park | Uphill but zero stairs = stroller OK / deer are lively in the morning |
| 11:30 | Approach to Todai-ji | Push along the flat center band of the stone path |
| 12:00 | Great Buddha Hall | Cash only / stroller carried at the steps |
| 13:00 | Okumura Commemorative Museum | Free, air-conditioned rest stop (it saved me) |
| 13:30 | Yumekaze Hiroba | Step-free — roll the whole complex |
| 14:30 | Taxi to JR Nara Station | Under 10 min / about ¥1,250 / credit cards OK |
🎯 If you remember only 3 things from this guide
- Feed the deer at the roadside, not in the crowds. Inside the park they mob you as a herd — the calm singles and pairs along the road are much better for small kids
- There are 6 step points at Todai-ji, and you’ll carry the stroller at 5 of them. There is no fully step-free way in — I checked
- Learn your free cool-down spot before you go. The road to Todai-ji has almost no shade, and in summer that’s what breaks families
At the end of this guide I’ve also added two hotels right at each station — with kids, staying one night beats a day trip every time.
🎫 Rather Do It With a Guide? (Two Family-Tested Options)
Everything in this article is designed so you can do Nara on your own. But if you’d rather have someone else handle the navigating — especially with jet-lagged kids — these are the two tours I’d actually book, for two different kinds of families:
🍼 Traveling with a baby or toddler → Private custom tour
A licensed English-speaking guide, private to your family, and the itinerary bends to nap time. The listing explicitly says strollers are OK, and recent reviews are full of families — one guide shielded a little one when the deer got pushy, another adapted the day for kids as young as 6. From ¥22,000 per person (varies by group size), 6 hours, free cancellation up to 24 hours ahead.
Check dates — Private Nara Tour (Viator)
*Affiliate link · Book now, cancel free up to 24h before
🌅 Kids who can walk + staying in Kyoto/Osaka → Early-bird small group
Max 12 people, English-speaking guide, optional Kyoto Station pickup, and Todai-ji admission included — from ¥9,450 with 1,100+ reviews at 4.9★. The early start matches everything this article says about mornings: lively deer, cooler air, thinner crowds. One honest note: it covers about 10,000 steps, so it suits elementary-age walkers, not stroller babies.
Check dates — Nara Early Bird Tour (Viator)
*Affiliate link · Book now, cancel free up to 24h before
🚃 Getting to Nara — and Which of the Two Stations You Want
First, a thing that trips up almost every visitor: Nara has two separate stations run by two separate companies — Kintetsu Nara Station and JR Nara Station — and they are a 15-minute walk apart. Which one you arrive at completely changes your walk to the park.
| From | Train | Time / fare | Arrives at |
|---|---|---|---|
| Osaka (Namba) | Kintetsu Nara Line rapid express | ~40 min / ¥680 | Kintetsu Nara |
| Osaka (Osaka Sta./Umeda) | JR Yamatoji rapid | ~50 min / ¥820 | JR Nara |
| Kyoto | Kintetsu Kyoto Line express | ~45 min / ¥760 | Kintetsu Nara |
| Kyoto | JR Miyakoji rapid | ~45 min / ¥720 | JR Nara |
| Kansai Airport (KIX) | Limousine bus (reservation required for the airport-bound direction) | ~1h25m–1h45m / ¥2,400 adult · ¥1,200 child | Both stations |
No transfers on any of these routes. Fares as of September 2026.
⚠️ For Nara Park, aim for Kintetsu Nara Station
This guide’s route starts at Kintetsu Nara, which is a short, flat walk from the park. From JR Nara it’s about a 30-minute walk to Todai-ji — with kids, take the city loop bus instead (East Exit, stop 2, “outer loop,” about 10 minutes, flat ¥250 fare, IC cards accepted; get off at “Todaiji Daibutsuden Kasugataisha-mae”).
💡 Which line should YOUR family take?
- Have a Japan Rail Pass? The JR routes are covered by it (Kintetsu is a different company and is not). Take JR + the loop bus.
- No JR Pass? Take Kintetsu — it lands you closest to the deer.
- Get an IC card (Suica/ICOCA) before Nara. You can tap onto every train and bus in this article, including the ¥250 loop bus, and you can add one to Apple Pay in about a minute. The one thing IC cards can’t do here: pay Todai-ji admission. More on that soon.
🚉 Kintetsu Nara Station: The First 30 Minutes
Kintetsu Nara Station is underground, which is exactly why this section exists. Here’s the diaper-elevator-locker choreography that makes it painless.
The platform restroom has NO diaper changing table
The trap hits the moment you step off the train. The restroom on the platform is a basic one — no changing table (there is a child seat to park a little one safely). If your plan was “we’ll change them as soon as we arrive,” change it to: diapers happen after the ticket gates.
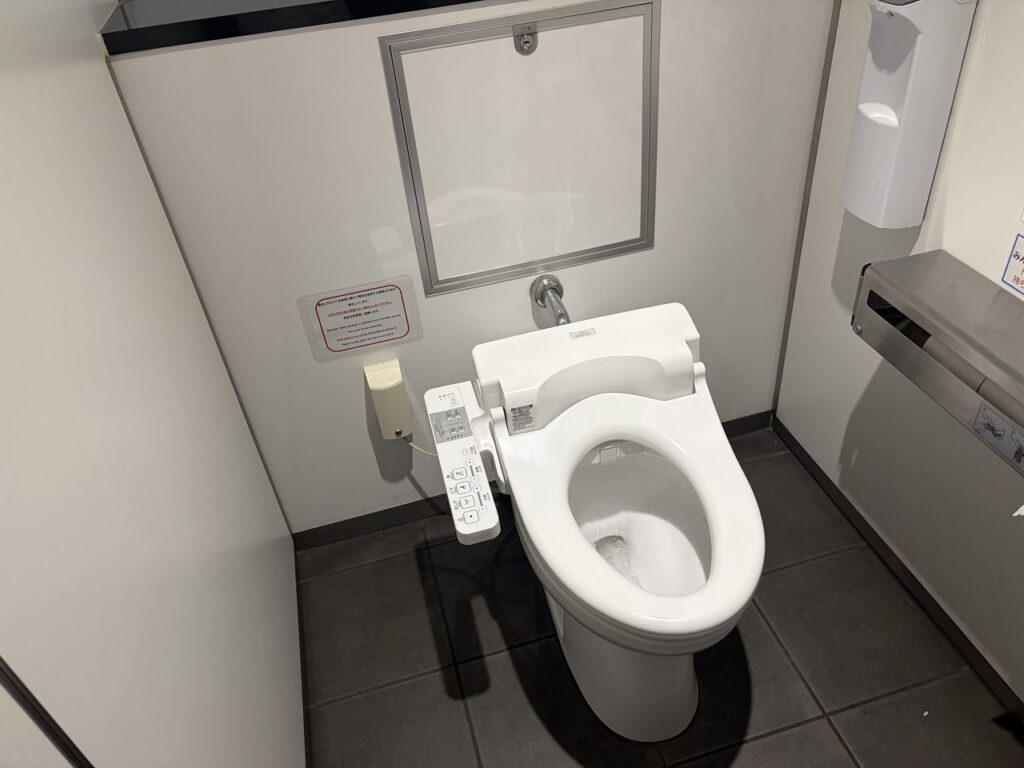
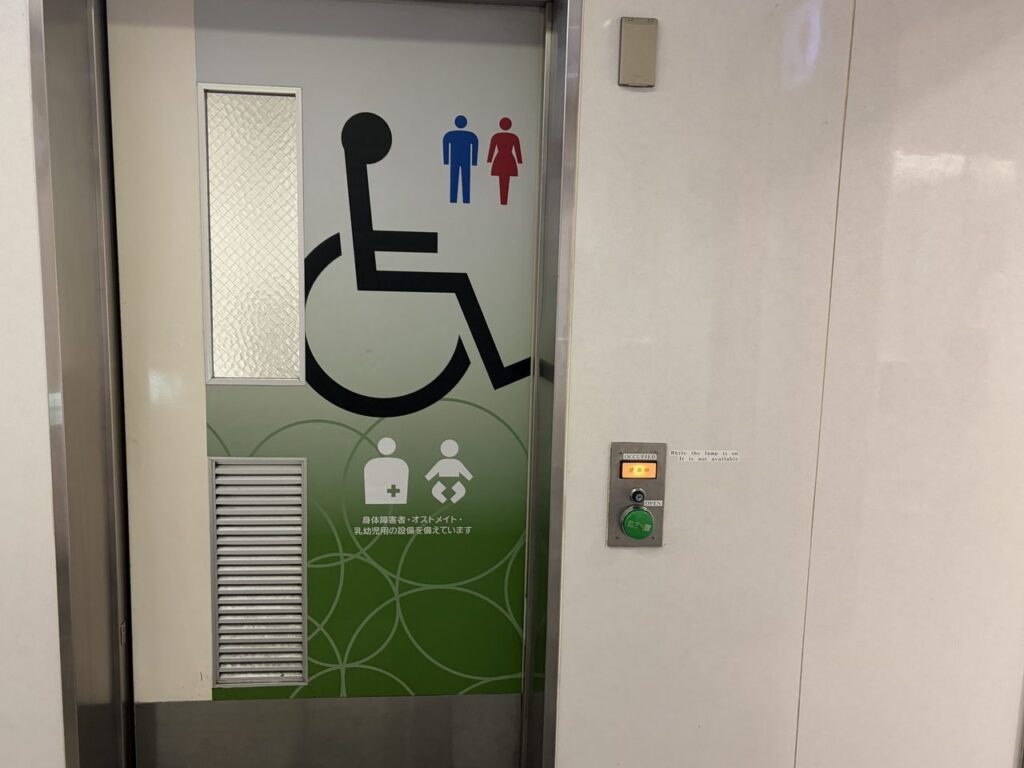
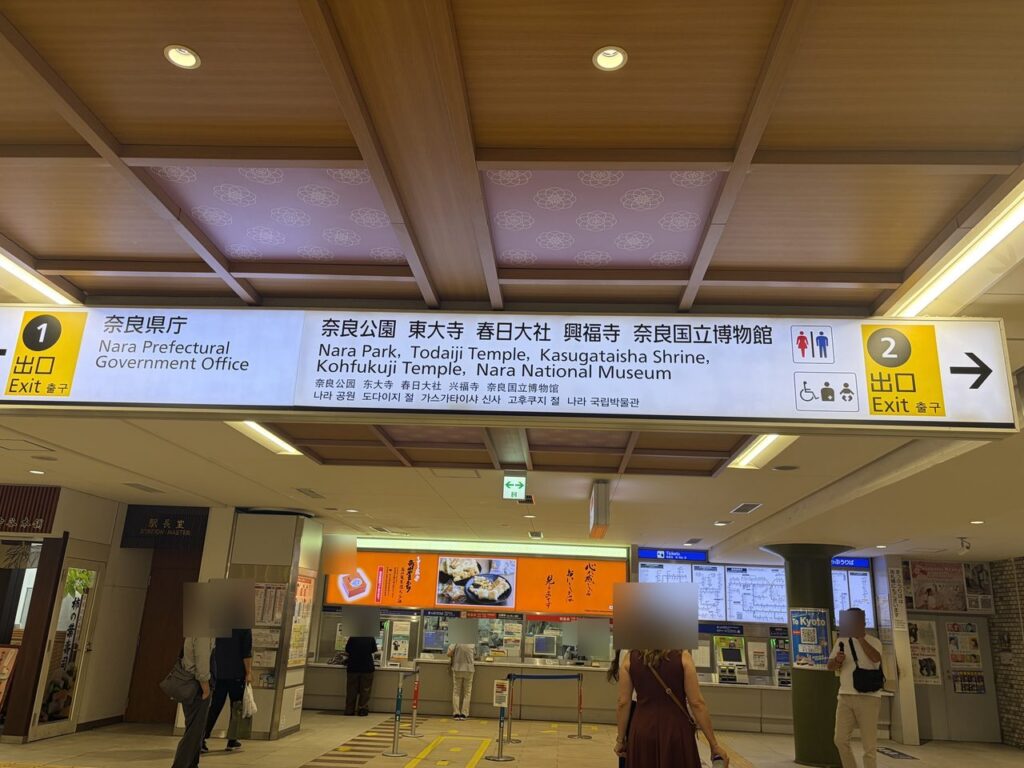
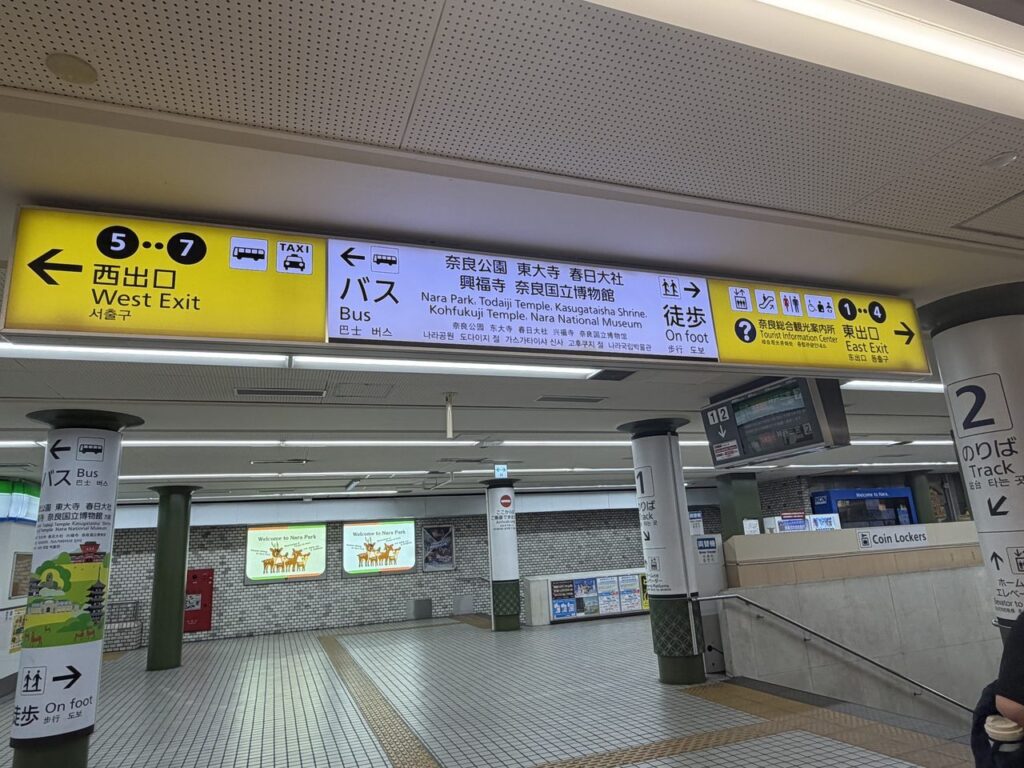
Diaper change: exit the gates, head toward Exit 2
Just outside the gates, toward Exit 2, there’s a multi-purpose accessible restroom (in Japan these are large family-friendly restrooms marked with wheelchair and baby symbols — anyone with a stroller is welcome to use them). The women’s restroom next to it also has a changing table inside.
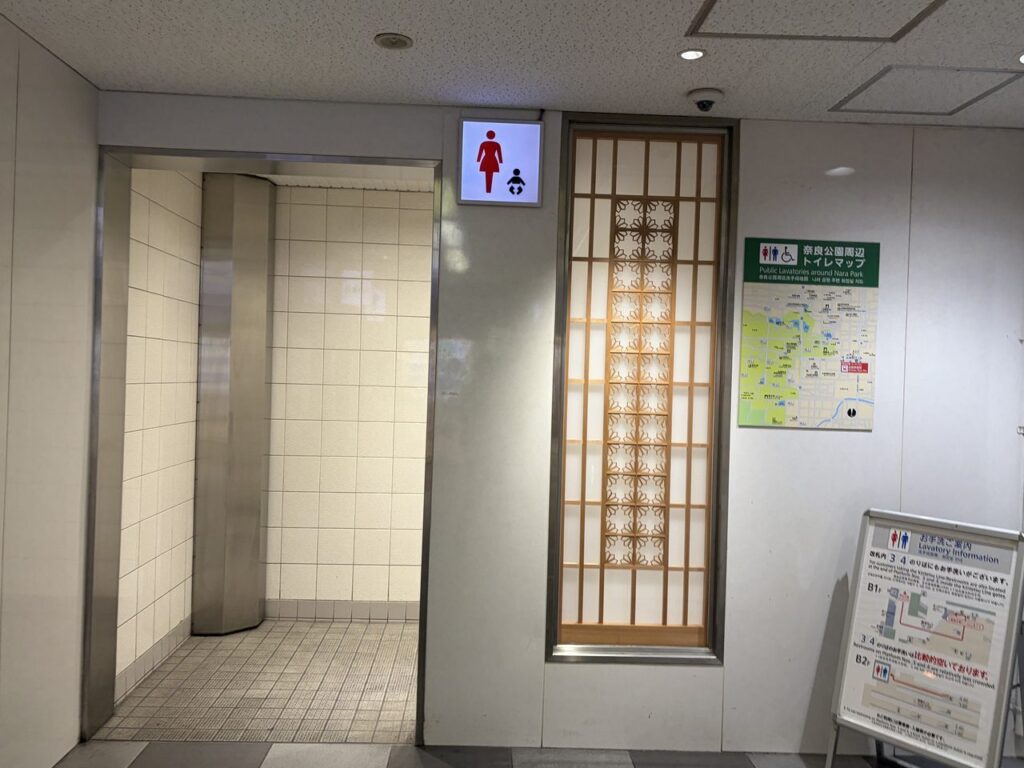
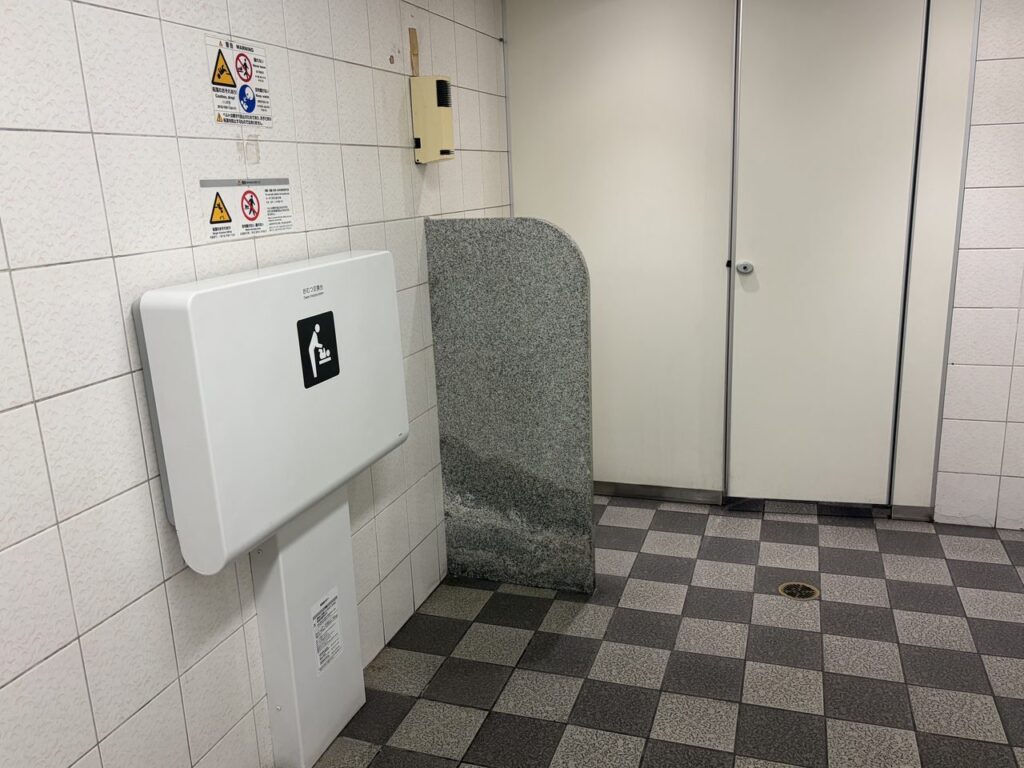
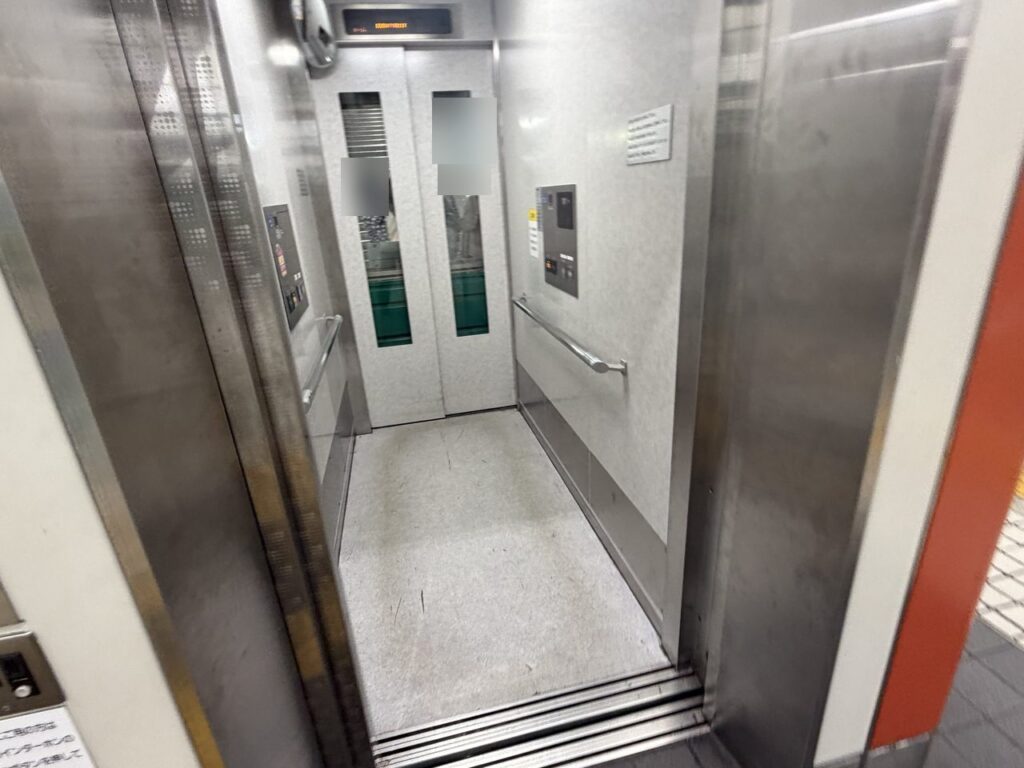
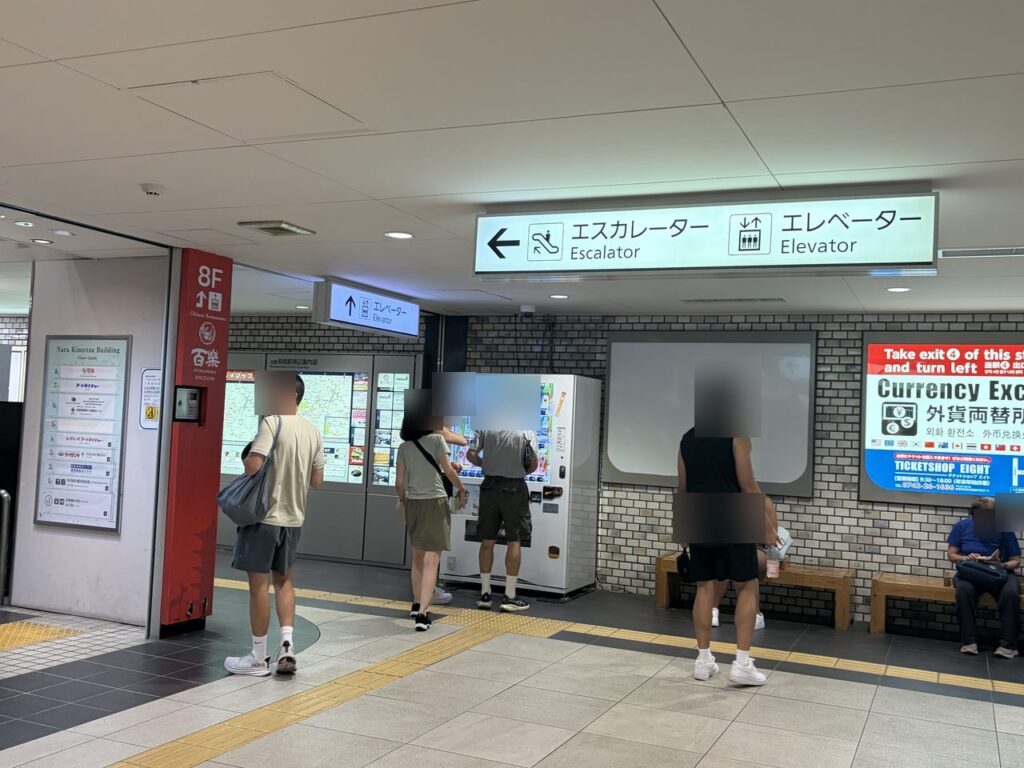
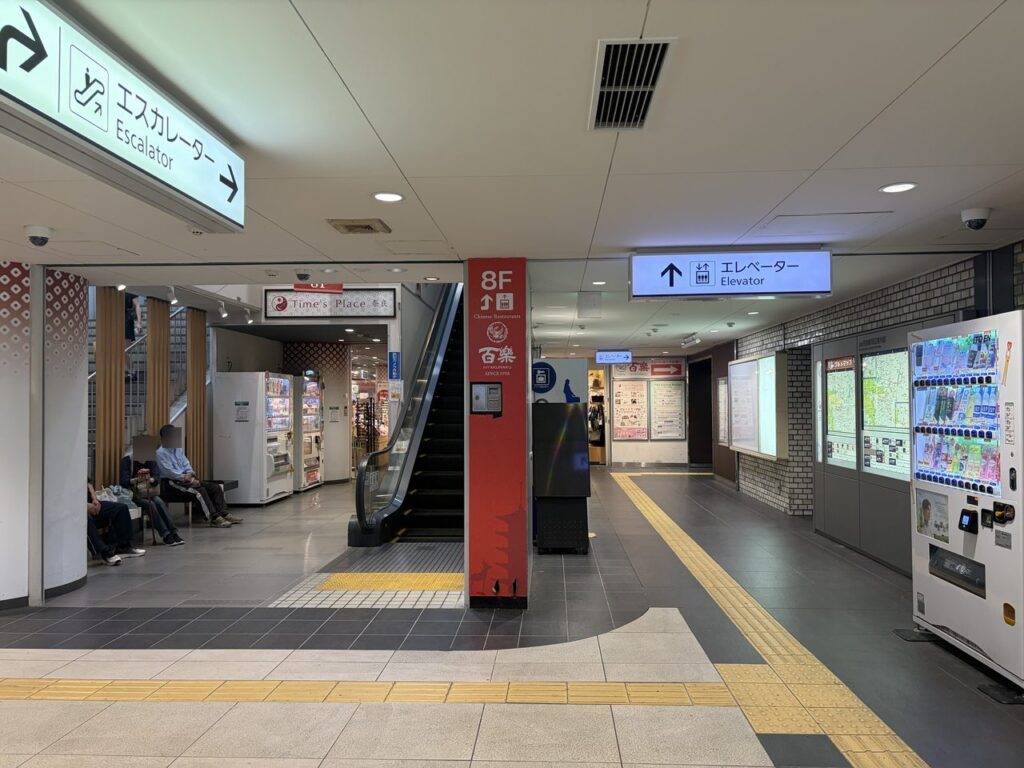
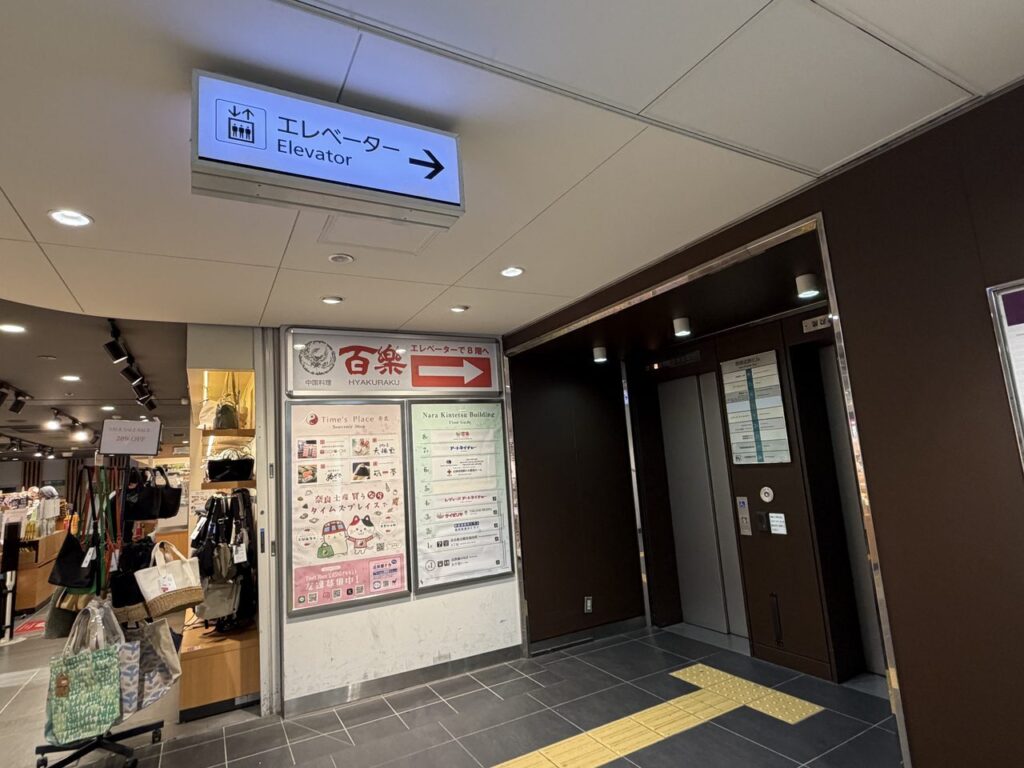
Strollers ride two elevators to reach street level
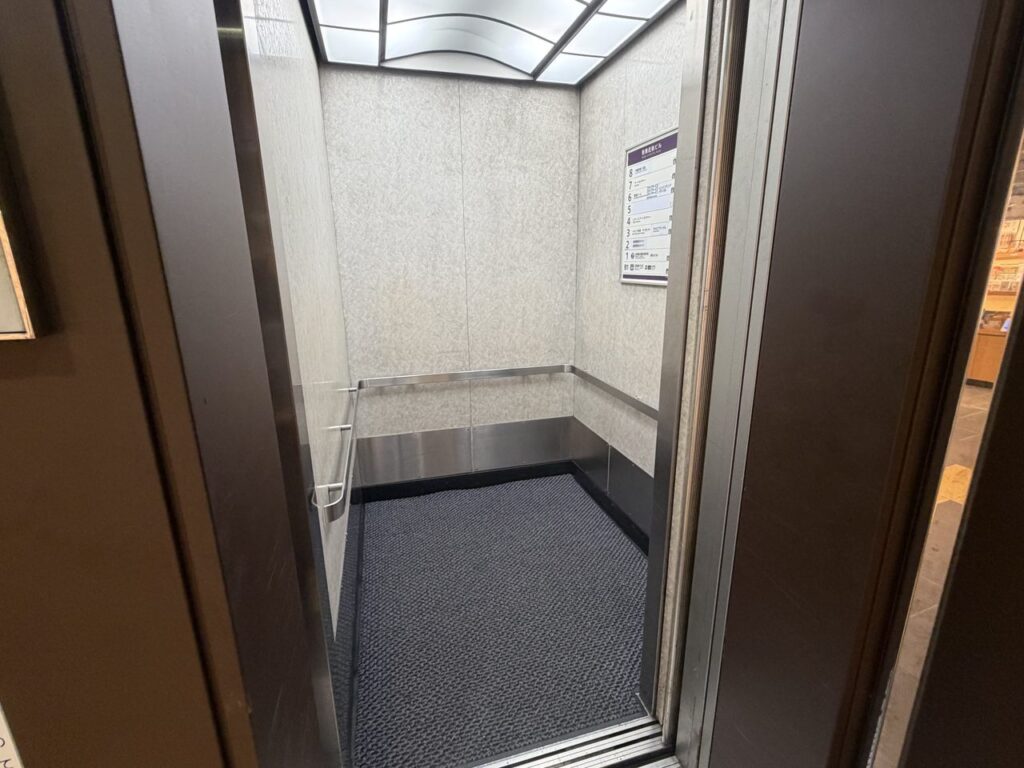
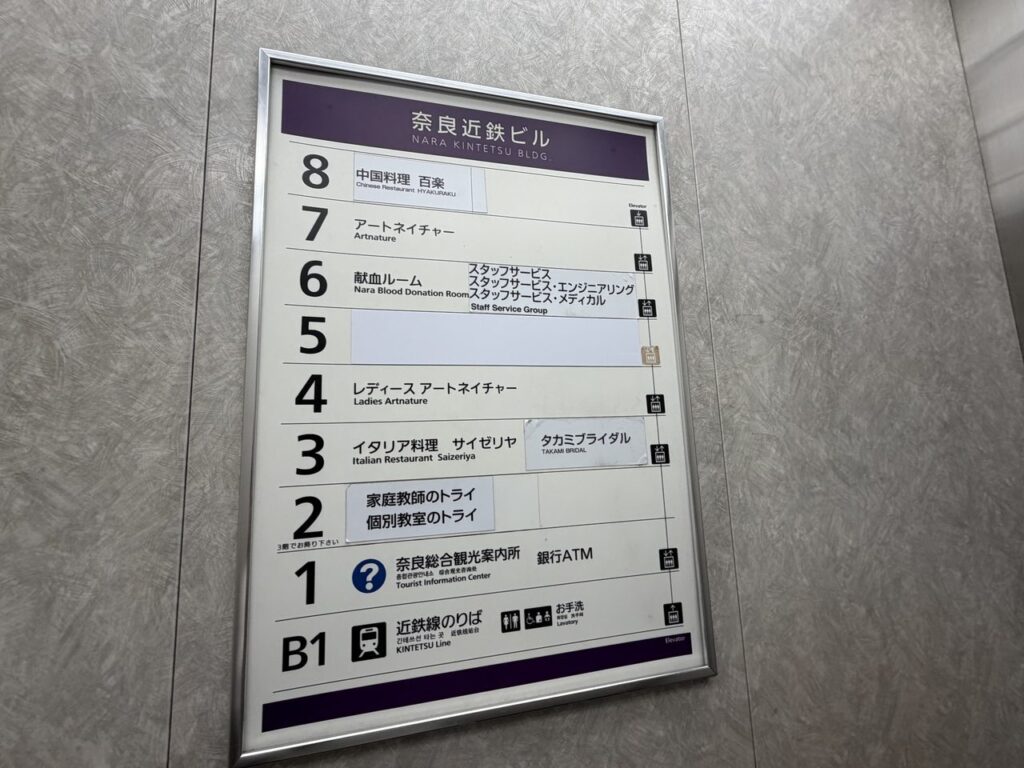
Because the station is underground, getting a stroller to the surface takes two elevator rides. Here’s the sequence:
- Elevator 1: from the platform up to the ticket-gate level
- Exit the gates (do the diaper stop near Exit 2 now if you need it)
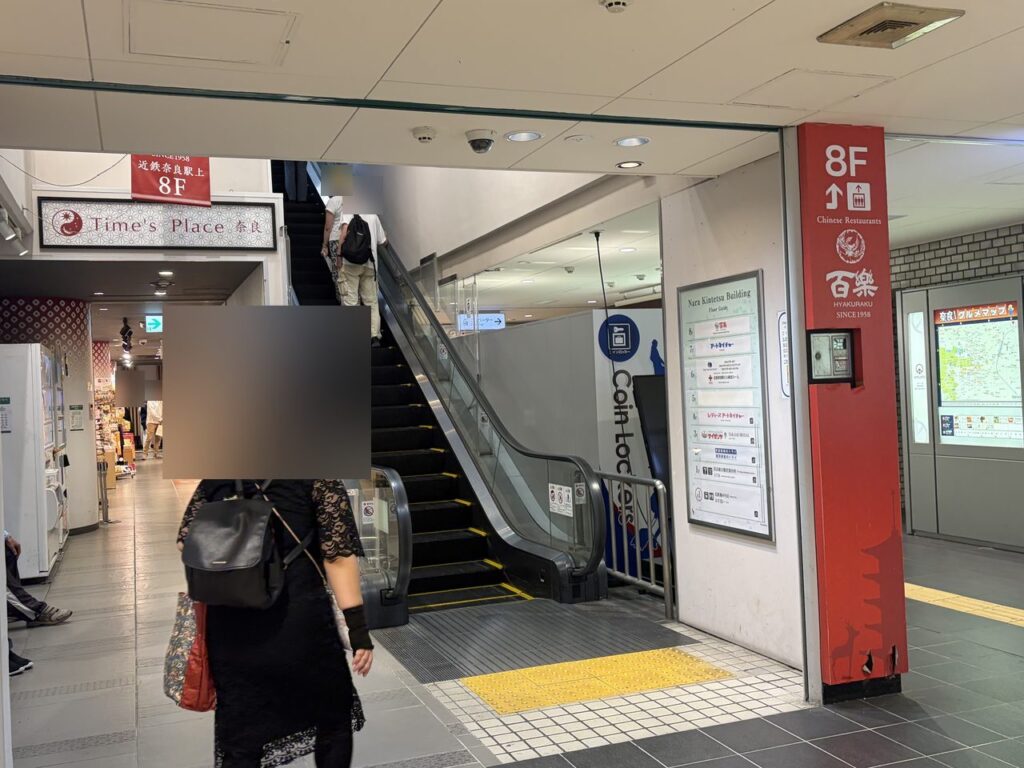
- Elevator 2: past the Exit 3 escalator, up to street level
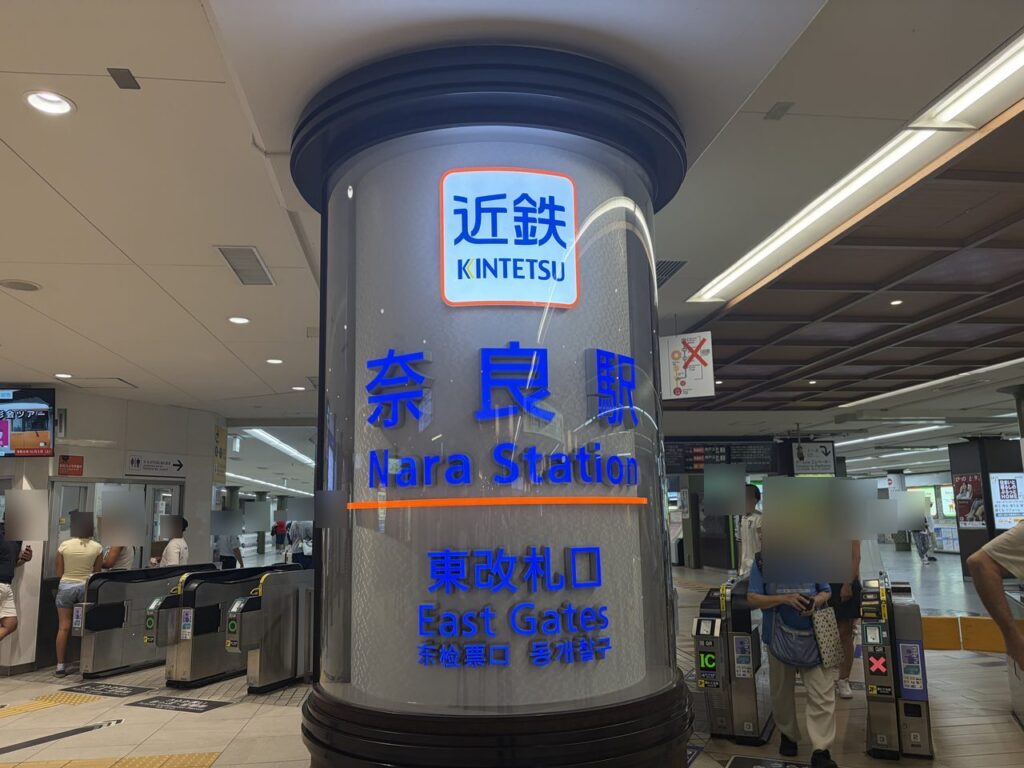
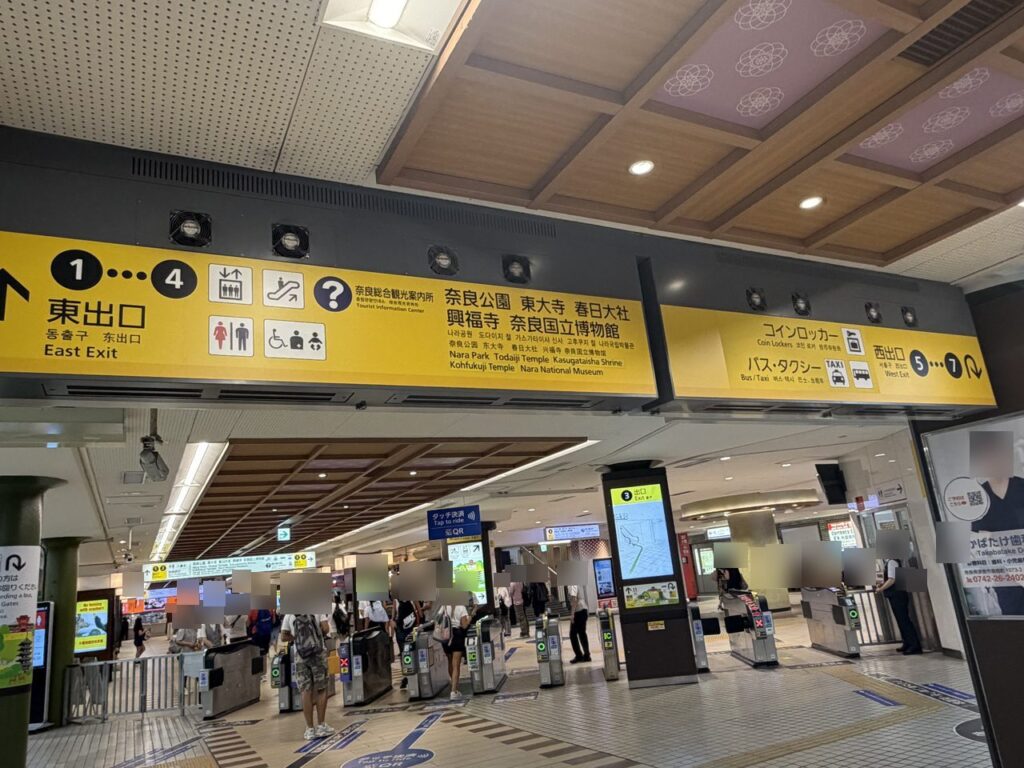
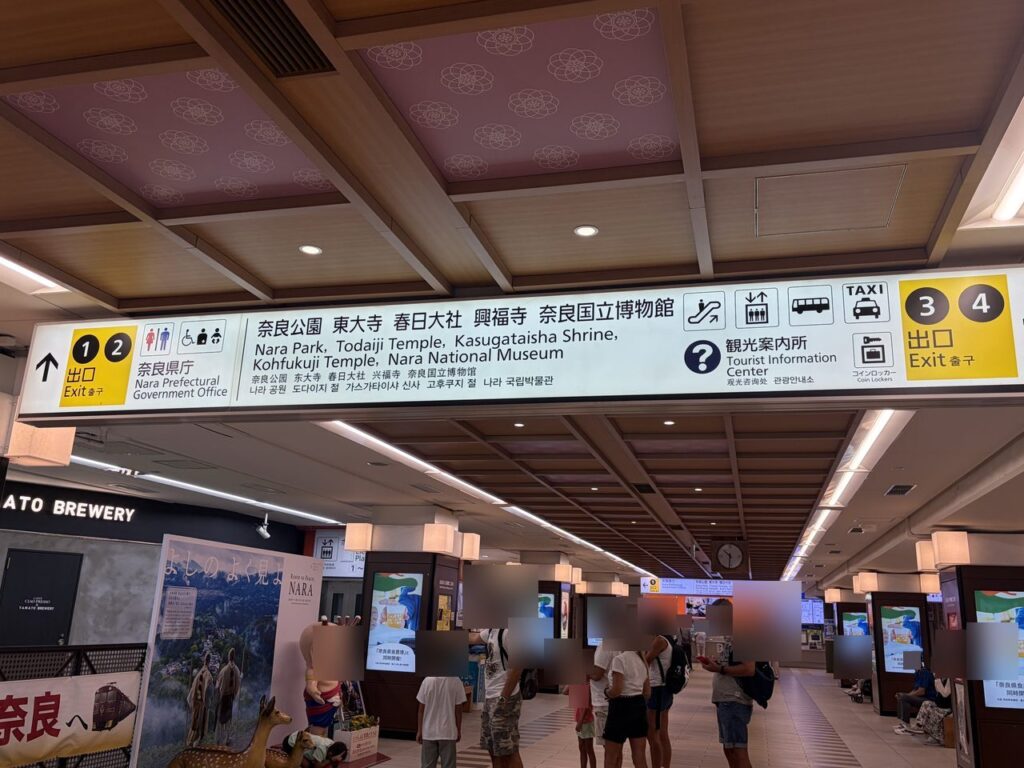
⚠️ The signs say “Exit 2 for Nara Park” — but Exit 2 is stairs only
The station’s own signboards route park-goers to Exit 2, and Exit 2 has nothing but stairs. With a stroller or wheelchair, ignore that arrow and head for Exit 3 (escalator at Exit 3; the elevator is just beyond it). If you can fold and carry, Exit 2 is fine.
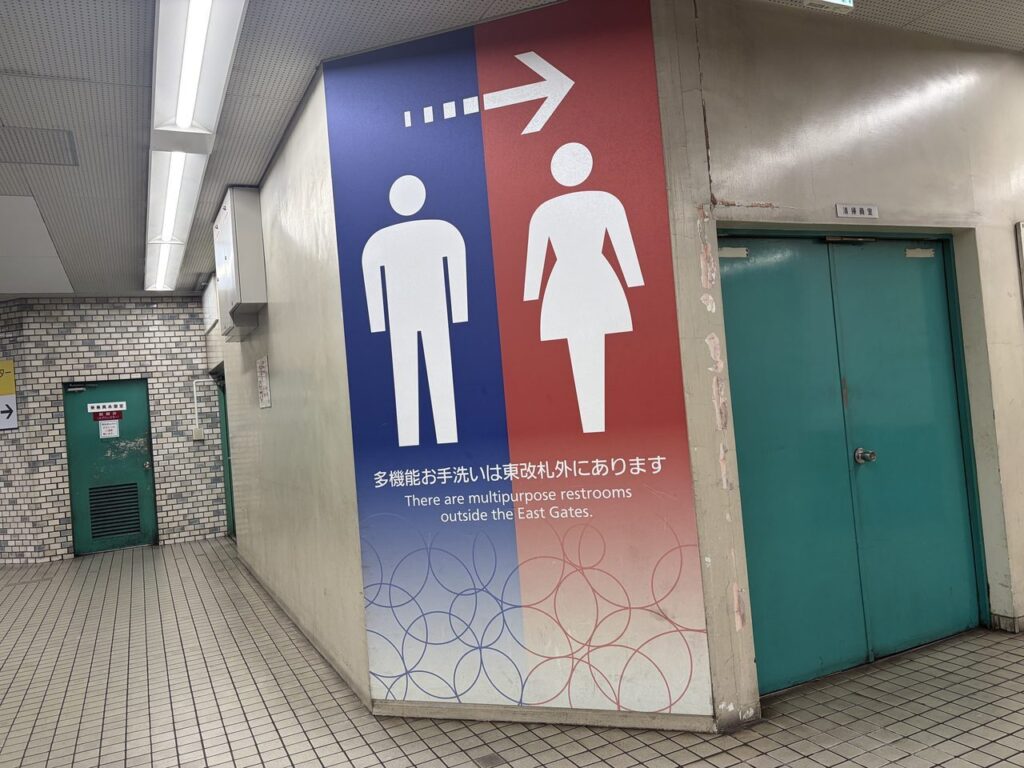
🚼 Elevator 1 only exists on Platform 1/2
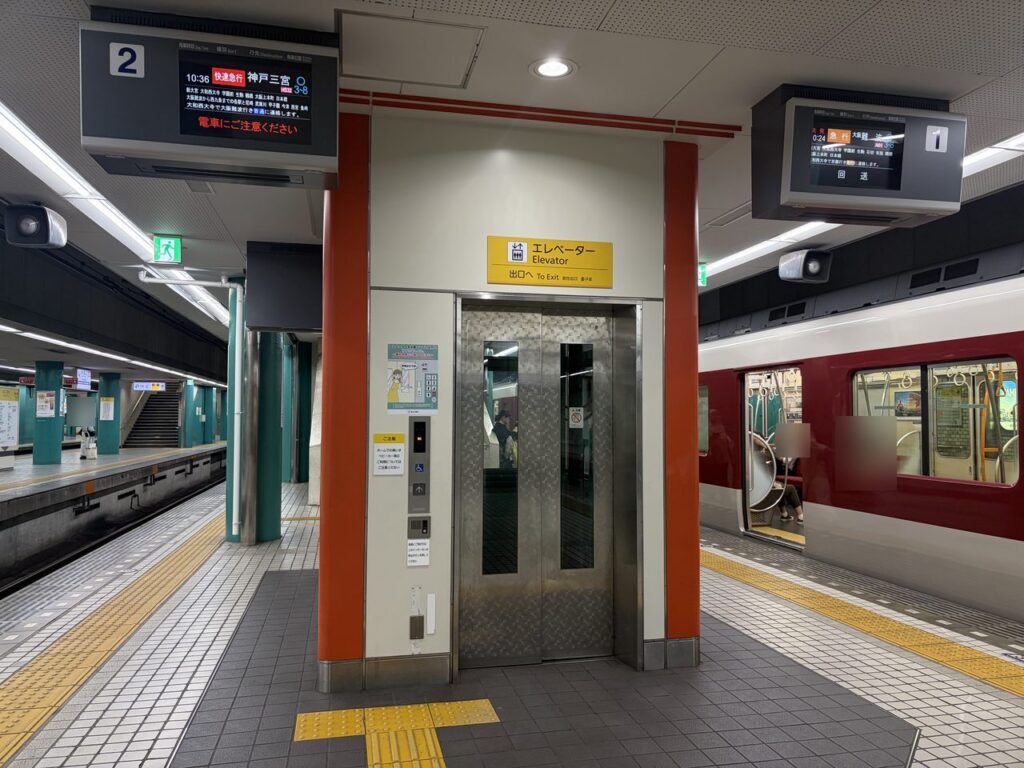
- The platform elevator is on Platform 1/2 only
- My train arrived on Platform 3/4 — I wandered a bit before figuring this out, so you don’t have to
- From Platform 3/4, walk toward the far end of the platform; a passage connects to Platform 1/2
- Your landmark is the big pillar sign that says “the accessible restroom is outside the East Gates” — the passage appears shortly after it
Coin lockers: two clusters, and the far one is the secret
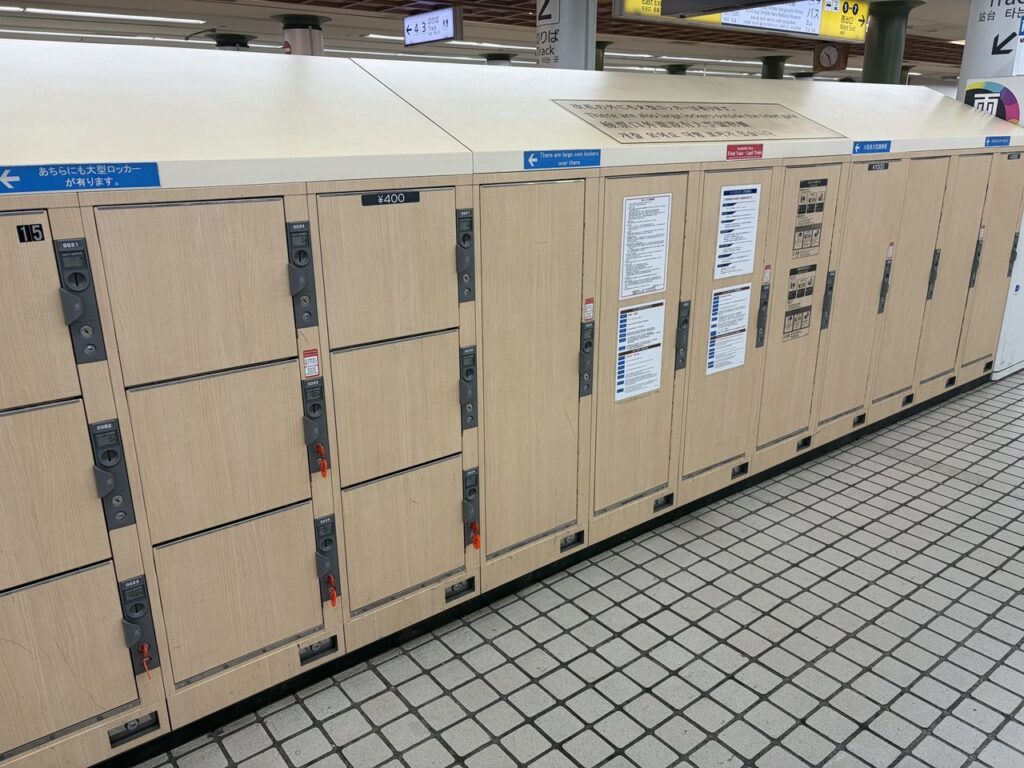
Coin lockers (self-serve luggage lockers — a Japanese station staple) let you dump the day bag and suitcase before the park. Kintetsu Nara has two clusters:
| Location | Price | The honest note |
|---|---|---|
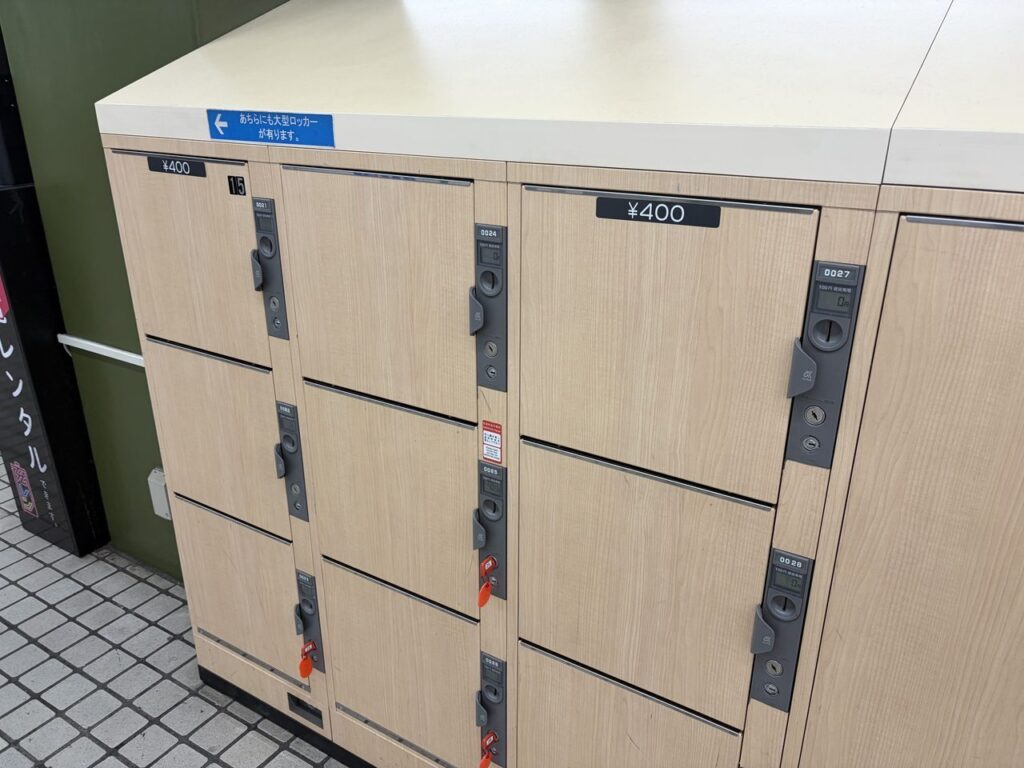
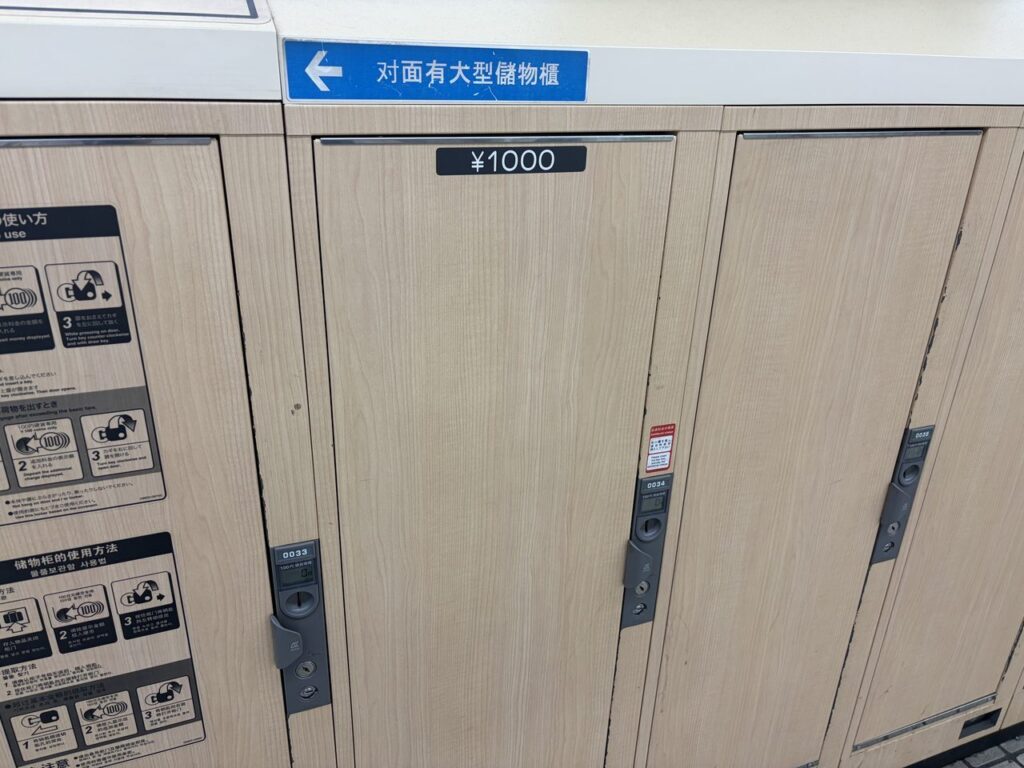
| Right by the ticket gates | Large ¥1,000 / small ¥400 | The most visible spot — fills up first |
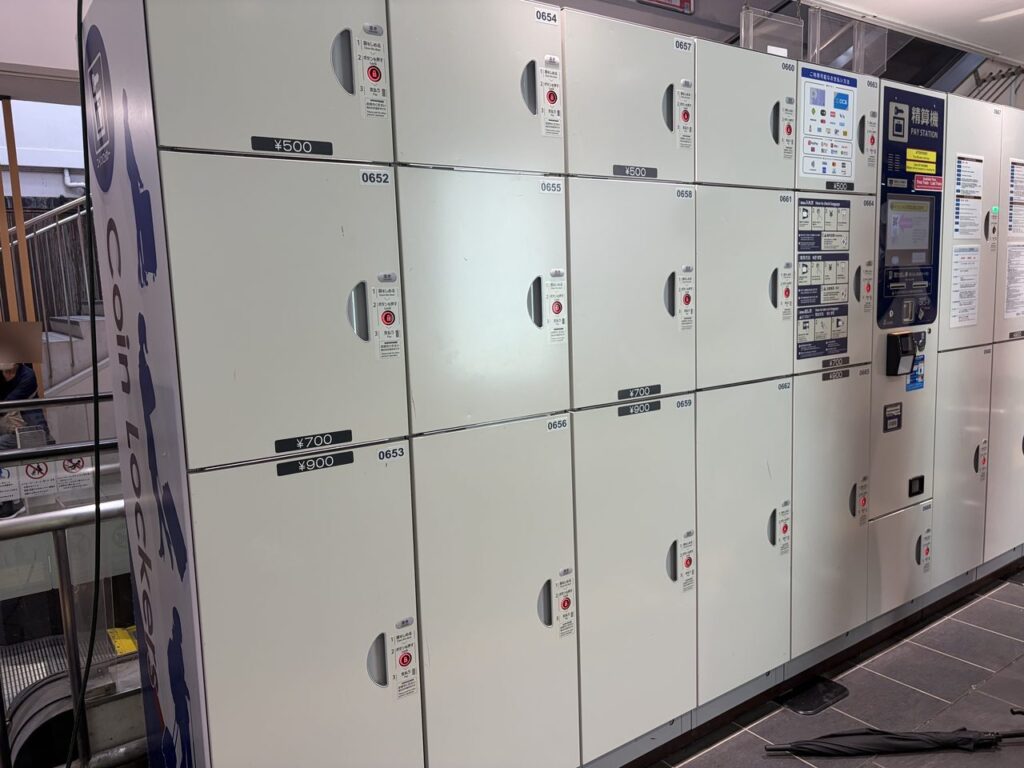
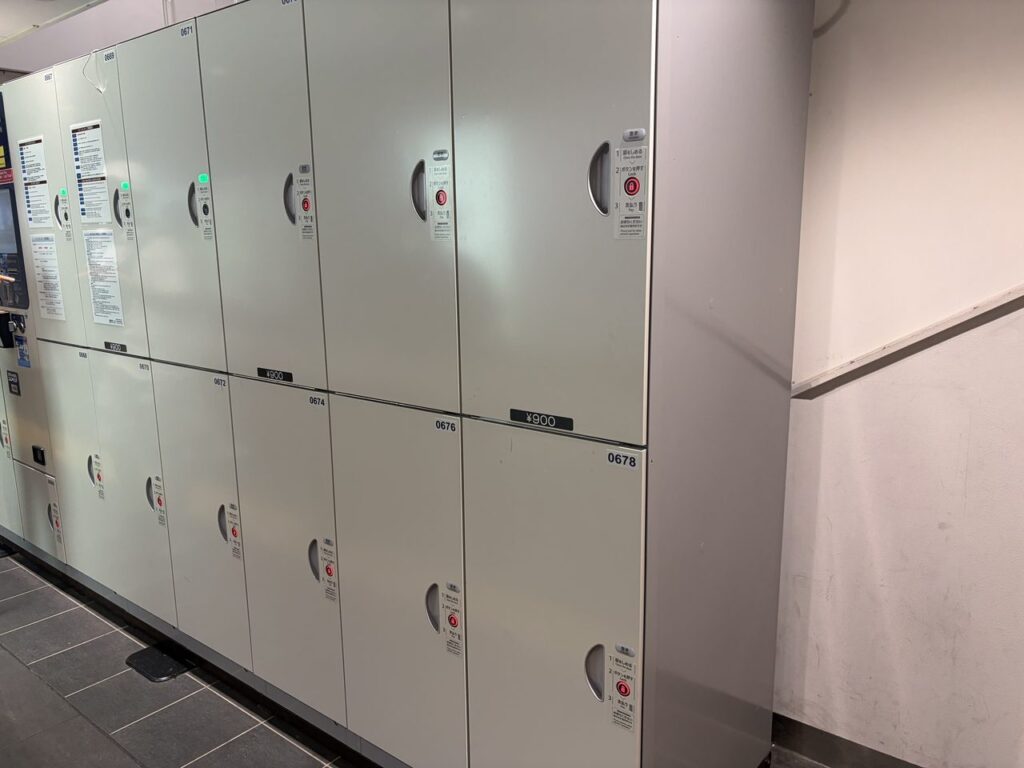
| Near the elevator (past Exit 3) | ¥500 / ¥700 / ¥900 | Mostly big ¥900 lockers, suitcase-sized, and overlooked — the local’s choice |
On our day, a couple and a solo traveler both strolled up to the far cluster and found space immediately while the gate-side lockers were slammed. If the first bank is full, don’t panic — walk to the second one. There’s a payment machine there too, so exact coins aren’t an issue.
Off the elevator? Grab the free map at the info center
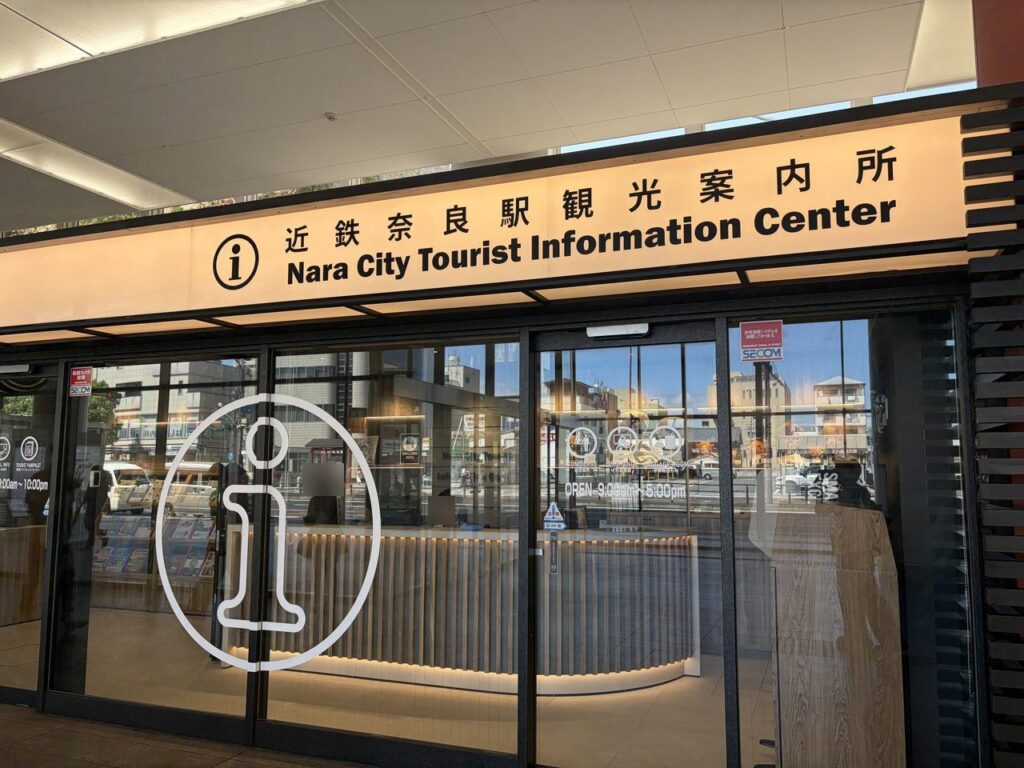
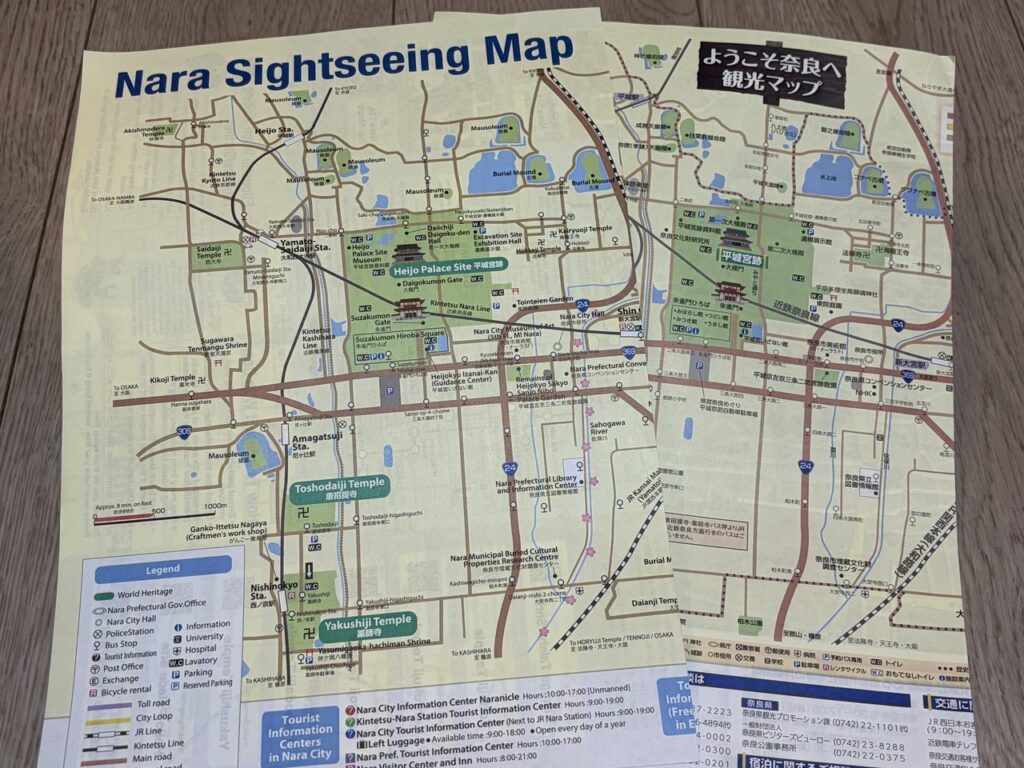
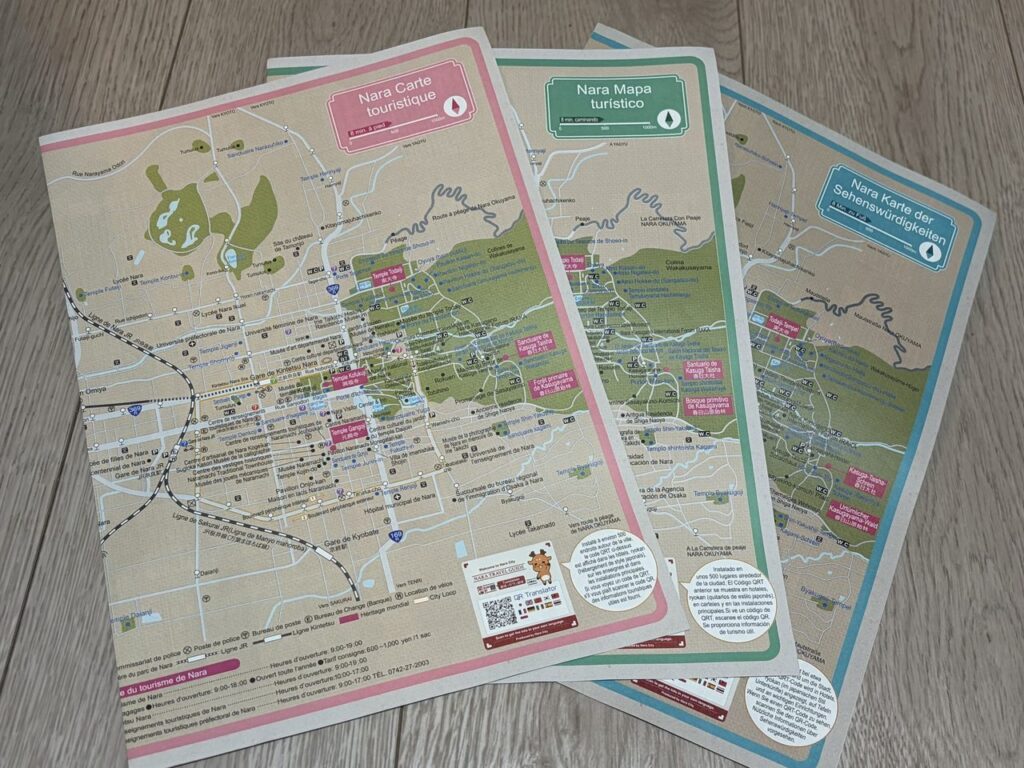
Come out of Elevator 2, turn right, and the Nara City Tourist Information Center is right in front of you with free sightseeing maps — English, and also French, Spanish and German. Grab one per person; they mark World Heritage sites, restrooms and coin lockers.
Why paper, in the smartphone era? Because with a kid glued to a deer, you can flick a paper map open one-handed without taking your eyes off them. That’s the whole argument, and it’s a winner.
🦌 Station to Nara Park: Every Meter Was Stroller-Friendly
From the elevator, turn right, pass the info center, and you’ll see a big fountain. You can’t miss it — it’s right there.
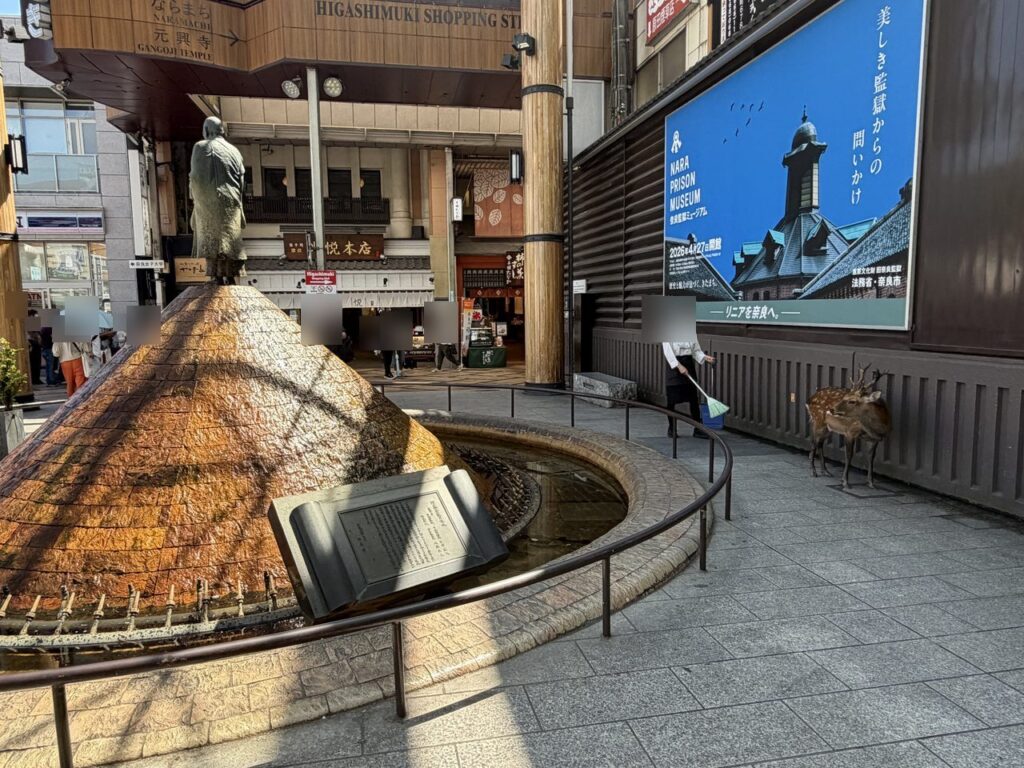
On our day, a deer had already made it to the station fountain. If your kids think they have to earn the deer by walking to the park — surprise.
Behind the fountain is a Lawson (one of Japan’s big three convenience stores — genuinely good food, clean, everywhere). Buy drinks and snacks here; it’s your last cheap, easy stop before the park.
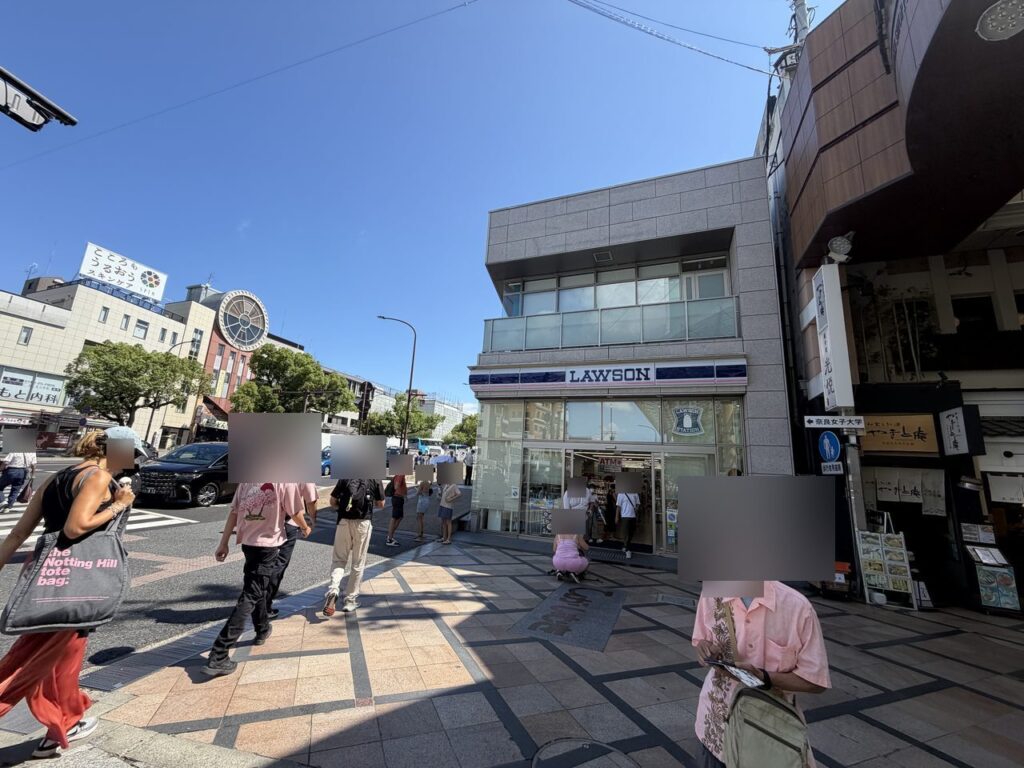
The road from here climbs gently, but there are no stairs. I didn’t have a stroller with me this day (my kids are past that stage), but I checked the entire route with stroller eyes: every path we used is pushable from end to end.
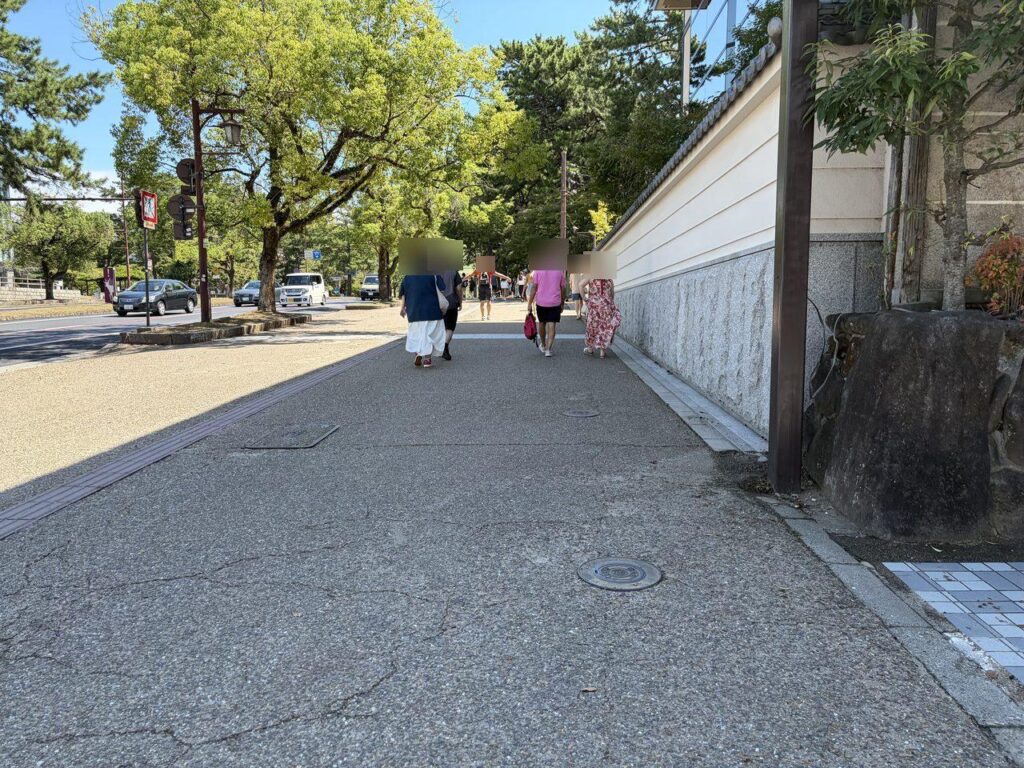
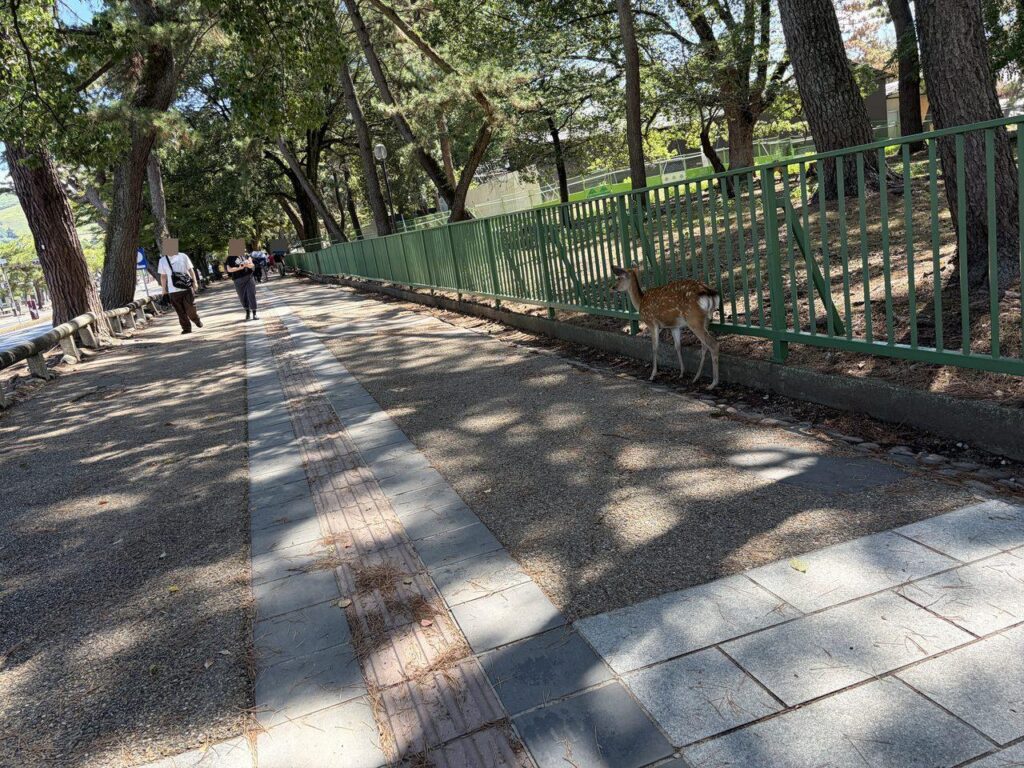
Deer 101: mornings are when the magic (and the mobbing) happens
We reached the deer-dense stretch around 11:00, and they were wide awake and food-motivated. Anyone holding crackers got a same-second crowd. By afternoon, many deer are full and blasé — so mornings are your window for the classic experience.
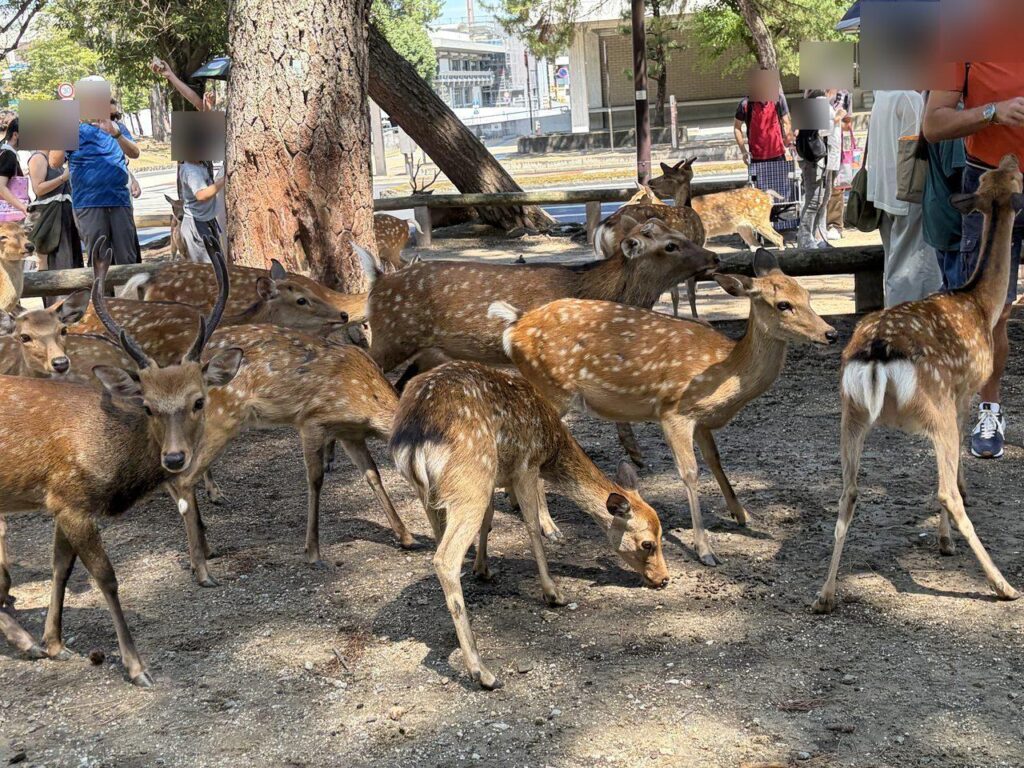
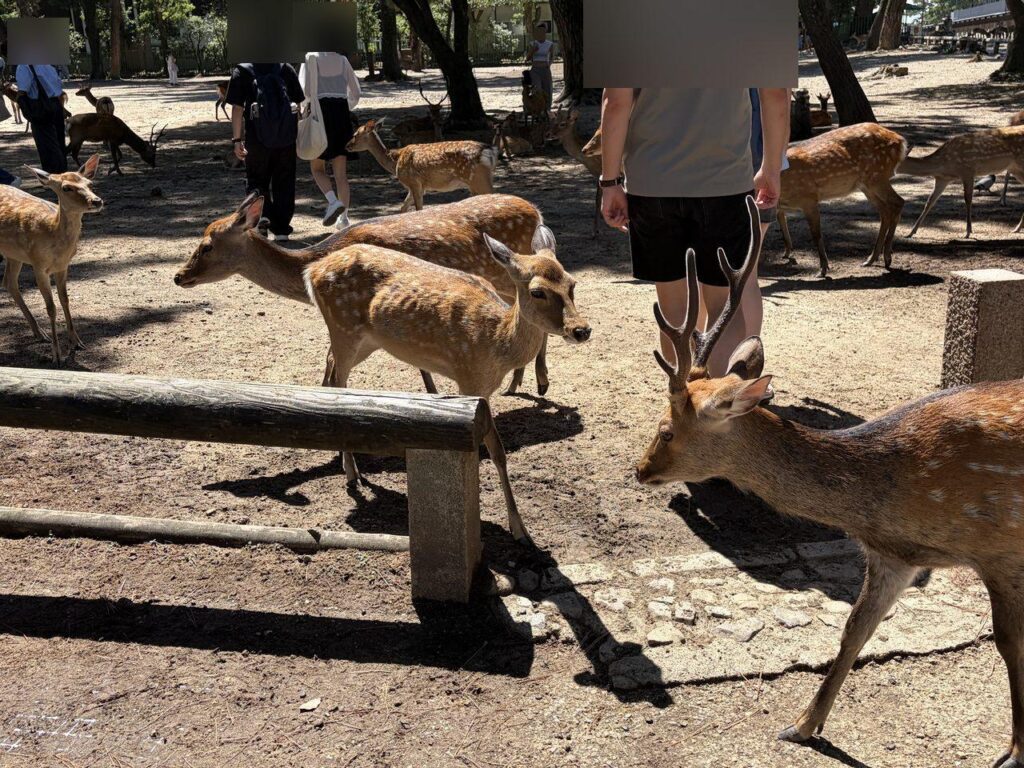
They came at me even with empty hands. Here’s the trick that genuinely works: spread both palms wide open — “all gone!” — and they peel away. Teach your kids this gesture before the first cracker. It’s the deer off-switch.
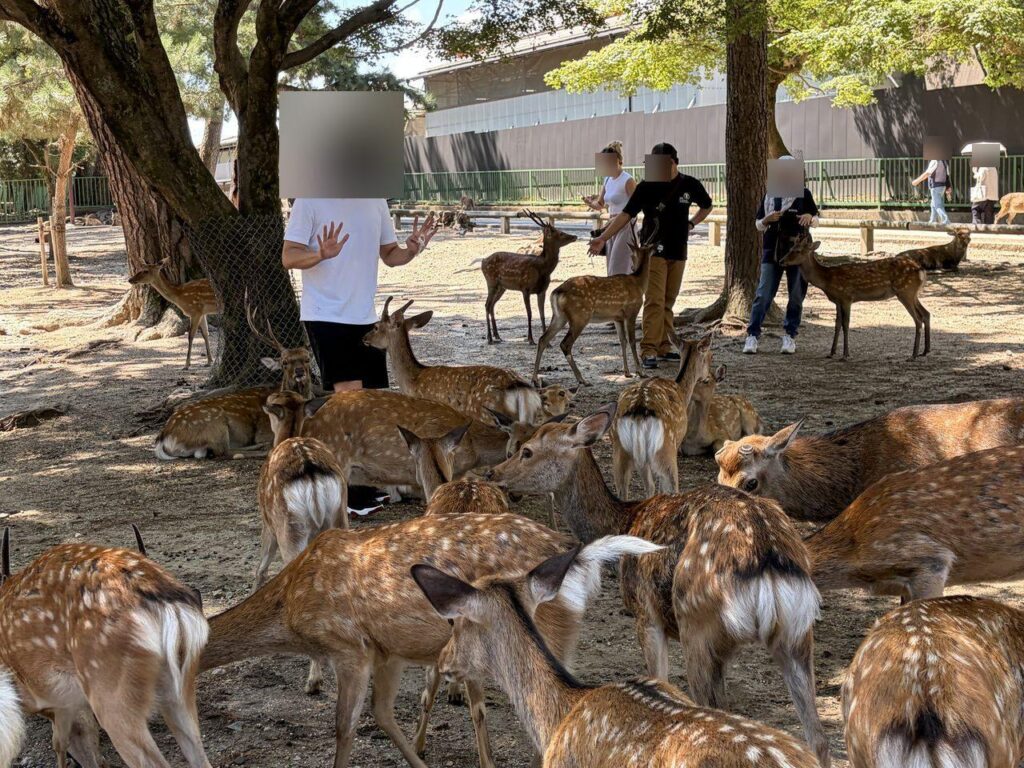
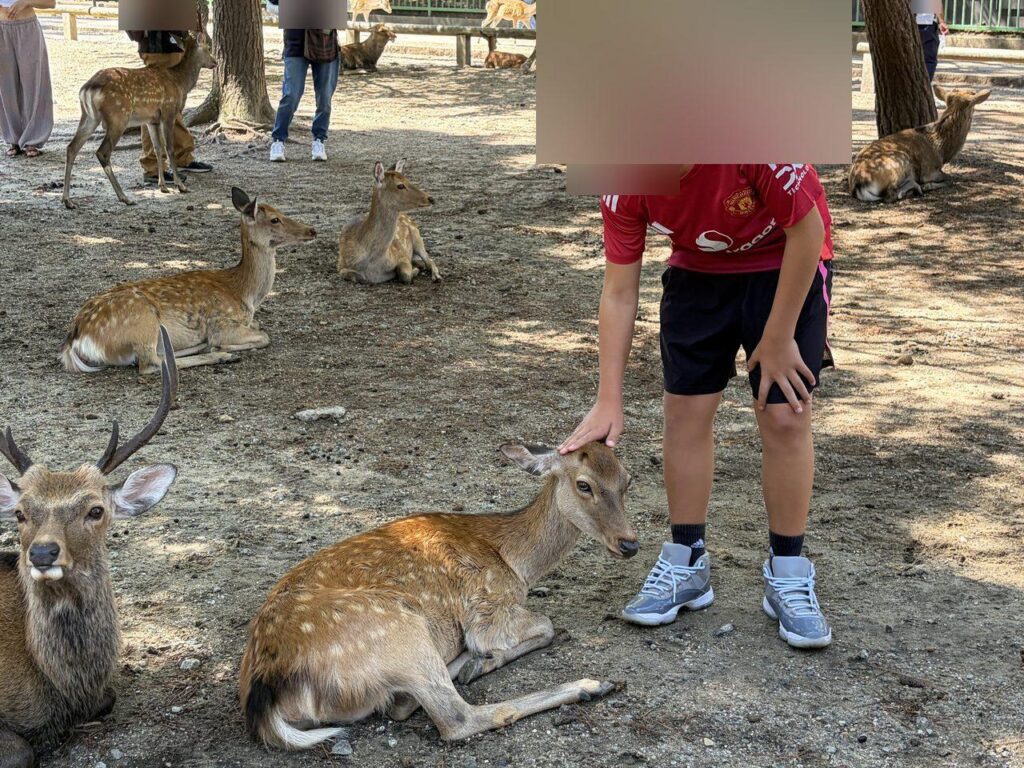
⚠️ For small kids, the scary part is being surrounded all at once
Deer arrive as a herd, and they’re hip-height on an adult — which means eye-height on a four-year-old. Start with the adult holding the crackers while the child watches from a step back. On our day, kids around 4th grade (age 9–10) were feeding happily on their own; that’s a fair benchmark.
Yes, the deer bow. No, it’s not politeness
Nara’s famous bowing deer are real — we watched visitors from all over the world trading bows with them, and elementary-school kids pulling it off like pros. But know what the bow means: it’s not a greeting, it’s “hand over the cracker, please.” The deer learned that bowing gets results.
⚠️ Tease them for an extra bow, and they get mad
Holding a cracker back to make a deer bow again is how people get nipped or head-butted. The Nara Deer Preservation Foundation’s own guidance: hand it over promptly — teasing makes them angry. These are wild animals designated as a National Natural Monument, not petting-zoo staff.
🦌 The 5 rules of safe deer feeding
- Unwrap the paper band from the bundle first and split the crackers up
- Feed one cracker at a time, open-palmed, promptly — no teasing
- Out of crackers? Both palms open wide = “all gone”
- Never feed anything else — snacks, bread and vegetables can genuinely harm them
- In crowded deer zones, don’t let a small child hold the crackers alone
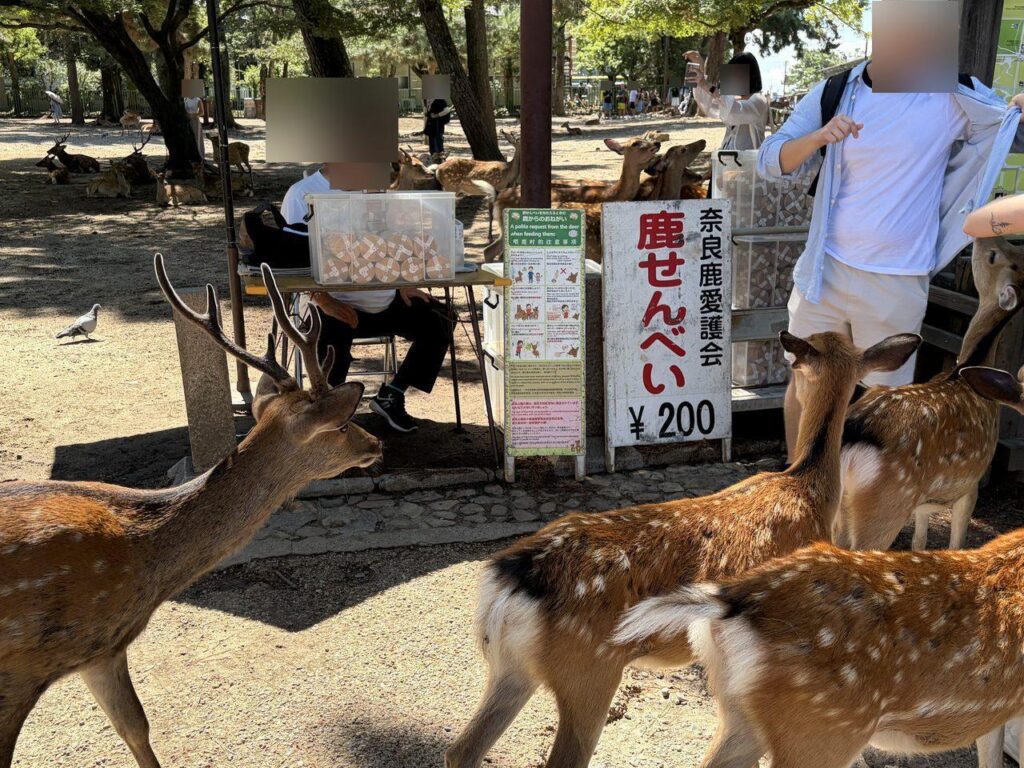
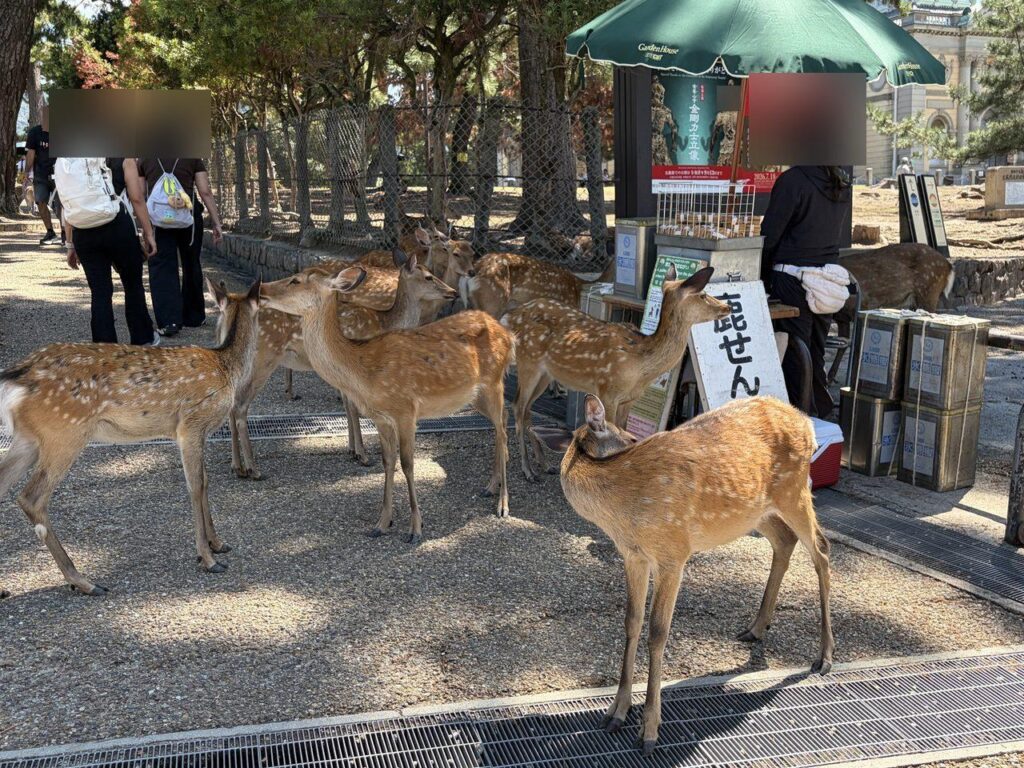
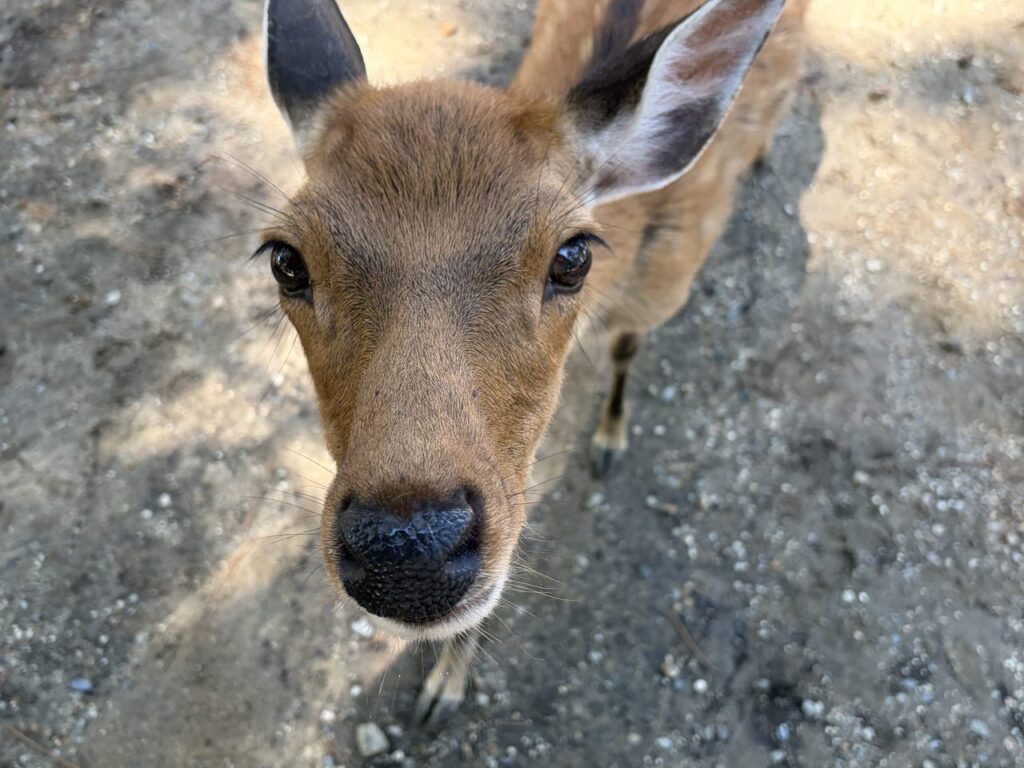
Buy the crackers — shika senbei, made specifically for the deer — at the Deer Preservation Foundation stalls, ¥200 a bundle (cash) on our visit. And a pro move for families: skip the stall crowds and walk to the roadside, where deer hang out solo or in pairs. One calm deer, one child, one cracker — that’s the photo you came for.
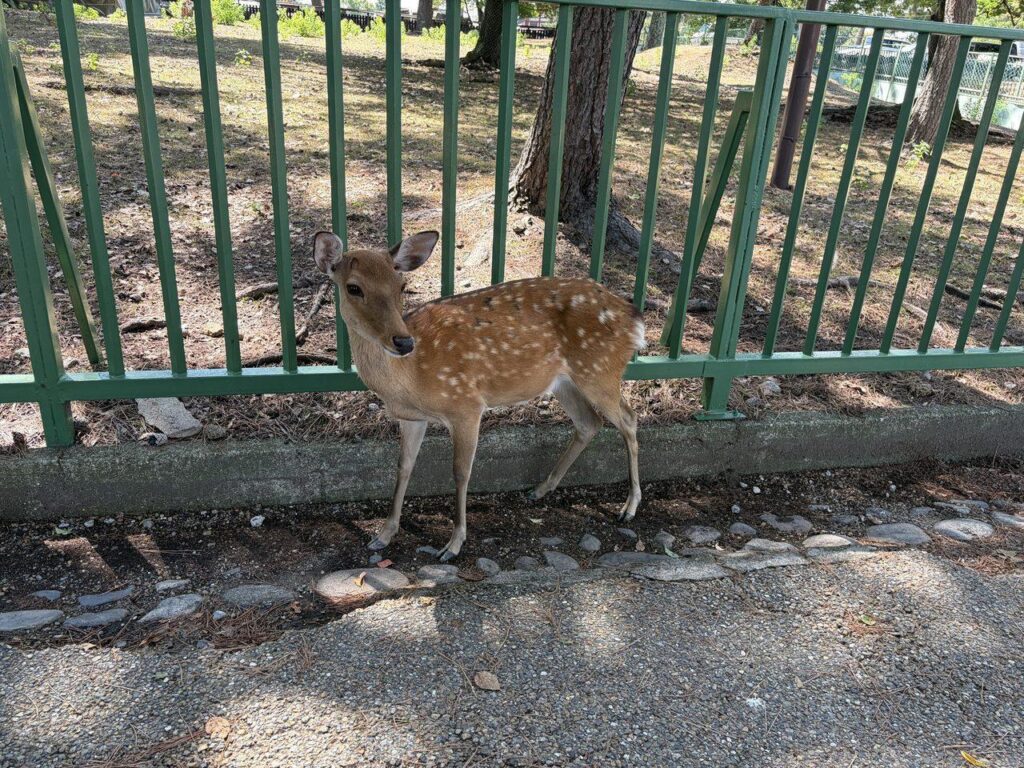
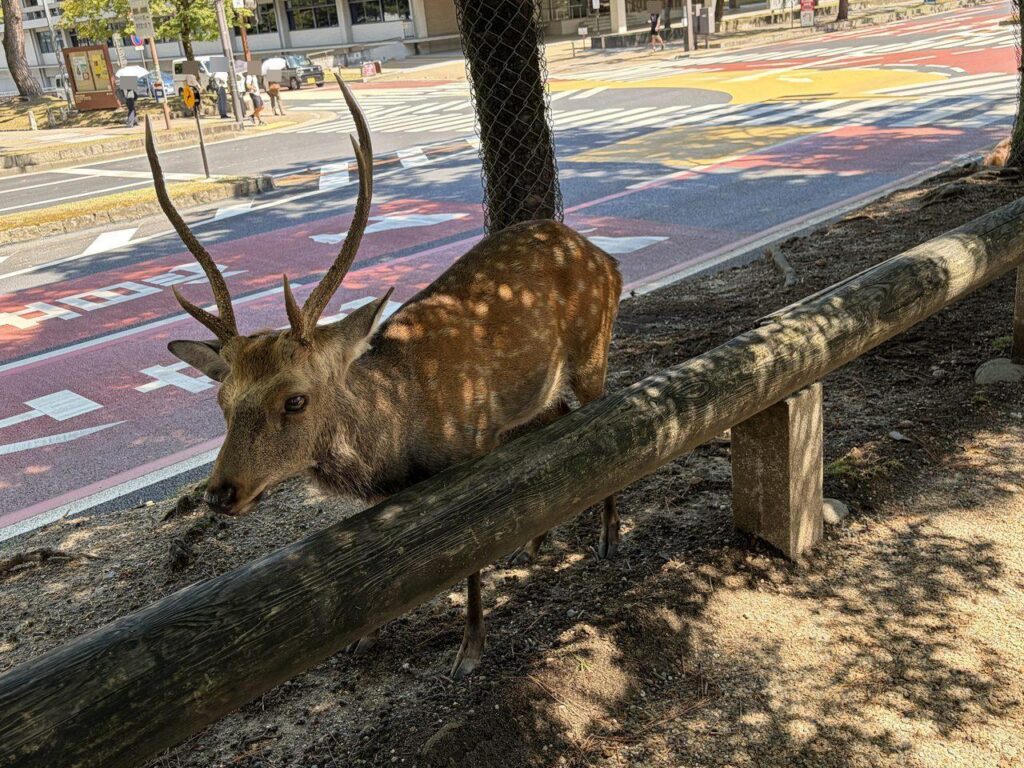
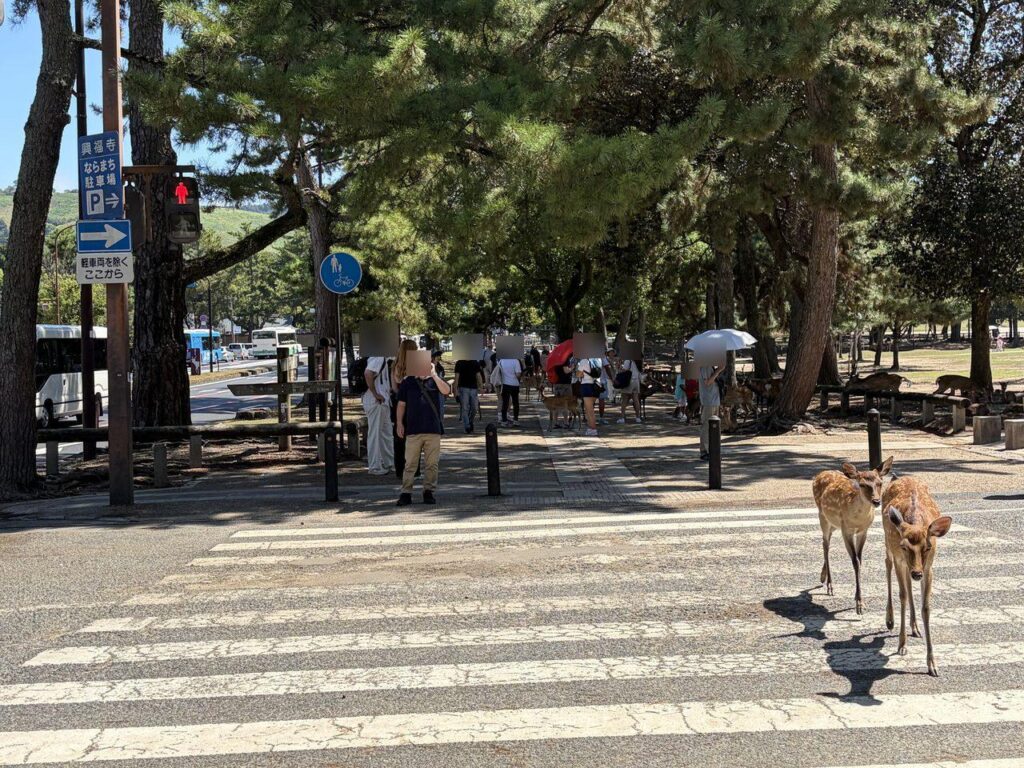
⚠️ The #1 safety rule: deer cross on red. Your kids can’t
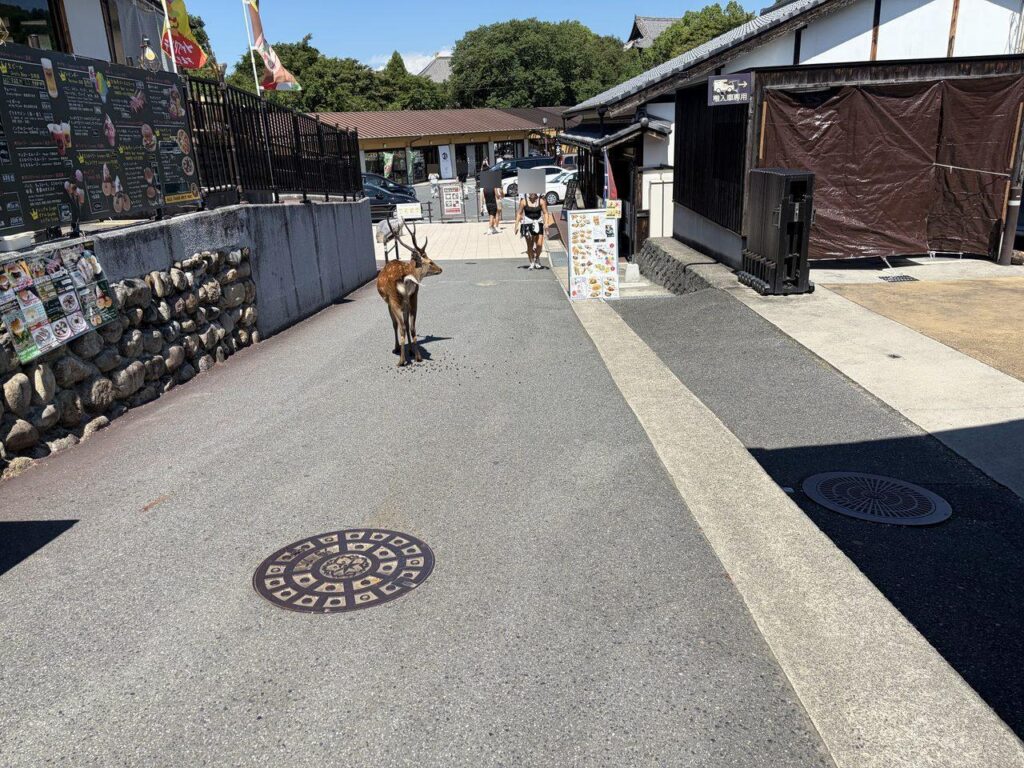
We watched deer stroll across the crosswalk against a red light — and to Japan’s credit, the cars stopped for them anyway. Your child, deep in deer-following mode, will absolutely try to trot after them. Humans follow the lights. Hold hands anywhere near the road. This is my single biggest ask of any family visiting Nara.
Traveling with a toddler? You’re allowed to skip Todai-ji
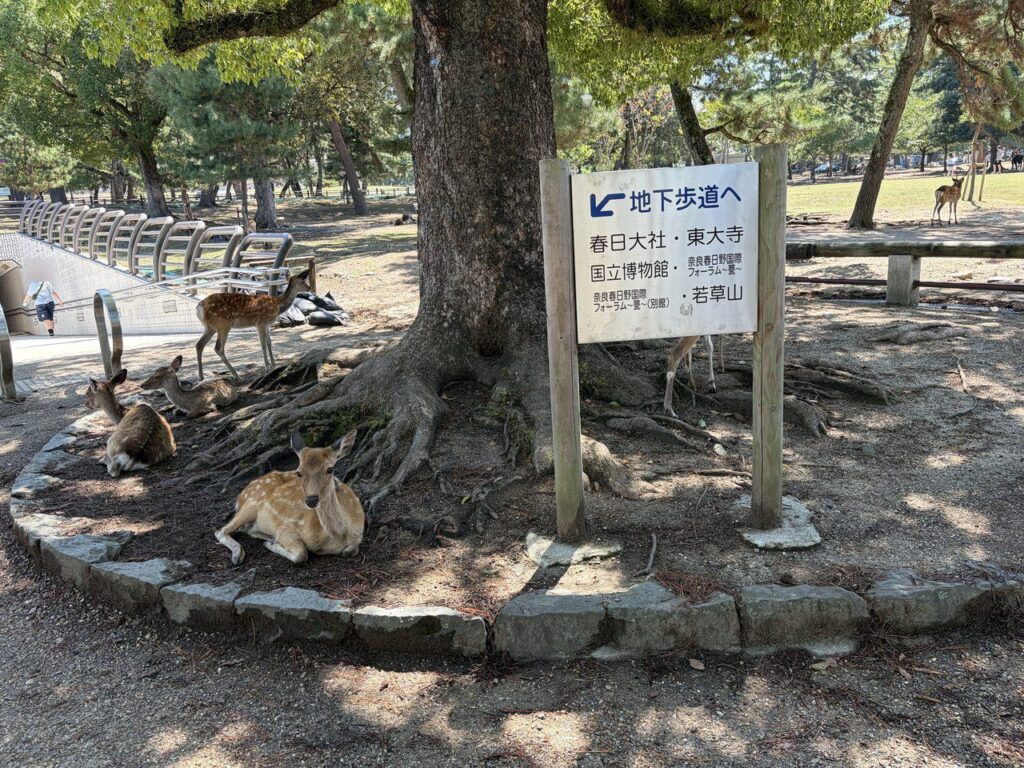
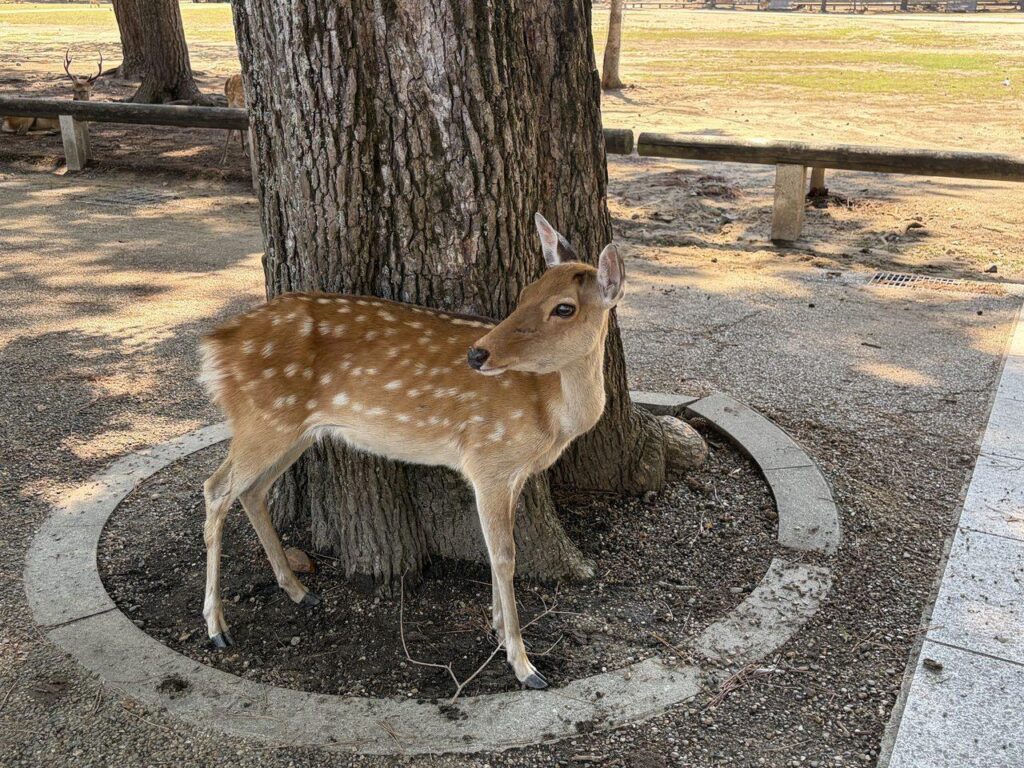
Honest local opinion: the best deer on our day were along the roadside outside the park core — where there’s shade. The walk to Todai-ji, meanwhile, is nearly shadeless, and a child in a stroller rides closer to the hot pavement than you stand.
💡 With preschoolers, “deer + go home” is a complete Nara day
Playing with deer in the shady roadside stretch and calling it a win is a totally legitimate itinerary. Ask them in ten years — they’ll remember the deer, not the Buddha. Elementary-age kids, on the other hand, tend to love the pillar crawl inside the Great Buddha Hall (coming up below), which makes the temple leg worth it.
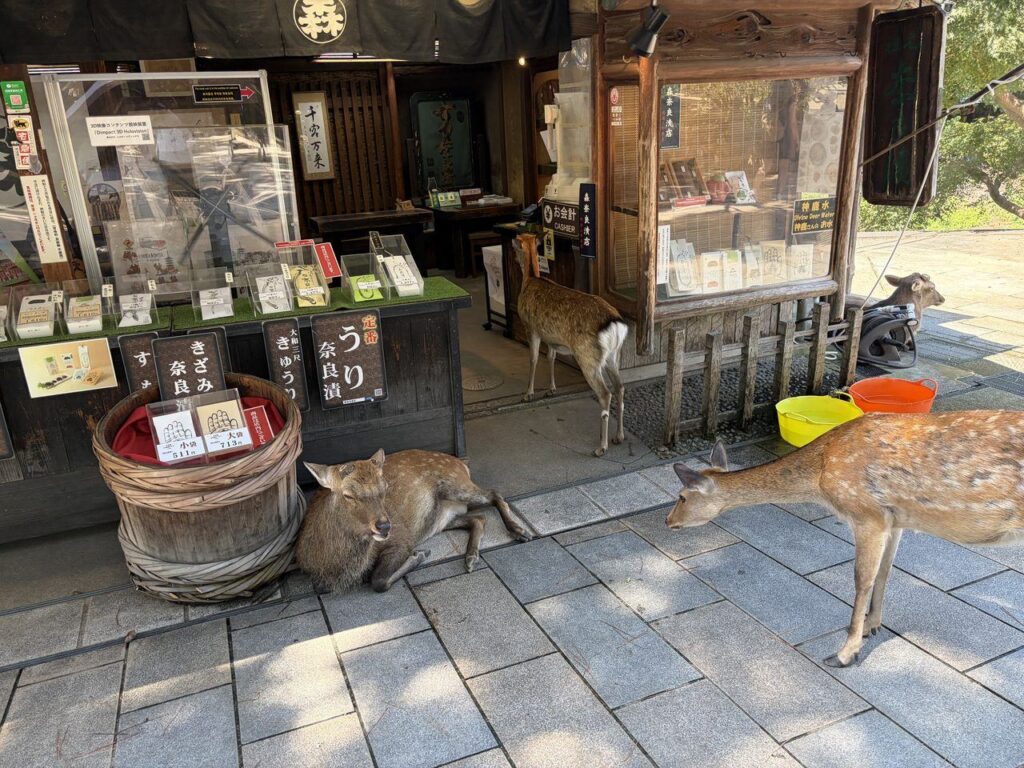
⛩️ Todai-ji With a Stroller: What Works, What Doesn’t
This is the heart of this guide. I counted every single spot where a stroller has to be lifted, because knowing beats guessing when you’re standing there with a tired child.
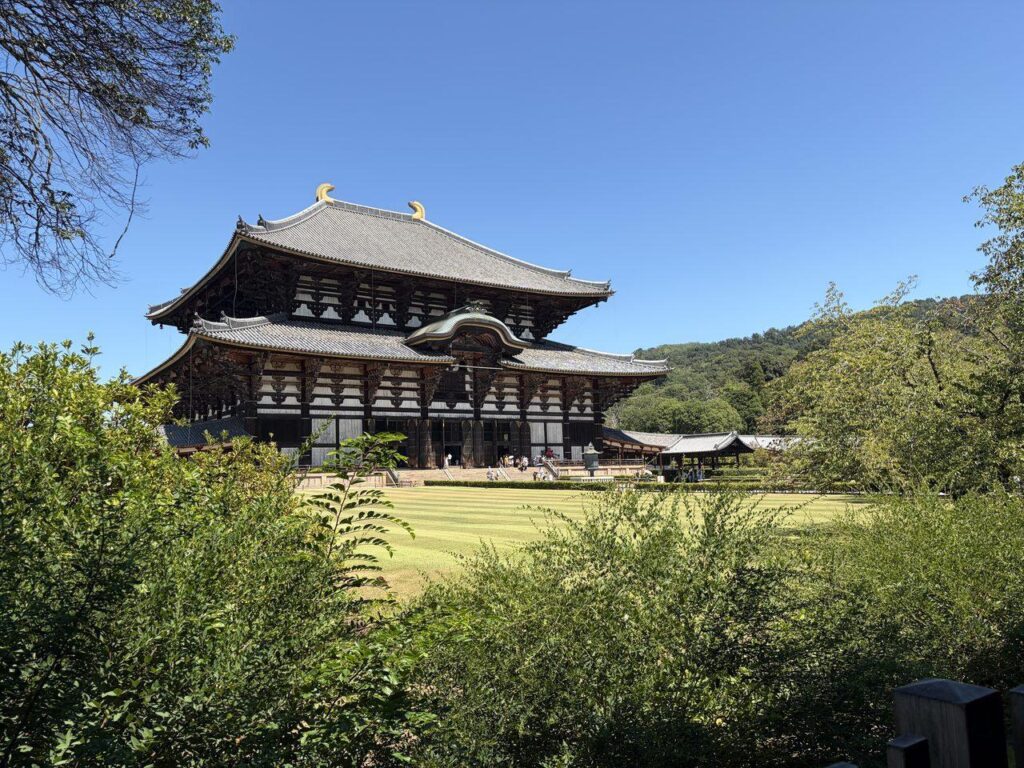
The approach is stone paving — ride the smooth center band
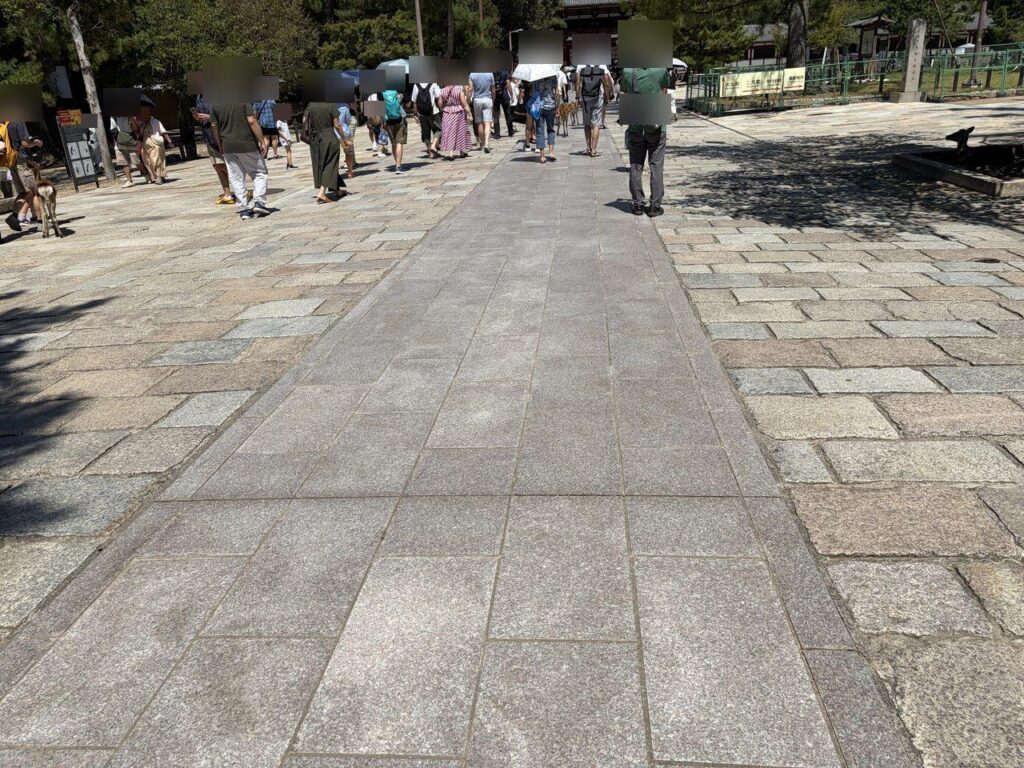
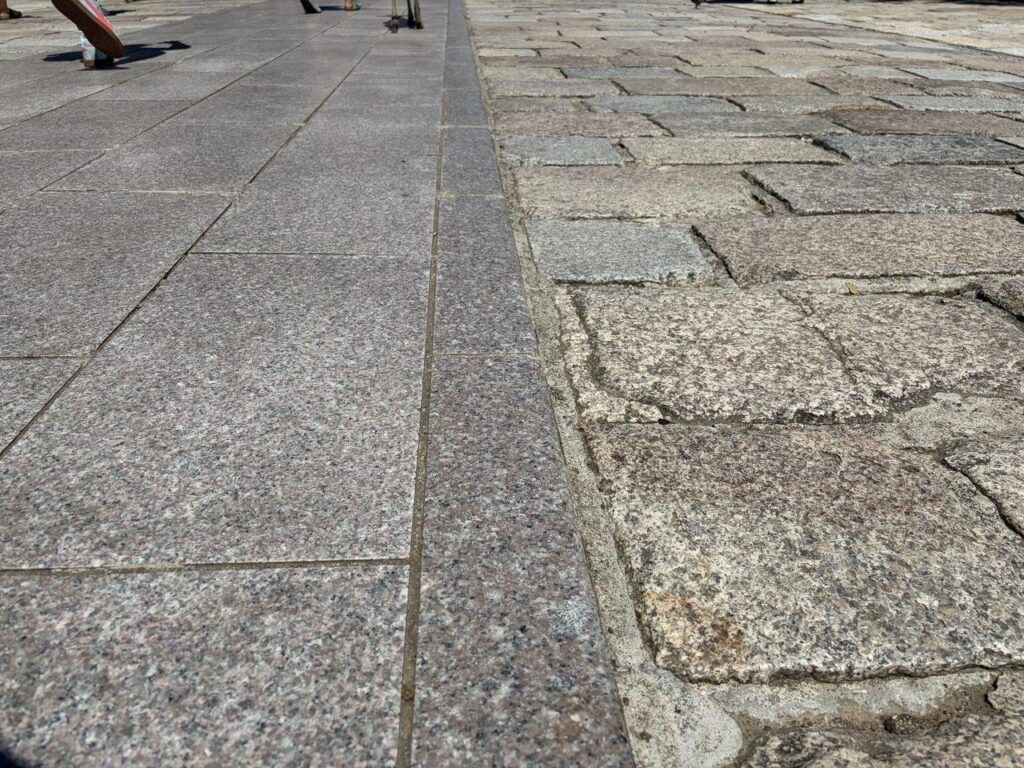
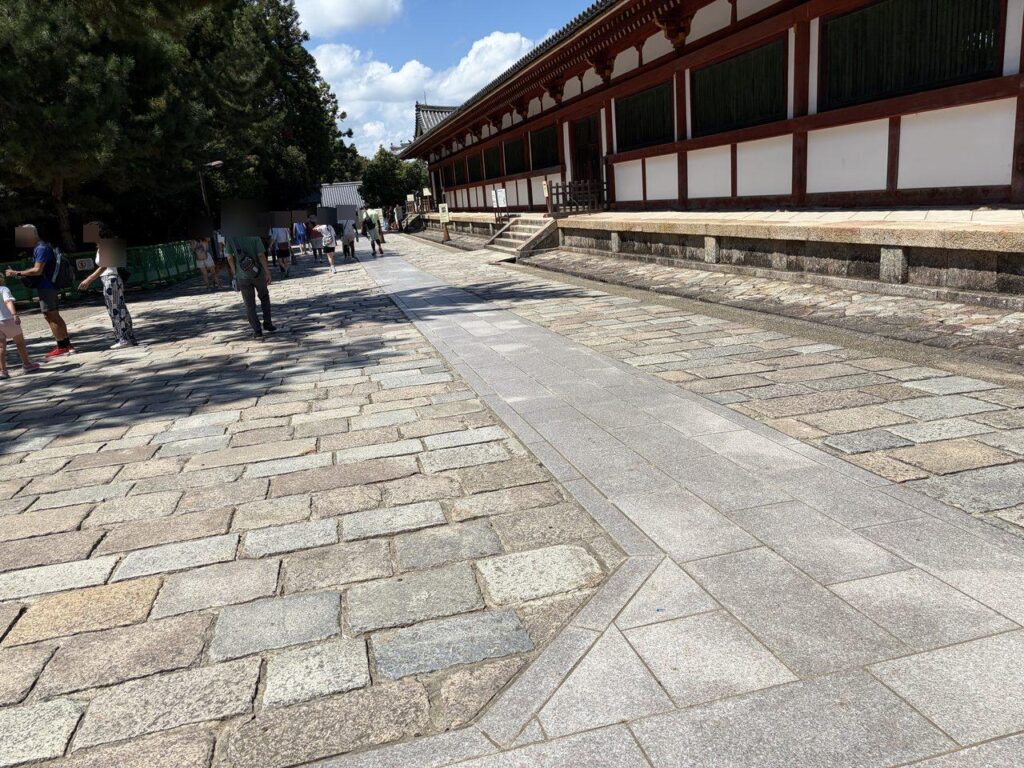
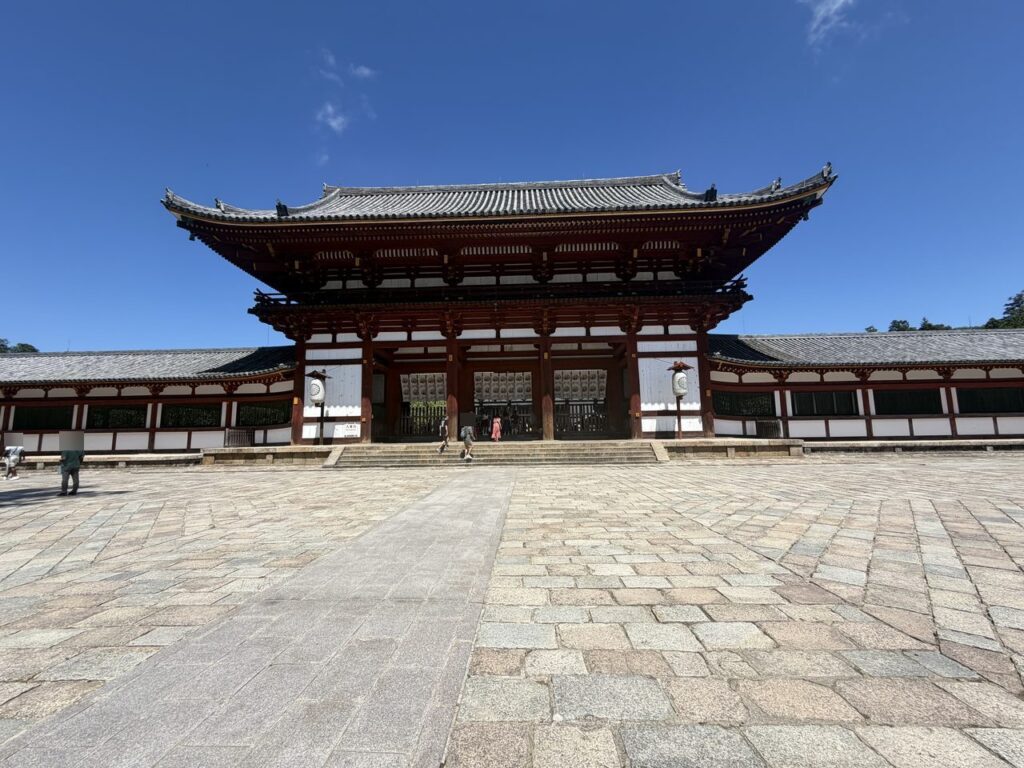
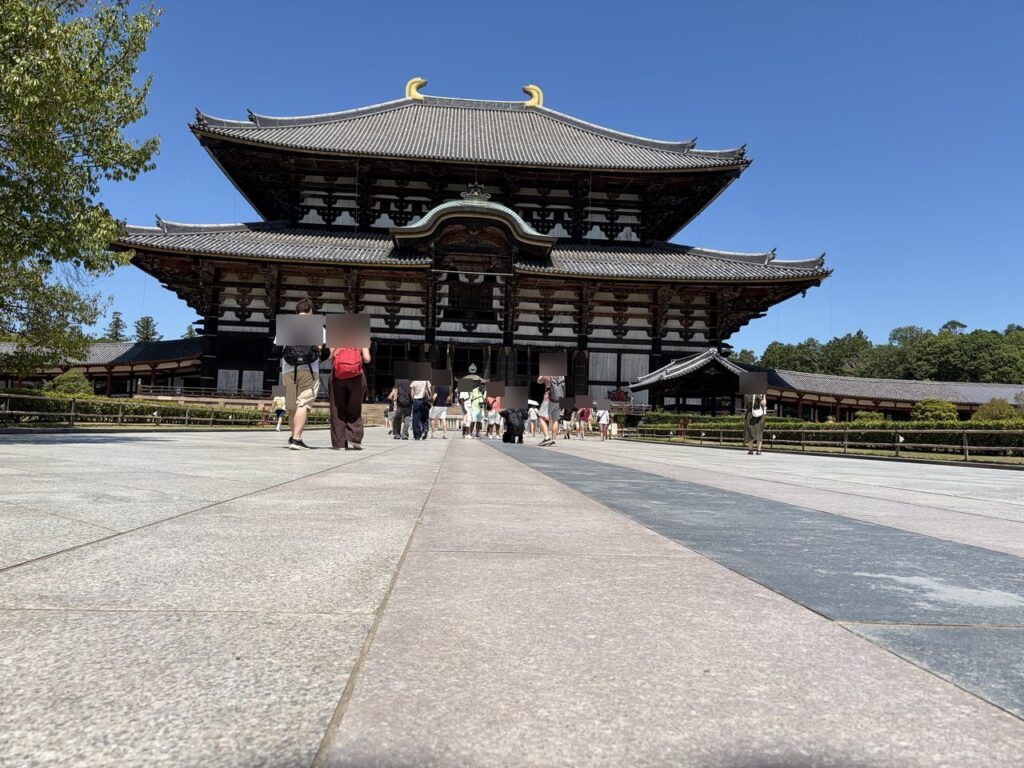
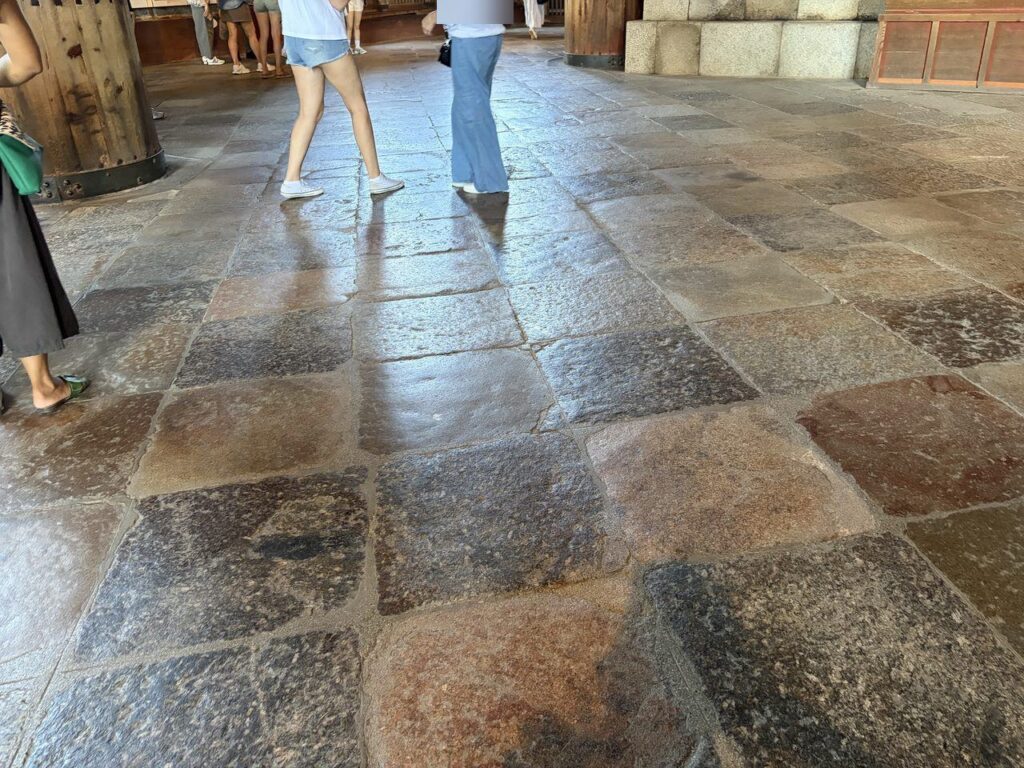
You may have read that Nara Park means “gravel.” On the route we walked, there was no gravel — it’s stone paving. The real enemy is the old, uneven stone: it rattles a stroller like a maraca. The fix is built into the path itself: a smooth, flat band runs down the middle. Stay on it and the ride is calm; the same applies after you turn left toward the entrance.
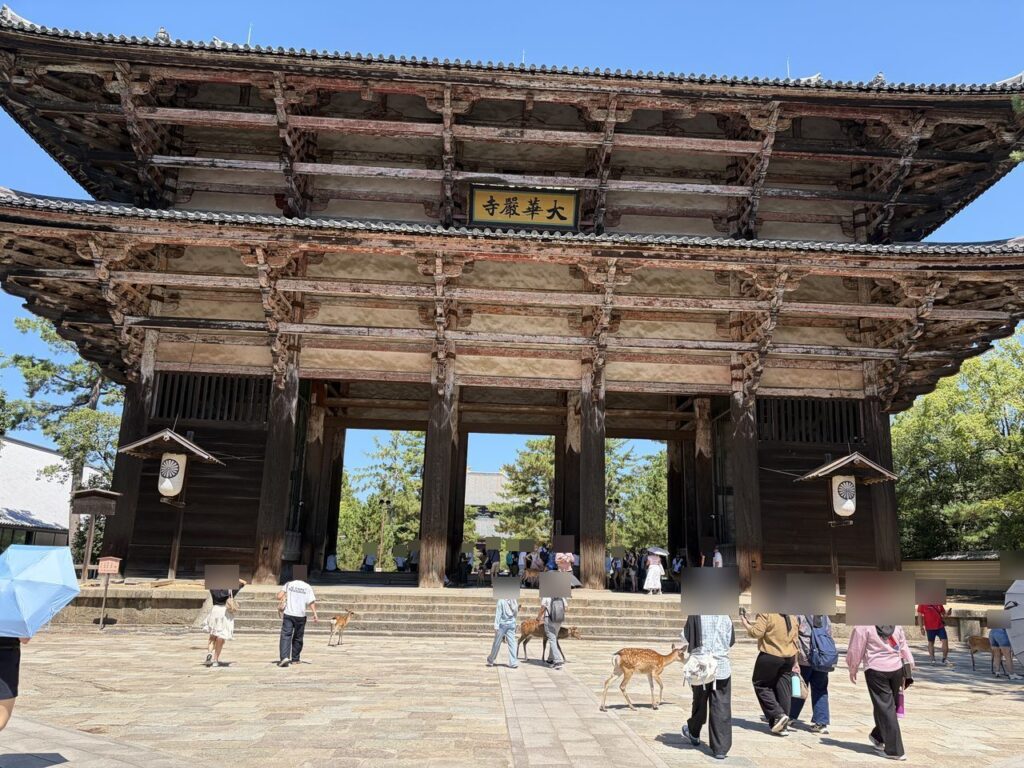
At the great Nandaimon Gate, the center has steps — but flat ground passes on both sides of the gate, so you can roll through without lifting anything.
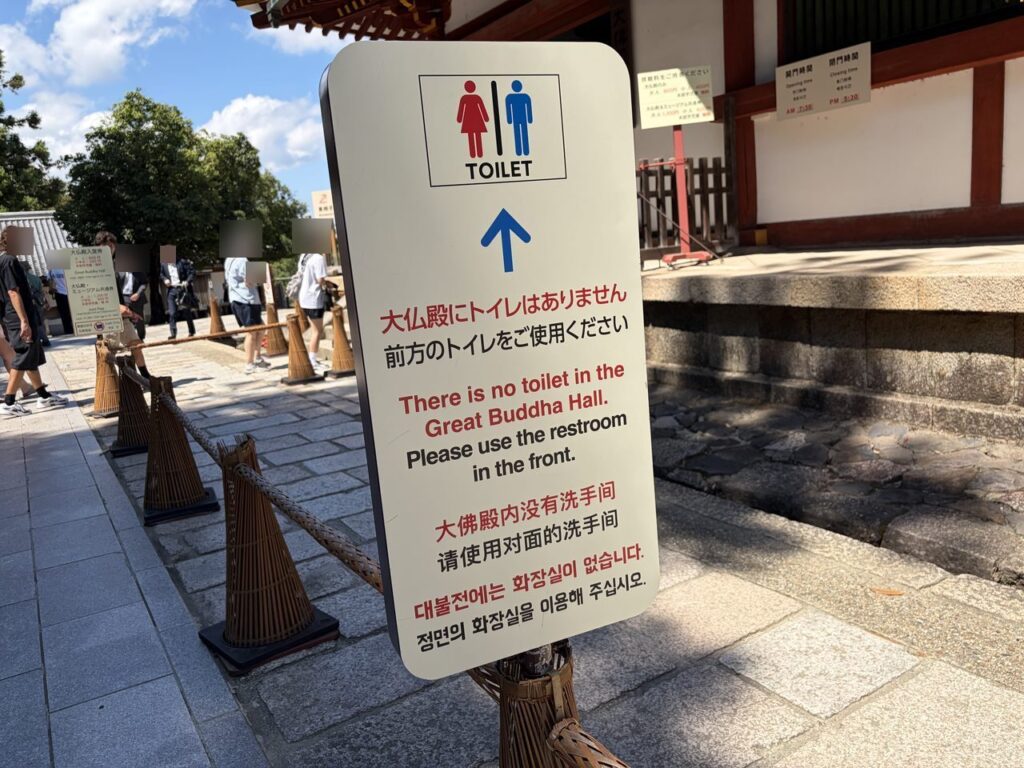
There is no restroom inside the Great Buddha Hall
The signs say it plainly, in English: no restroom inside. The restroom near the ticket booths is the one — make it a mandatory family pit stop. It includes an all-gender barrier-free stall, and the door pictogram shows a diaper table.
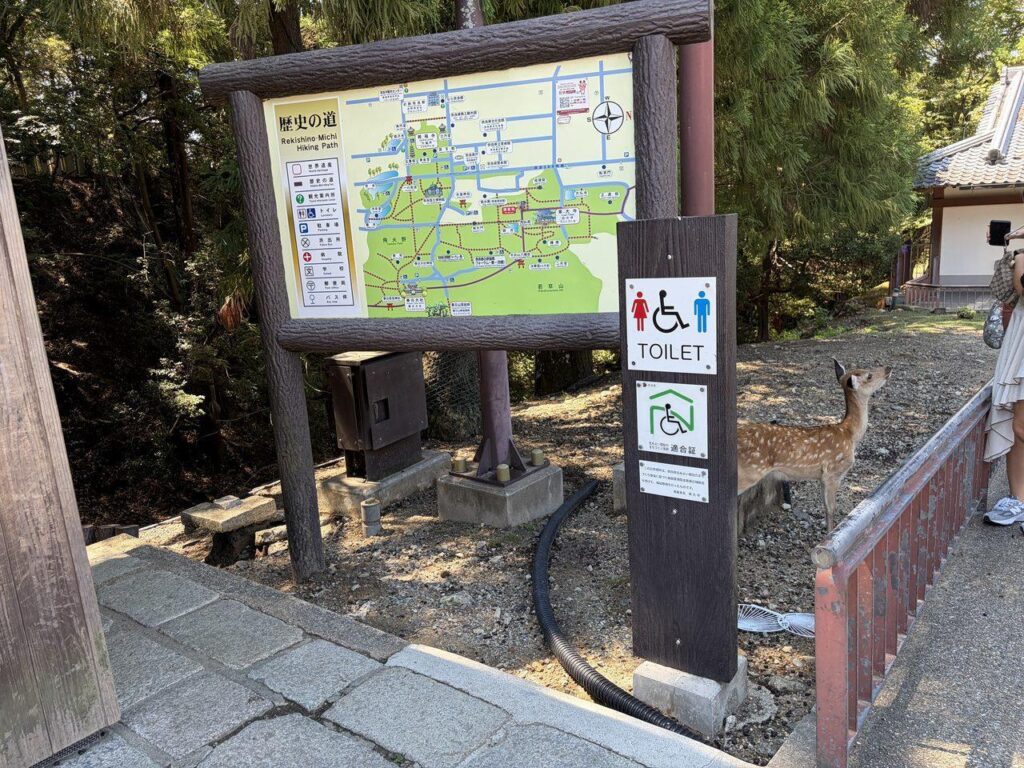
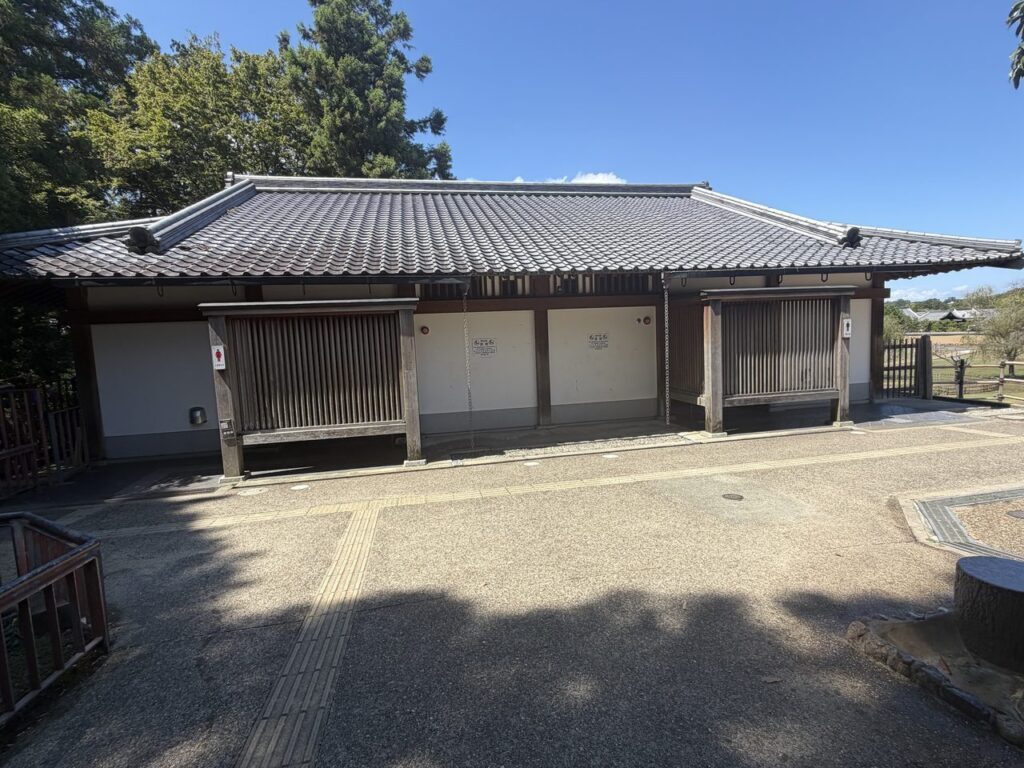
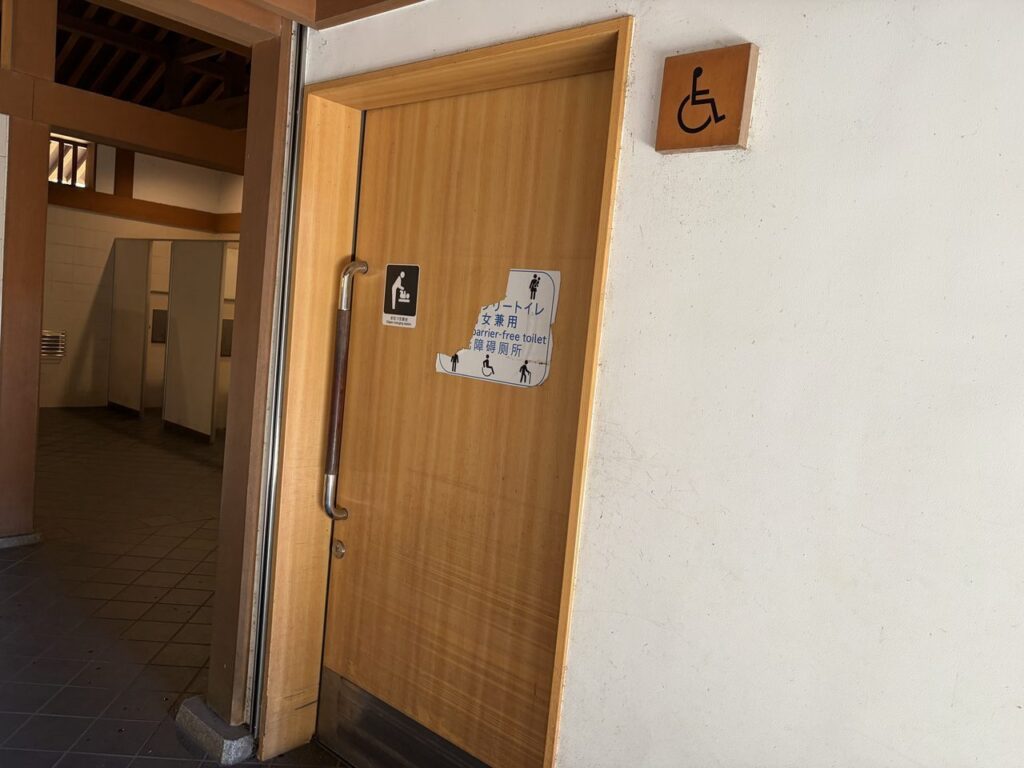
🚼 Diapers, nursing & wheelchairs at Todai-ji (from the temple’s official FAQ)
- Diaper changing table: in the multi-purpose restroom on B1 of the Todai-ji Museum
- No nursing room — but ask at the security office and they’ll lend you a room if one is free
- 4 wheelchair-accessible restrooms on the grounds
- Wheelchair loans: no reservation — ask on the day at the ticket booth or the security office by the entrance (limited number)
(As of September 2026, Todai-ji official site)
Admission is CASH ONLY — no cards, no IC, no exceptions
I asked at the window to be sure: cash only, and the official site confirms it. This is normal at Japanese temples — budget for it. The nearest easy ATMs are back at the station convenience stores (Japanese convenience-store ATMs take foreign cards).
| Age | Great Buddha Hall | Hall + Museum combo |
|---|---|---|
| Preschool (0–5) | Free | Free |
| Elementary (6–12) | ¥400 | ¥600 |
| Age 13 and up | ¥800 (about US$5) | ¥1,200 |
Hours: 7:30–17:30 (Apr–Oct), 8:00–17:00 (Nov–Mar). Prices photographed from the on-site board on September 1, 2026.
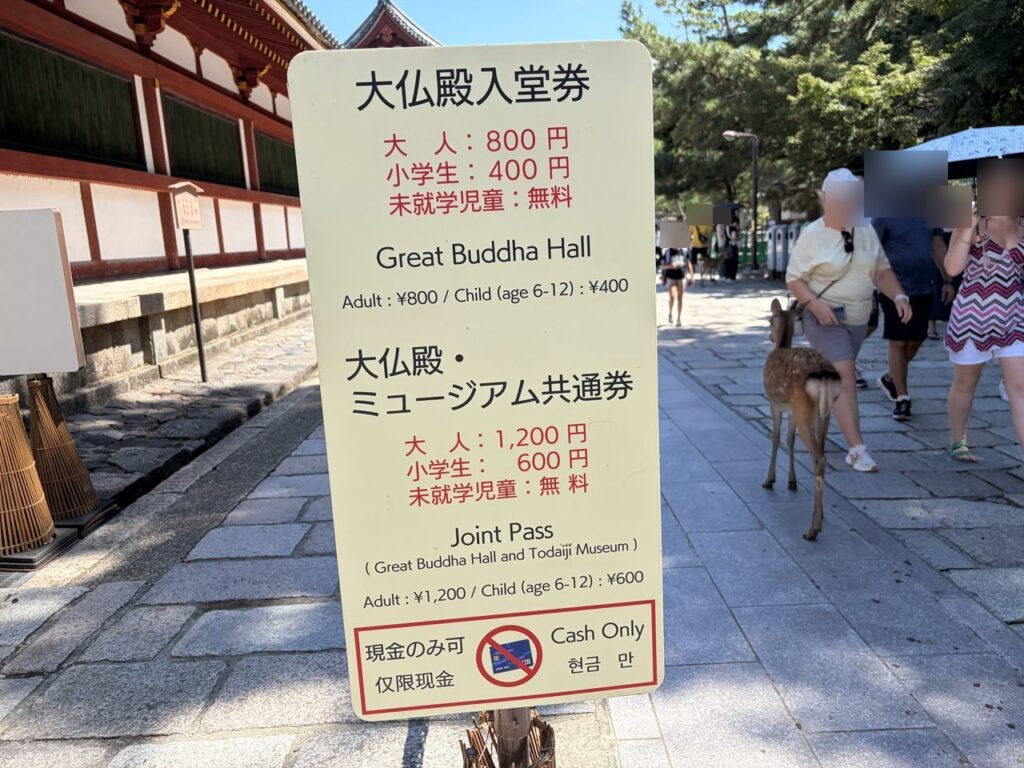
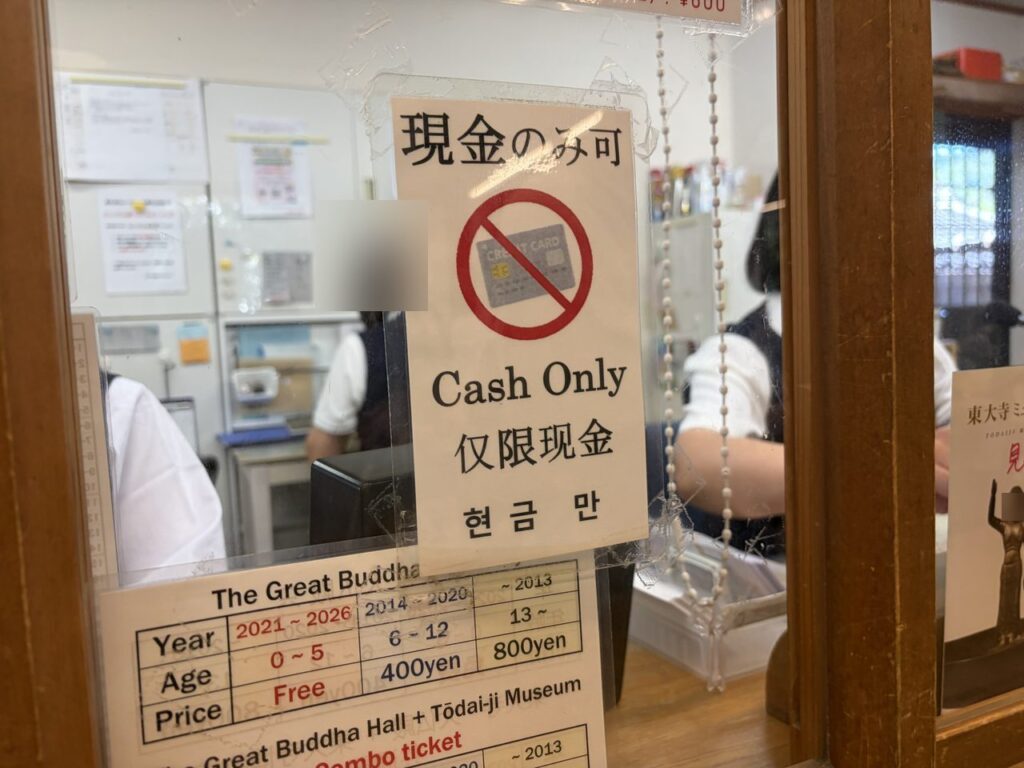
⚠️ It’s not just admission that wants cash
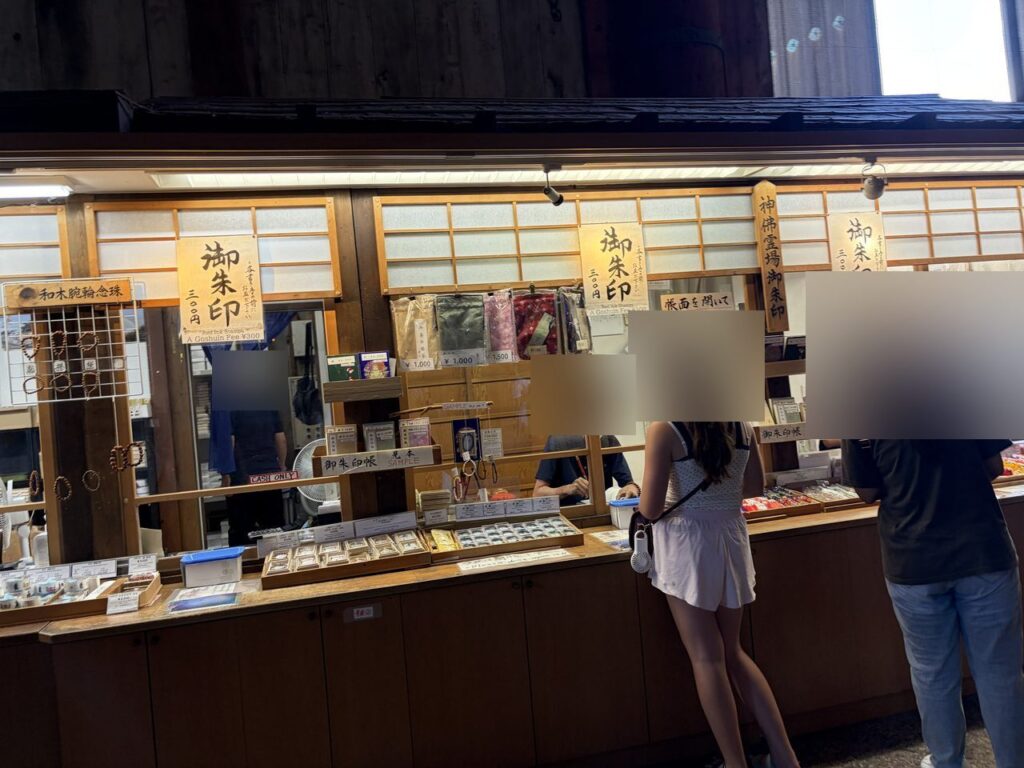
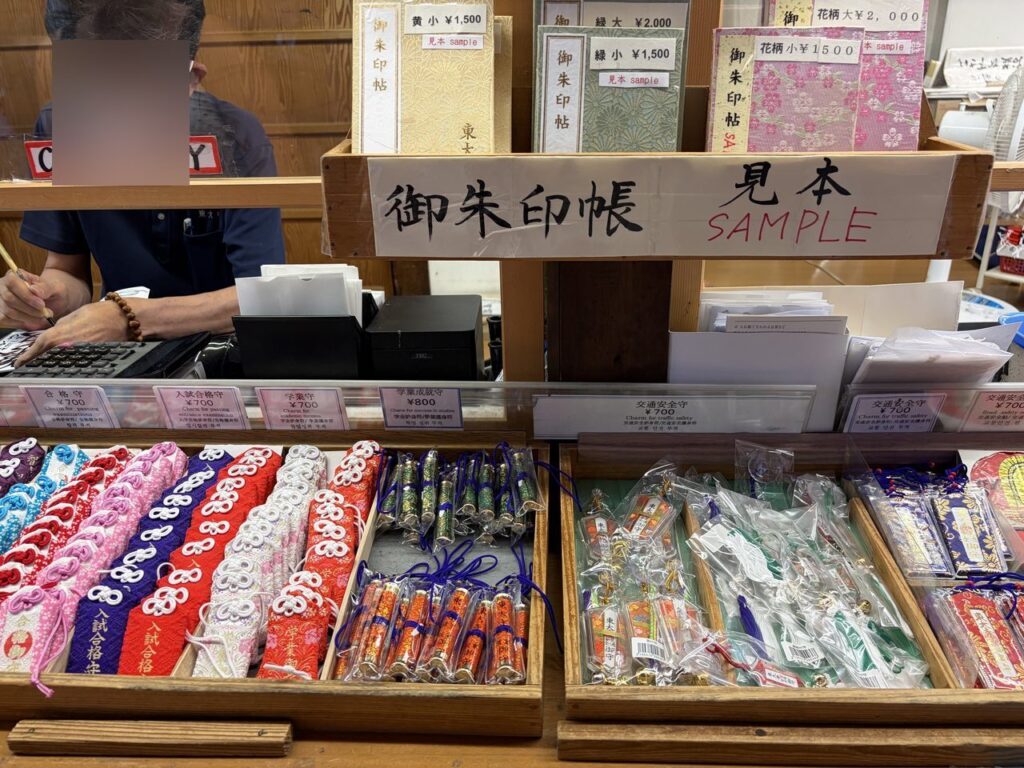
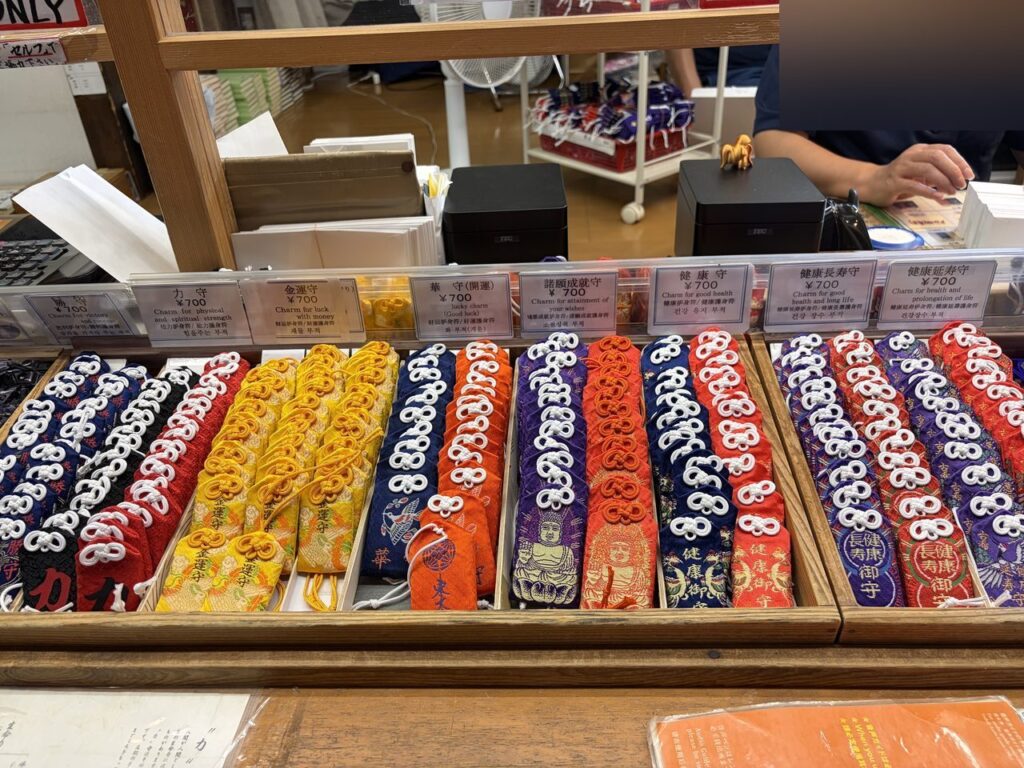
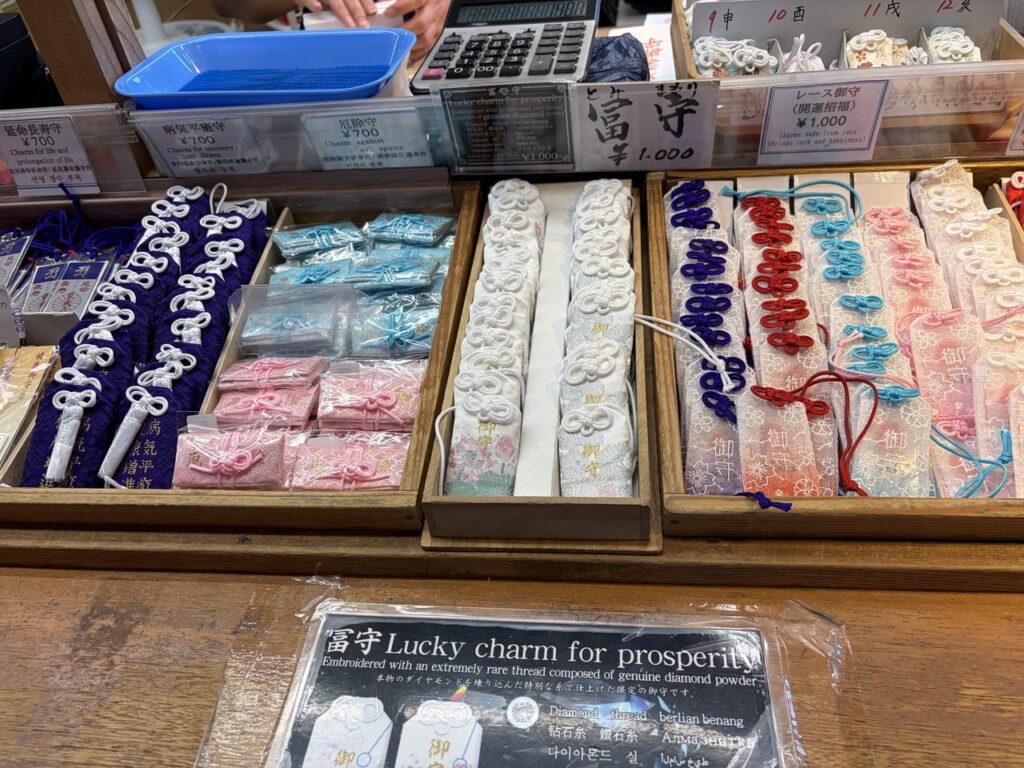
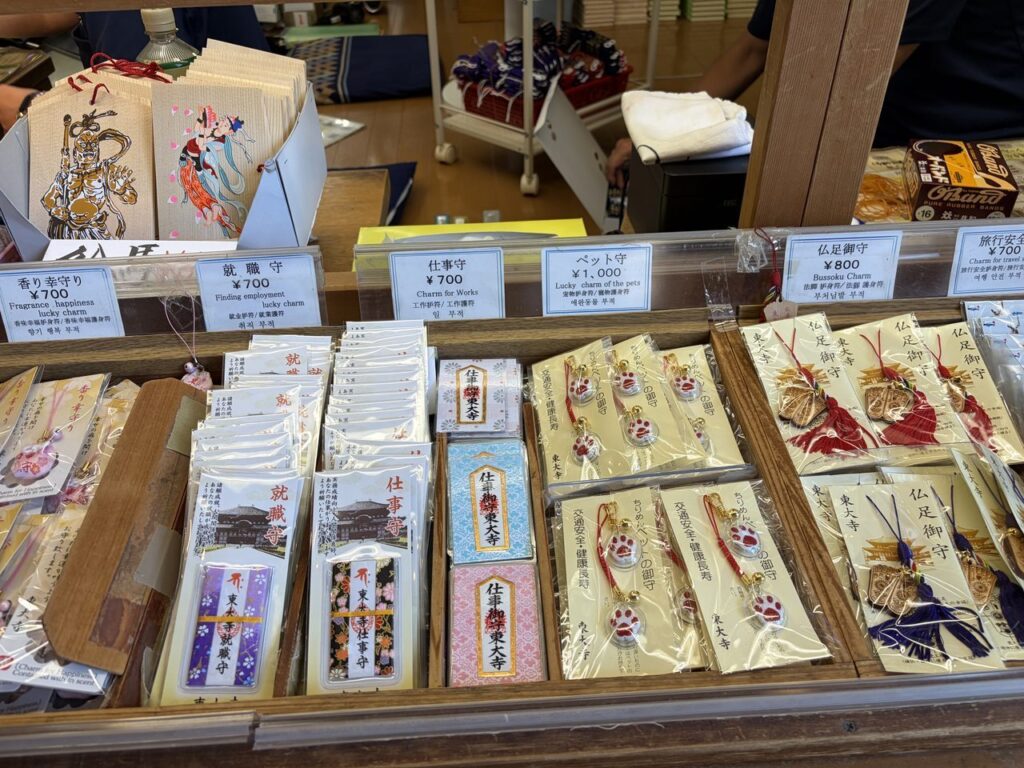
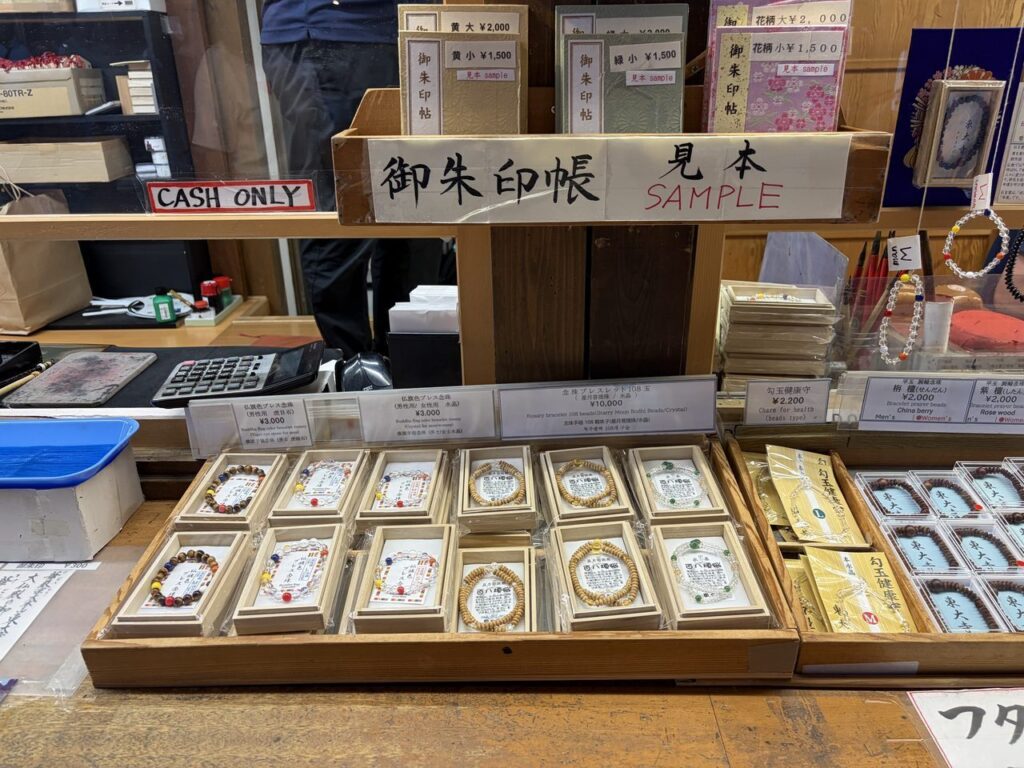
The souvenir medals, the omamori amulets, the goshuin stamps — everything we checked inside was cash only. Withdraw more than you think you’ll need before walking to the park.
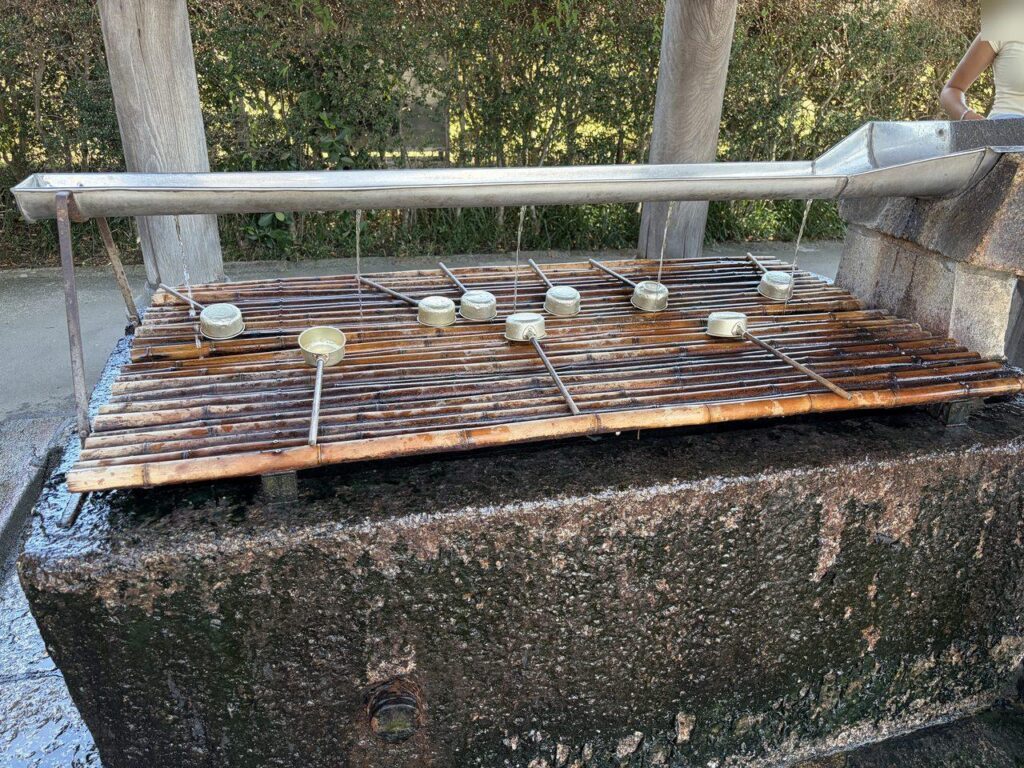
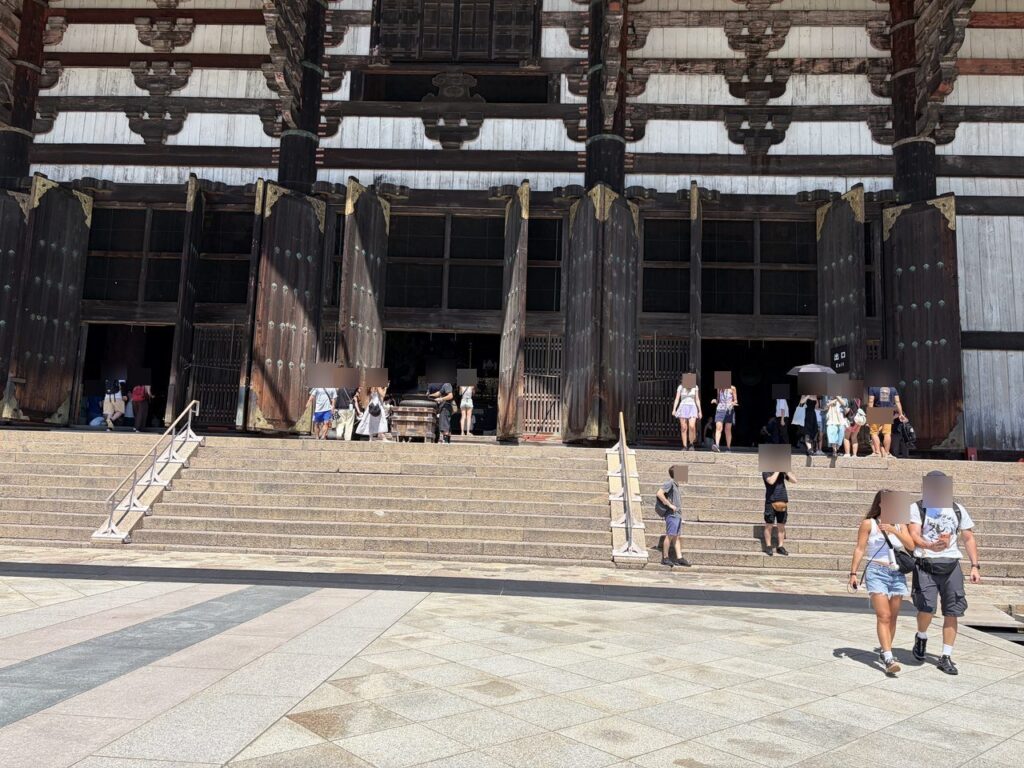
The steps, counted: 6 step points, 5 stroller lifts
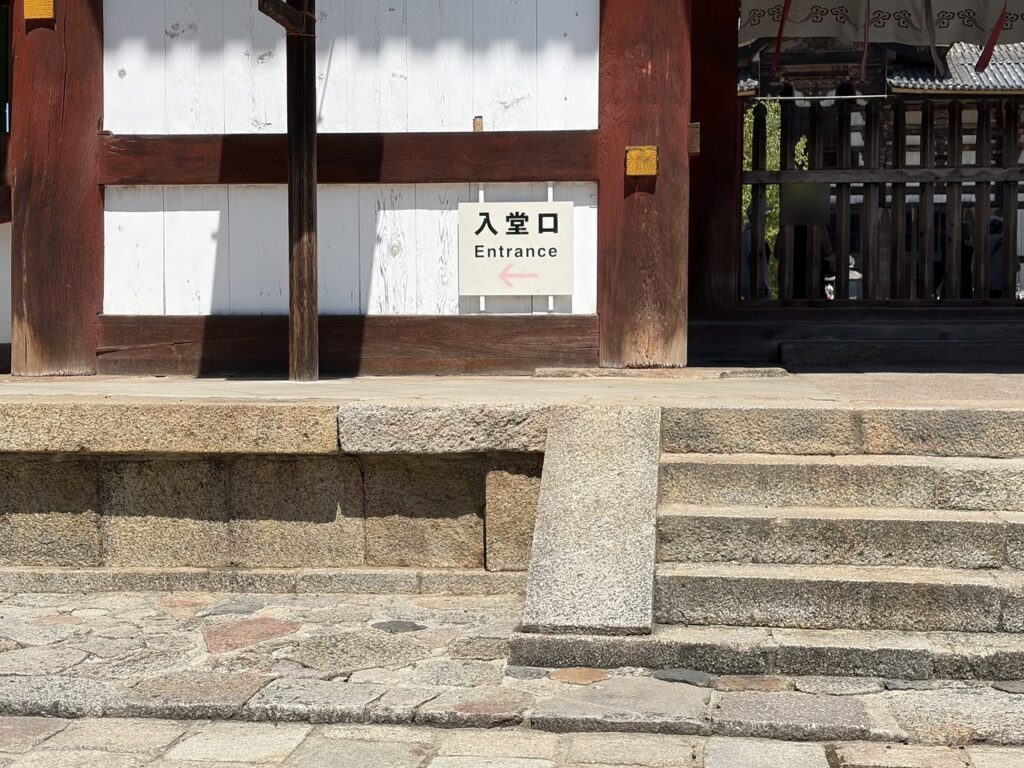
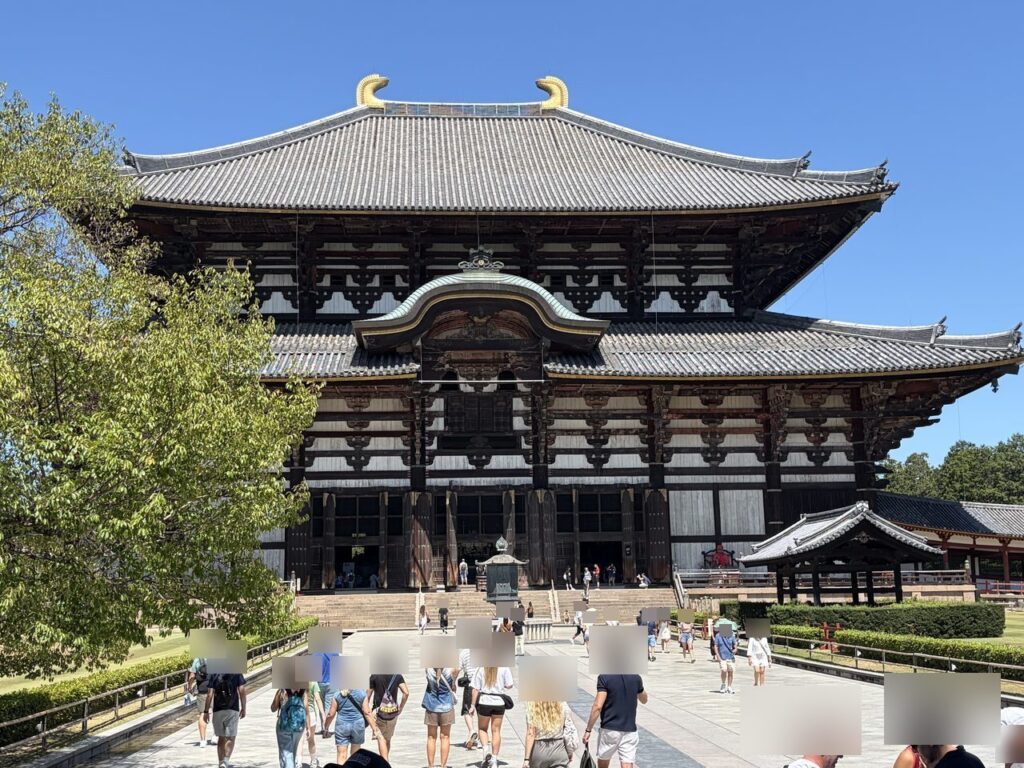
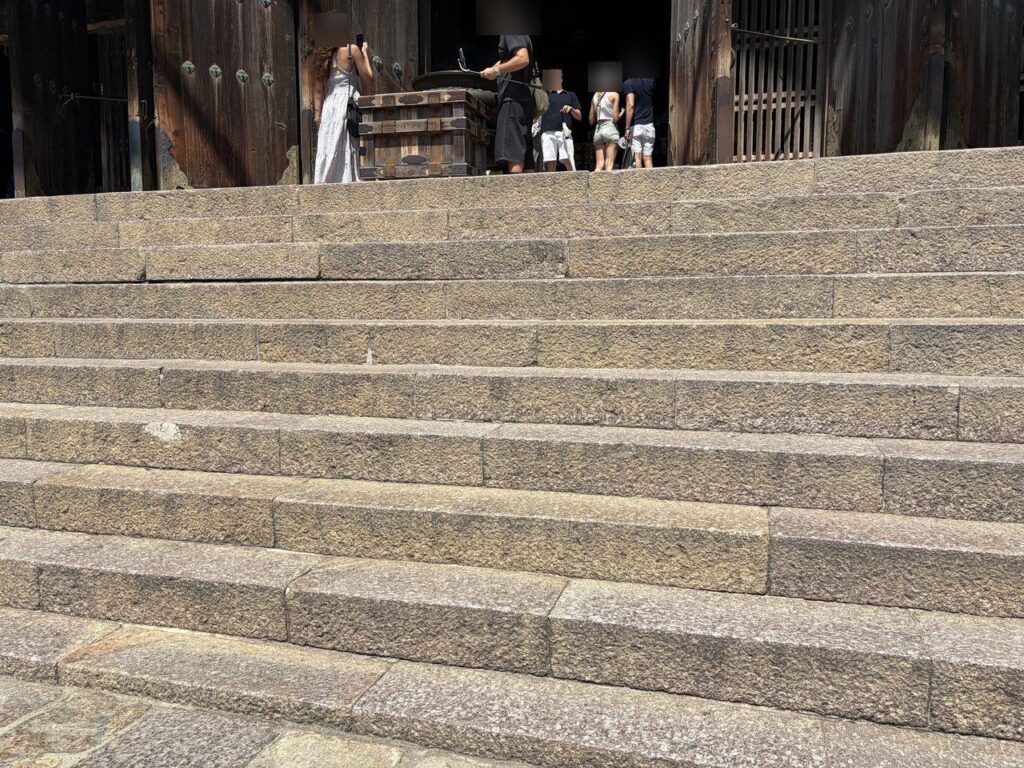
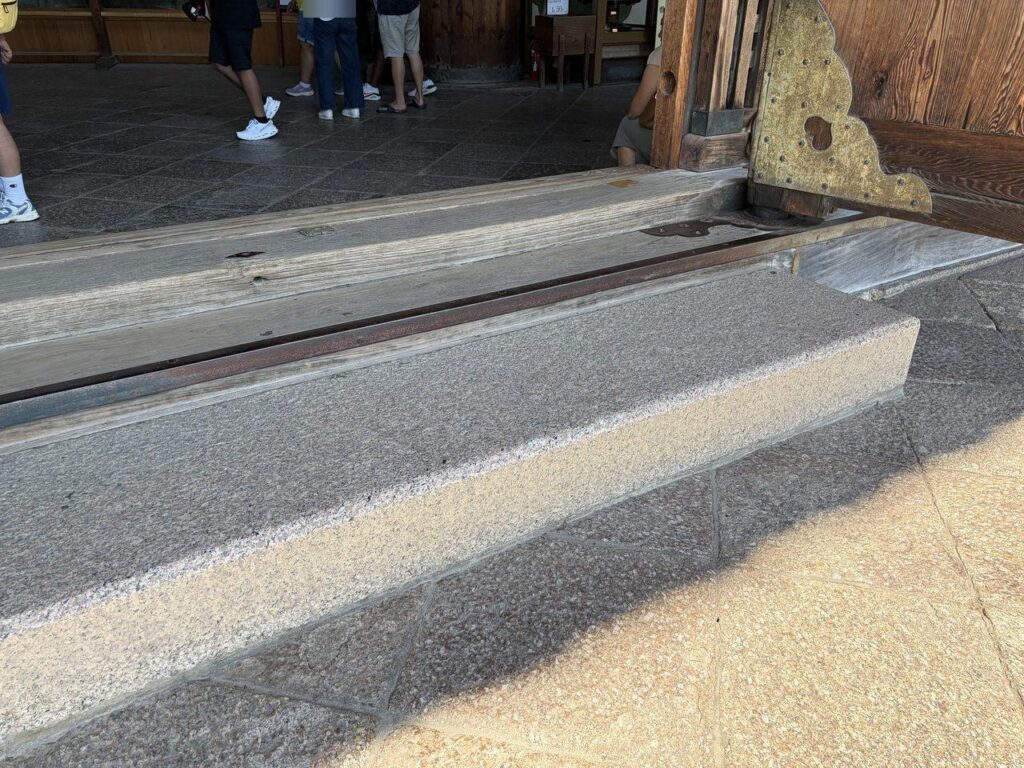
Here’s the part I most wanted to bring home. There is no fully step-free route from the approach into the Great Buddha Hall. These are the six step points, in order:
| Spot | What’s there | Stroller |
|---|---|---|
| ① Nandaimon Gate | Steps in the center | No lift needed — pass on either side |
| Gate → ticket booths | Flat stone paving | Push on the center band |
| ② Ticket-booth entrance | Steps | Lift |
| ③ Down into the courtyard | 3–4 steps | Lift |
| Courtyard → base of the Hall | Flat | Push freely |
| ④ The Hall’s front staircase | Wide stone stairs | Lift (the big one) |
| ⑤ Entering the Hall | Small step + threshold | Lift (small) |
| Inside the Hall | Step-free | Roll the whole loop |
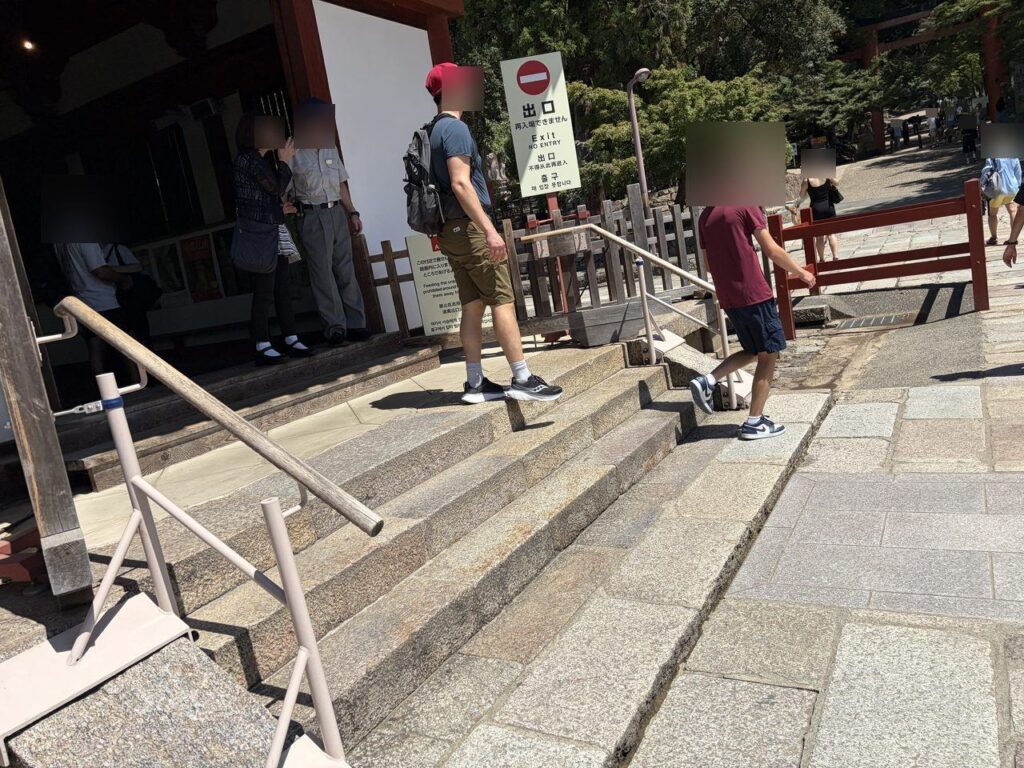
| ⑥ Exiting the Hall | Same as the entrance | Lift |
So: six step points, five actual lifts (① has the side pass). The heavyweight is ④ — the Hall’s front staircase. And don’t forget ⑥ on the way out; it surprises everyone. A Japanese family we chatted with, mid-lift, summed it up perfectly: “You carry it at the stairs — everything else, even inside the Hall, is fine with a stroller.”
⚠️ Two adults make this comfortable
With lifts required, the easy setup is one adult for the stroller, one for the child. Flying solo? Bring a baby carrier as backup and wear the baby for the temple leg.
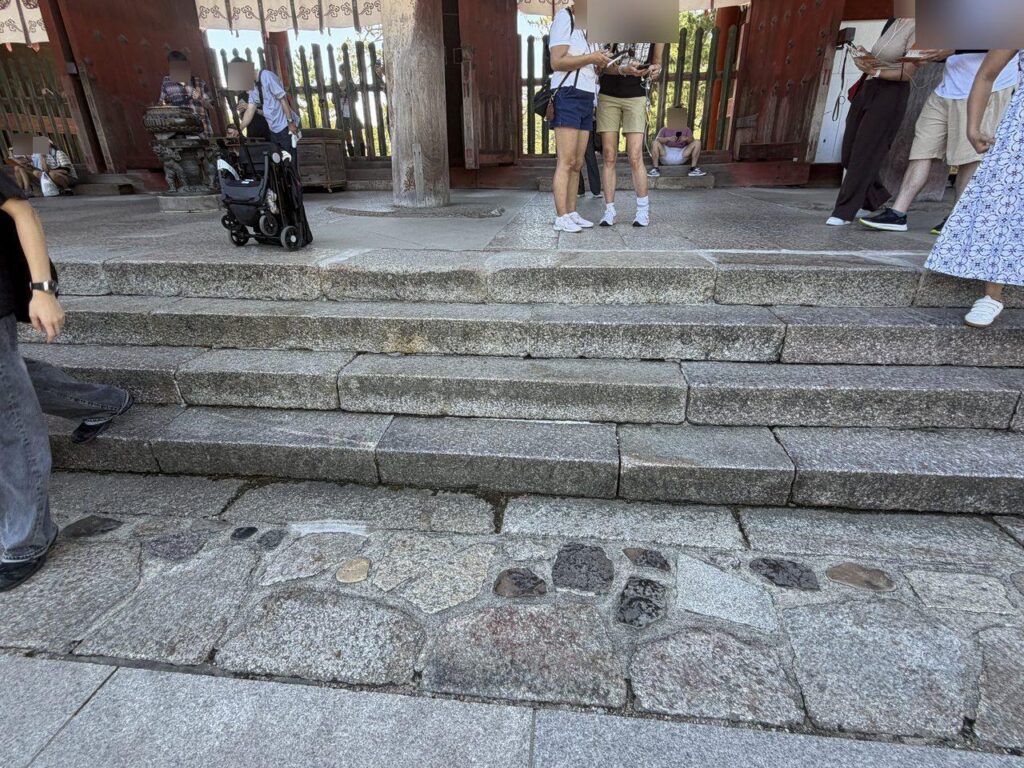
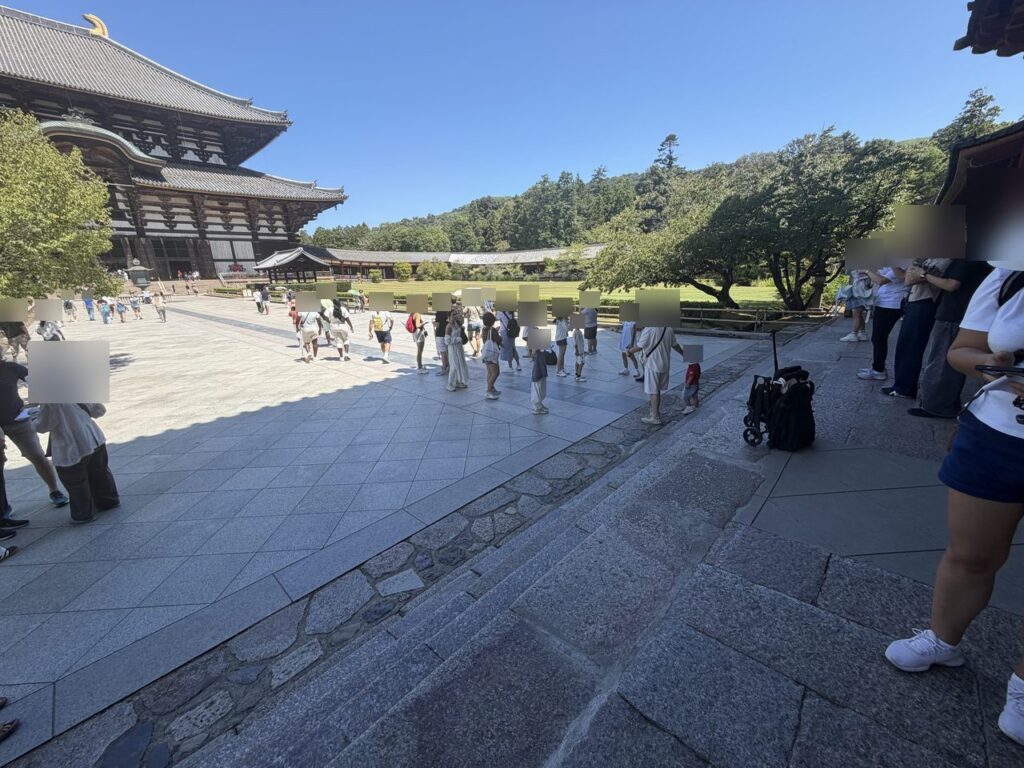
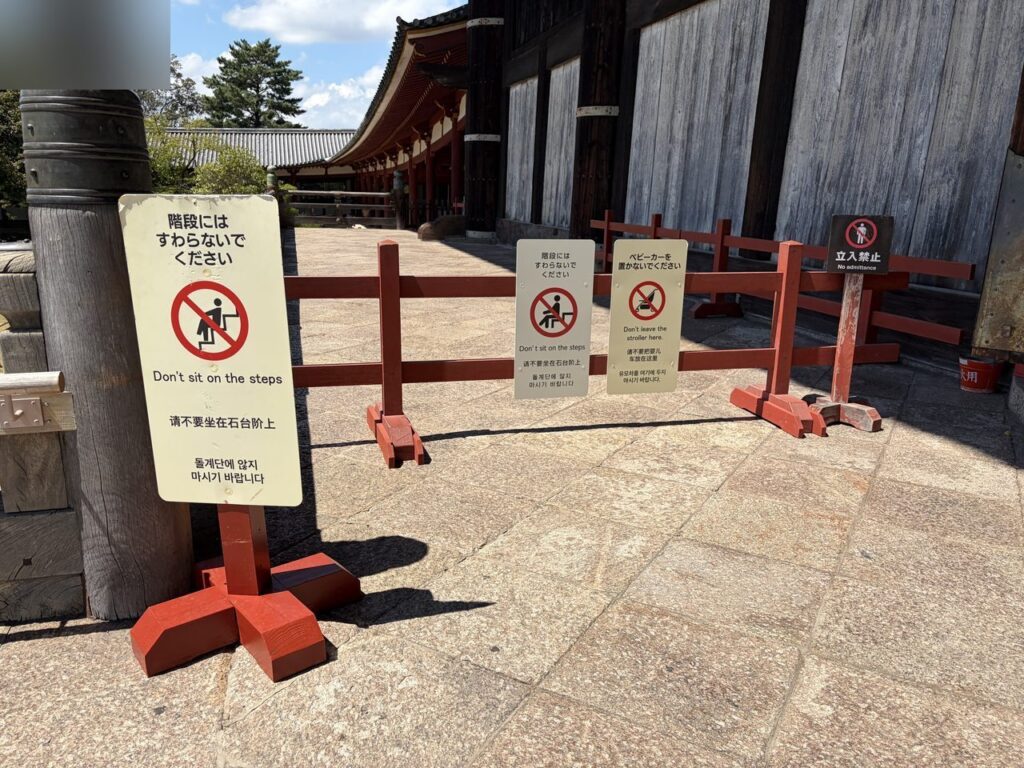
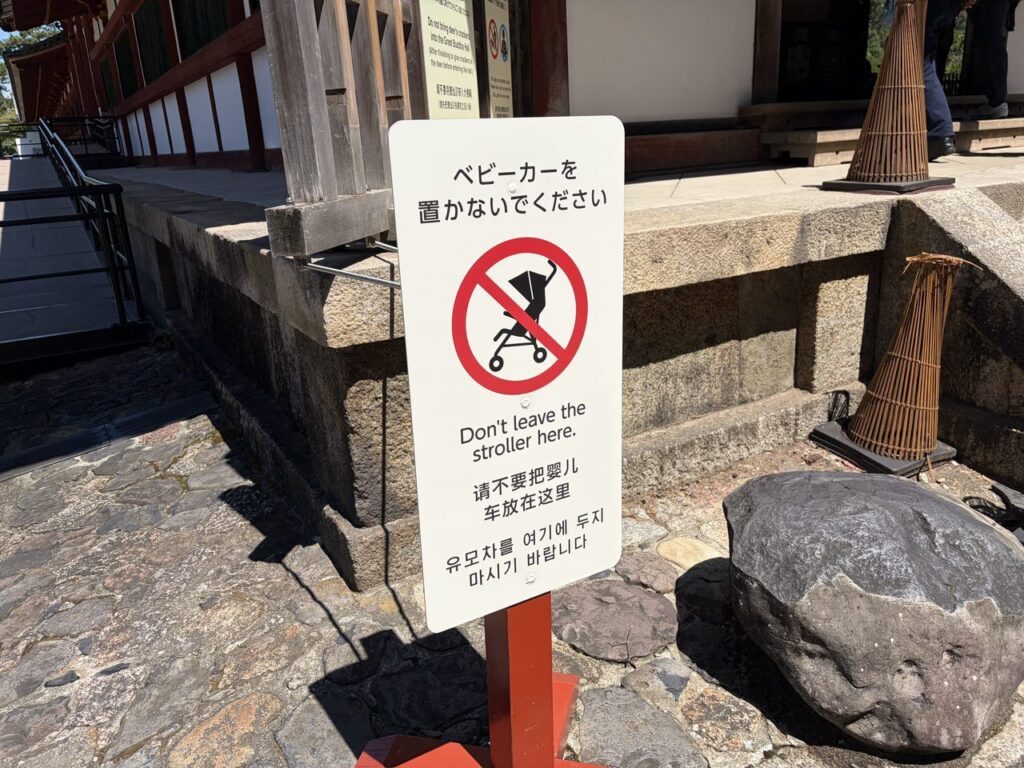
⚠️ You cannot park the stroller at the bottom of the stairs
Multilingual signs stand at every staircase: “Don’t leave the stroller here.” The plan of “leave it below, carry the baby up” is off the table — fold it and bring it along.
♿ Officially, there IS a wheelchair route — read the fine print
Todai-ji’s official grounds map (a PDF on their site) draws a purple “wheelchair-accessible route” from the parking/taxi area along the west corridor to the ticket entrance. Honest reading: that line stops before the Hall’s staircase — nothing official says there’s a ramp up the stairs, and nothing official addresses strollers on this route.
Want certainty for your situation? Ask on the day at the security office or ticket booth — wheelchair loans are handled there too.
Inside the Hall: what kids actually love
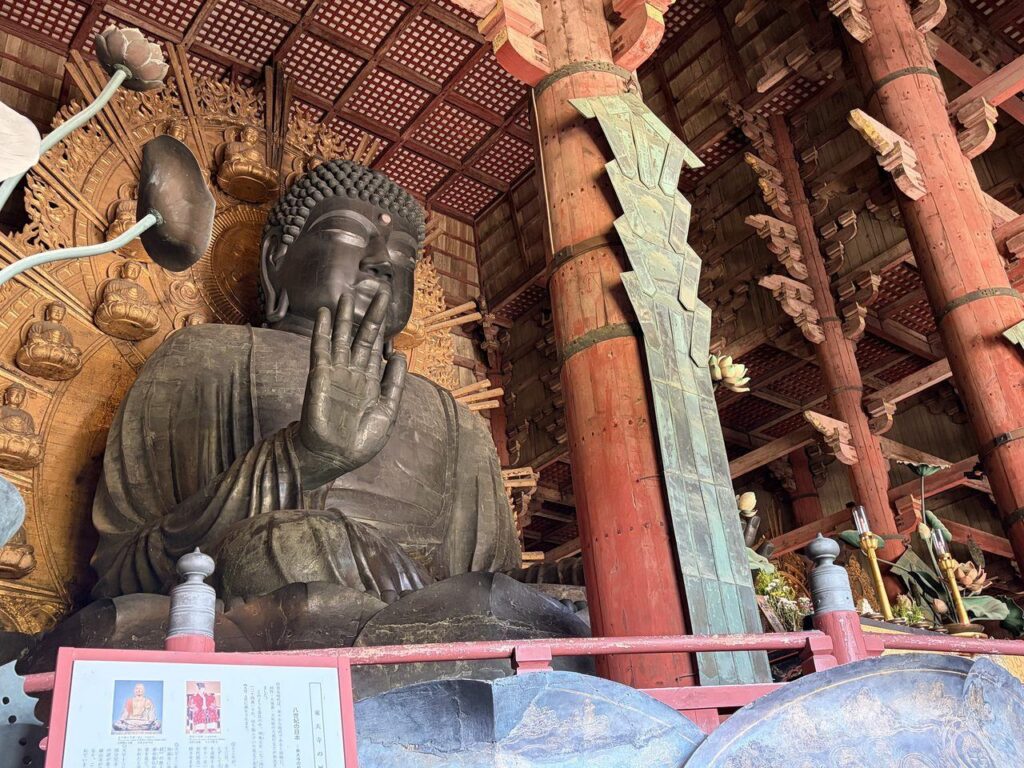
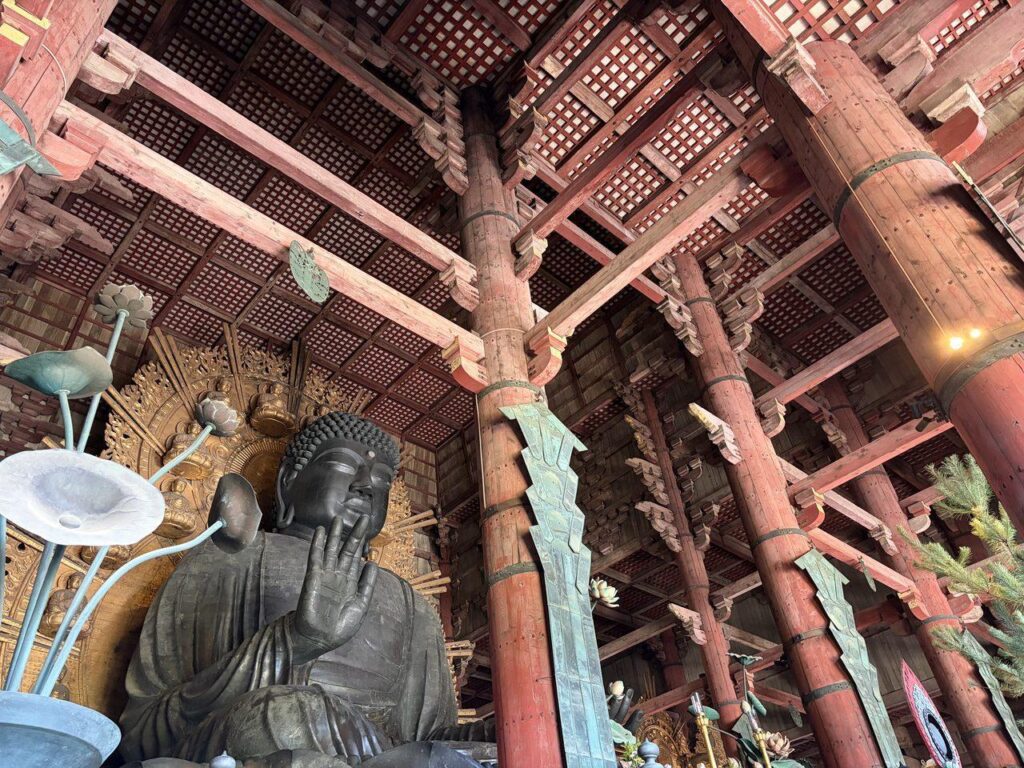
- The Great Buddha — 15 meters of bronze, immediately in front of you. The looking-up angle is the whole show
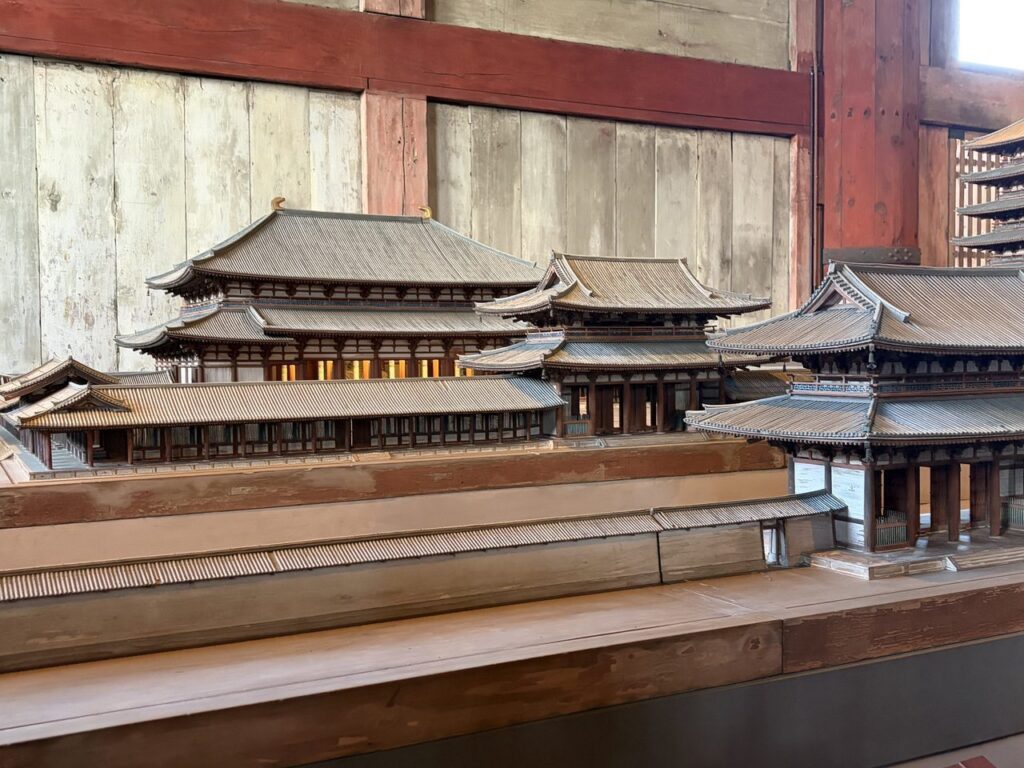
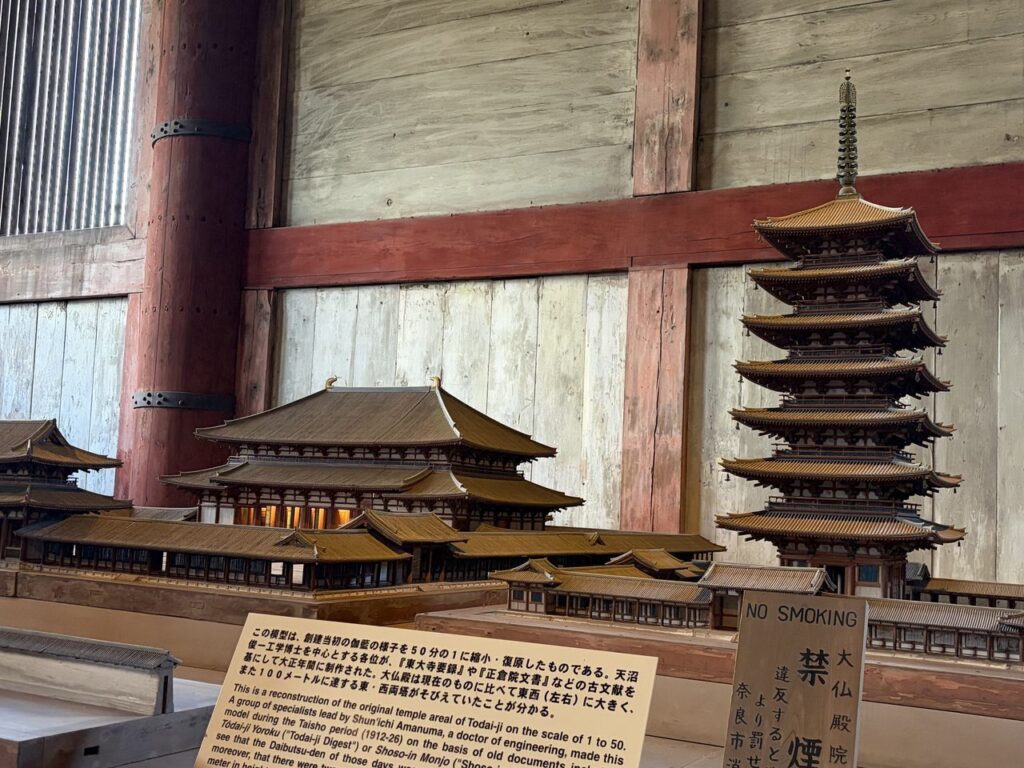
- The temple scale model — kids like this far more than you’d guess; it makes the giant hall suddenly make sense
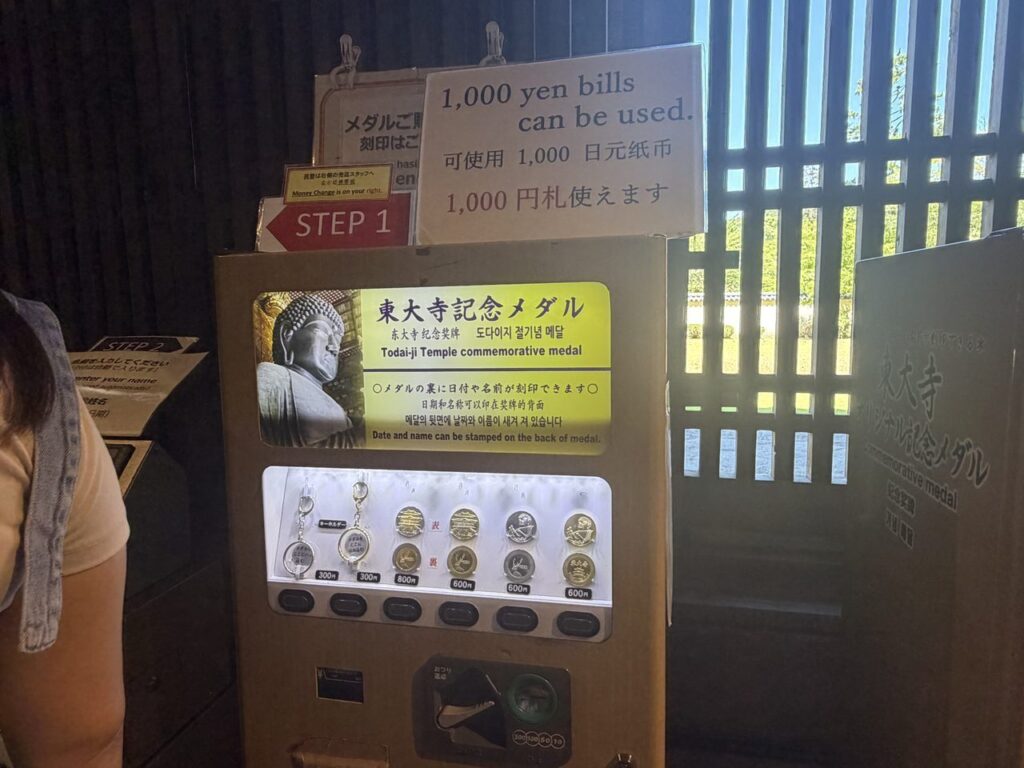
- Souvenir medal machine — takes ¥1,000 bills
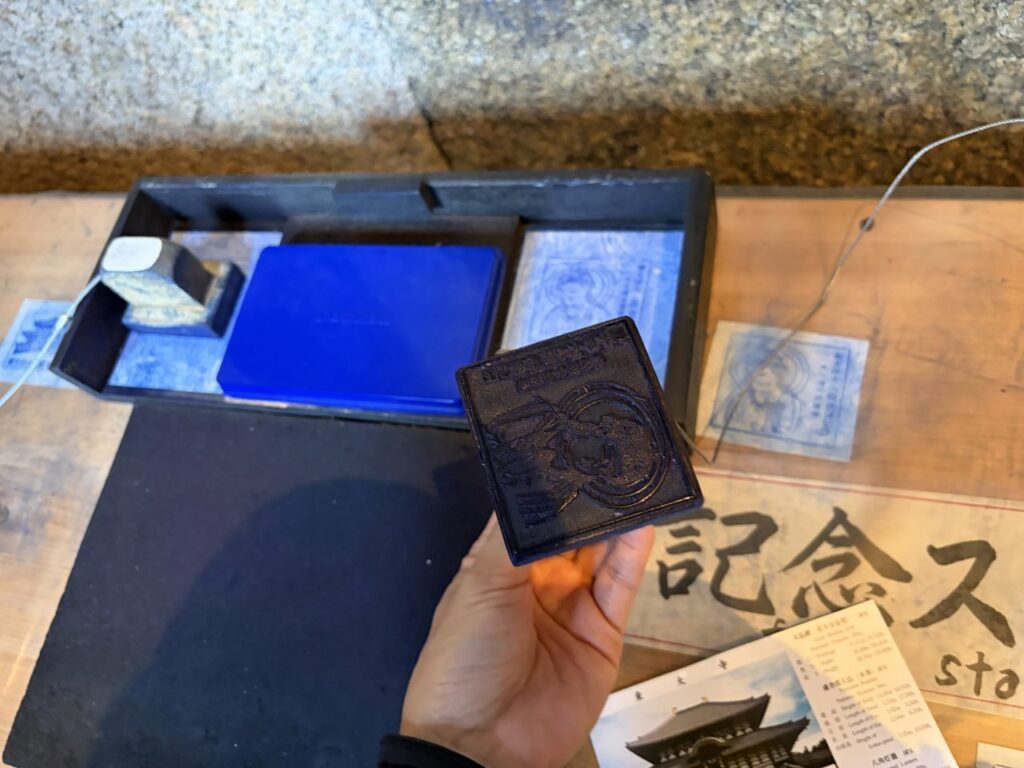
- The free commemorative stamp — bring a little notebook; stamp-collecting works at almost every sight in Japan
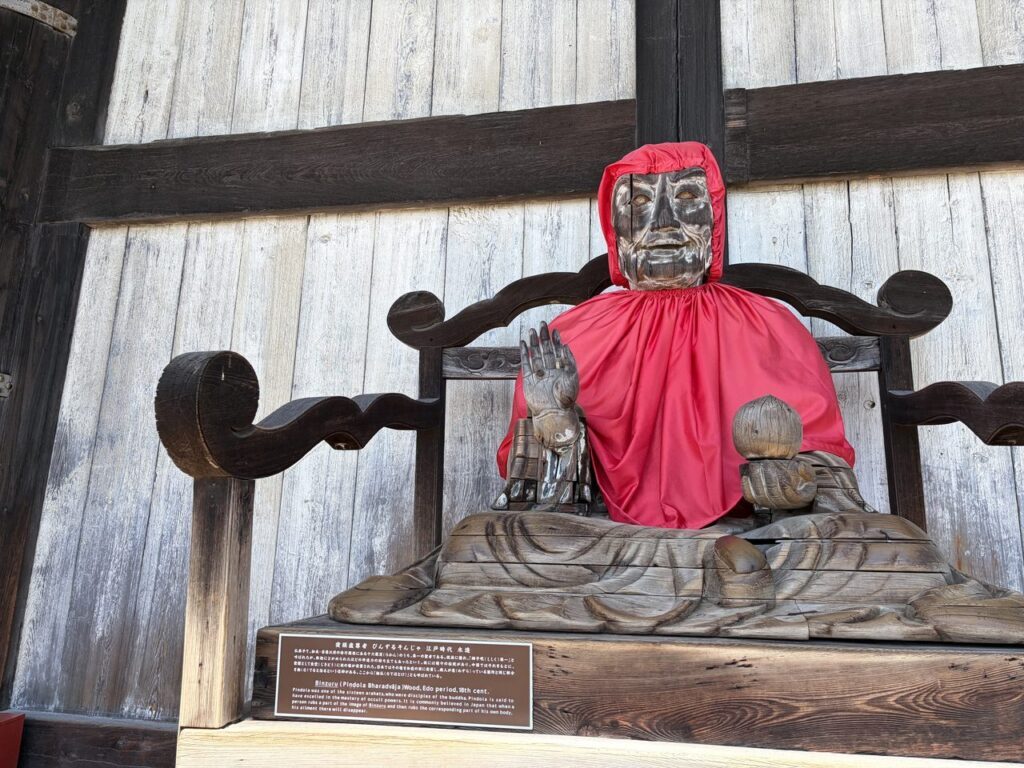
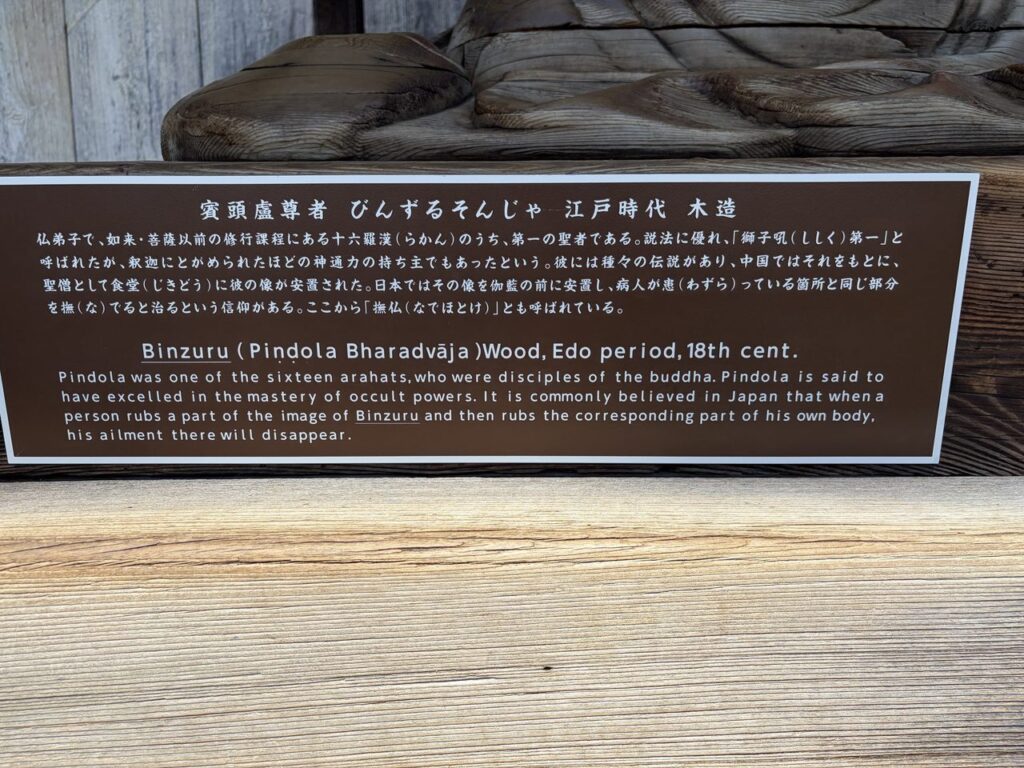
- Binzuru, the healing statue — rub the spot that hurts on you. He’s so big that even I (156 cm) could only reach his feet
The pillar crawl: adults fit better than you think
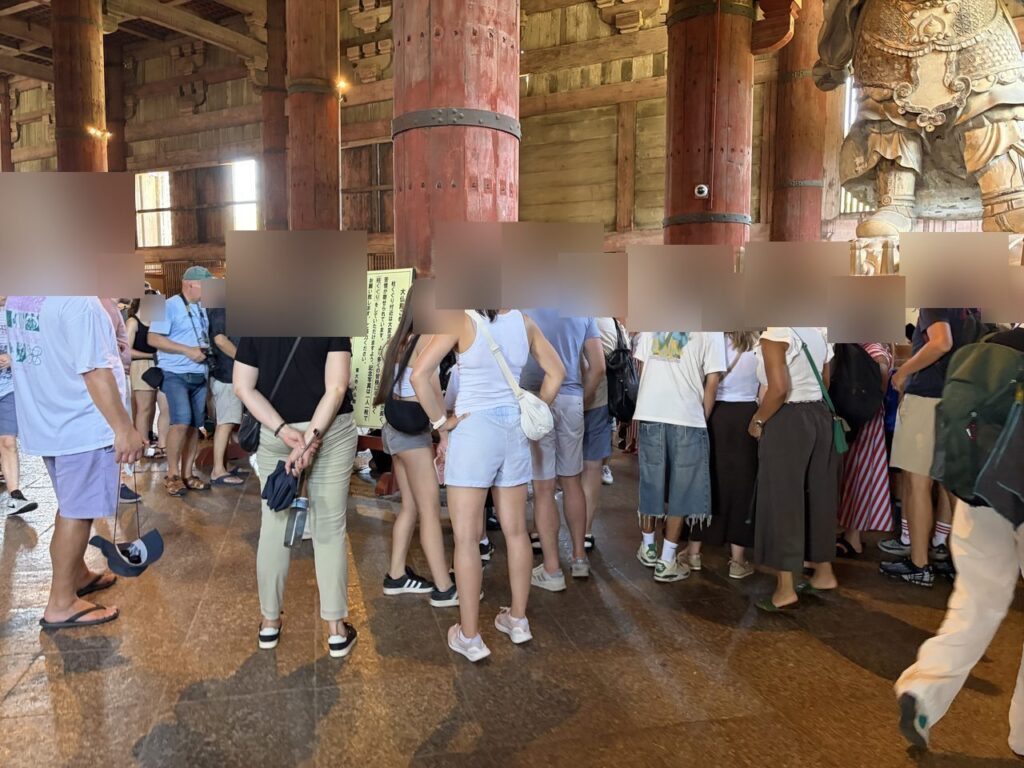
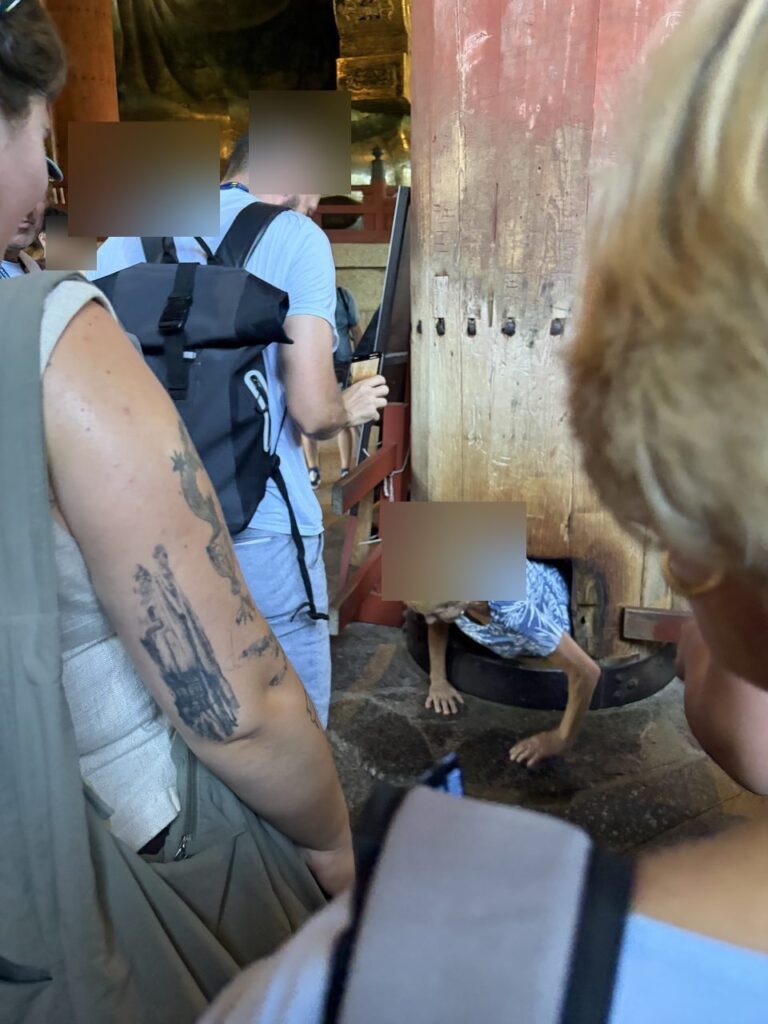
One pillar in the Hall has a hole through its base — said to be the size of the Great Buddha’s nostril — and crawling through it is said to bring good fortune. The line was long and gloriously international; when a woman who looked about seventy popped out the far side, the whole crowd cheered.
The technique: have someone pull you through from the front. Our taxi driver later told us, from personal experience, that “unless you’re really big, you’ll basically fit.” For elementary-age kids, this is the story they’ll tell at school.
The exit souvenir shop: no photos allowed
Just outside the Hall’s exit there’s a souvenir shop — photography is prohibited inside, so pocket the phone. The Japanese-pattern goods and deer merchandise are lovely (the teacups and the deer caps were my favorites). And remember: the exit has its own step — that’s lift ⑥, your last one.
Feeling like this is a lot to orchestrate solo? That’s exactly the day the private guided tour near the top of this article exists for.
🧊 Surviving a Nara Summer (I Nearly Didn’t)
Full honesty: I got woozy on this walk while holding a parasol. If it does that to an adult, assume the kids are running hotter — a stroller seat sits close to sun-baked pavement, and Japanese summer humidity is its own opponent. This section is the difference between a great day and a cut-short one.
Memorize this name: Okumura Museum — the free, air-conditioned refuge
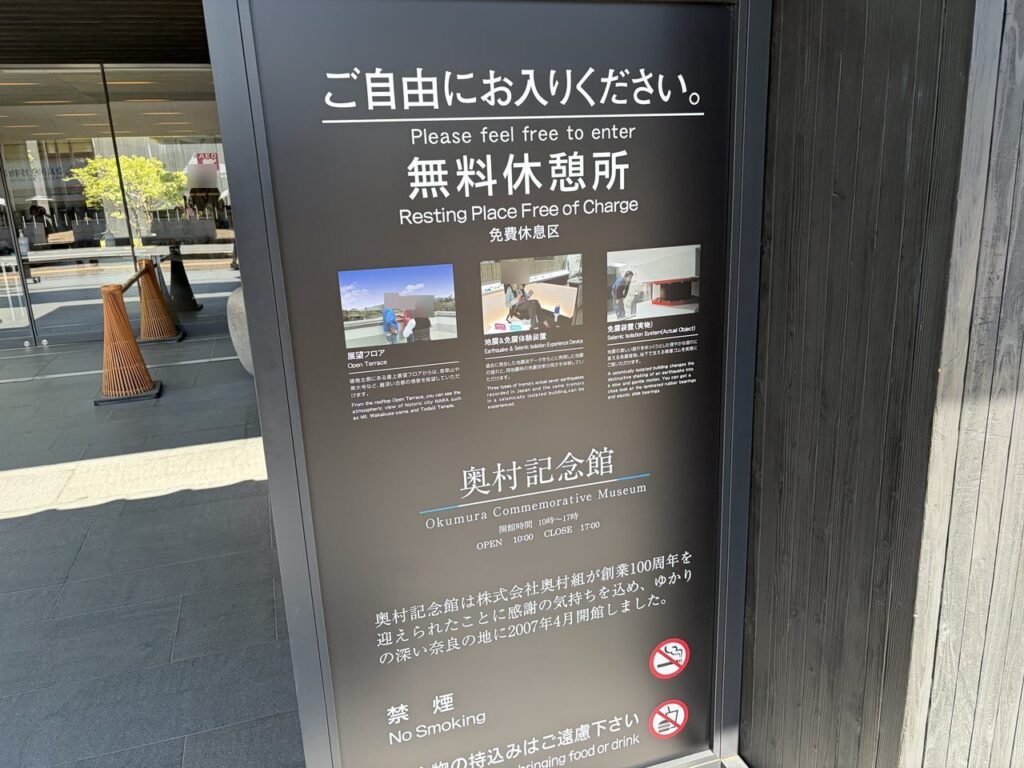
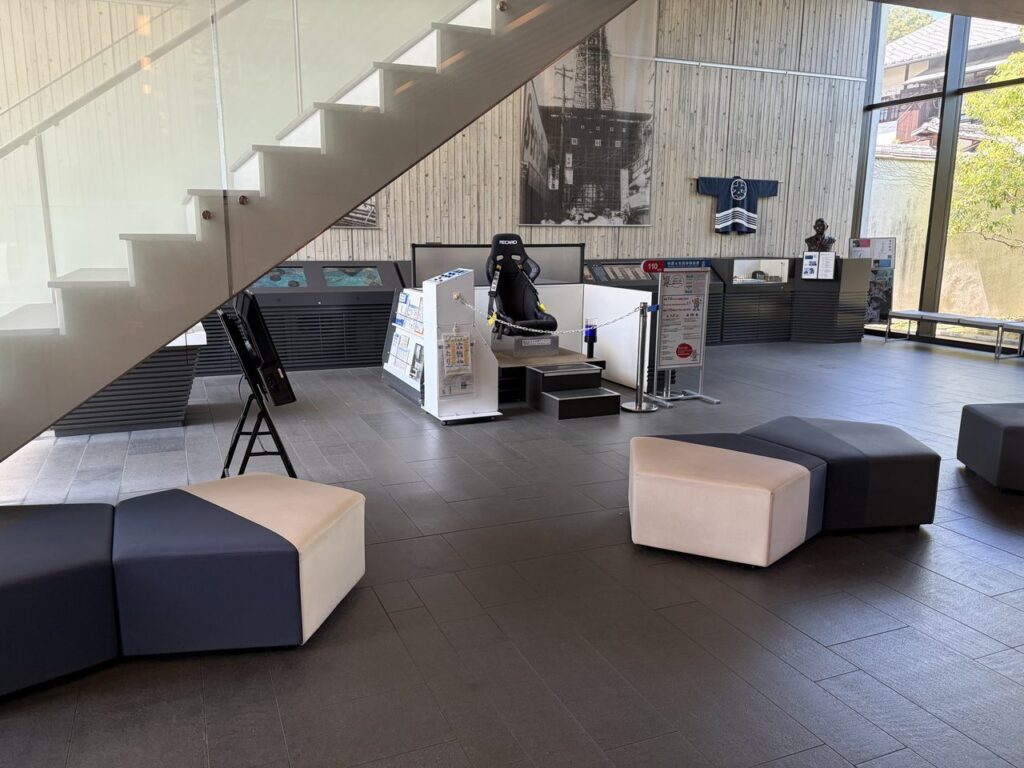
Steps from Yumekaze Hiroba, across from the shady deer stretch, sits the Okumura Commemorative Museum — a corporate museum that doubles as a free rest space, and it says so on the sign in English.
- Fully indoors — no deer can follow you in. If your child has hit deer-overload, this is the reset room
- Air-conditioned, with clean restrooms
- Free Yamato green tea from a self-serve tea server
- A rooftop deck looks out over the Great Buddha Hall to Mt. Wakakusa
- Staff were chatting with overseas visitors in English while we were there
Open 10:00–17:00 / closed Mondays (the following day if Monday is a holiday) and New Year holidays / free / no outside food or drinks.
I sat here, pressed an ice bag to my neck in the restroom, and came back to life. Without this stop, our day would have ended early — I mean that literally.
⚠️ Your own condition matters as much as the kids’
Parents put themselves last on trips. But if the adult goes down, the trip is over — full stop. The moment you feel “slightly off,” stop being polite about it and get into the air conditioning.
What to pack for summer (no shopping links — just the truth)
- Ice bag — the BIG size. I brought a small one and it melted flat while I was still using it on my legs. In Japan you’ll find them at drugstores, Daiso and Don Quijote
- A clip-on handheld fan for the stroller — hands stay free, and the breeze reaches the child. Pair it with the ice bag and it works double
- Wide-brim sun hat with a chin strap — between hat and parasol, the hat wins for stroller-pushers because it leaves both hands free
- A compact parasol anyway — doubles as rain cover, and you can hold it over a child during breaks. The road to Todai-ji has essentially no shade
🍽️ Stroller-Friendly Lunch: Where We’d Eat
⚠️ Honesty box: the restaurant picks below are research-based
The heat beat us before lunch did — we didn’t eat inside these restaurants that day. Photos are from outside; the “stroller OK” and menu notes come from official info and reviews. Double-check with the staff when you go.
Yumekaze Hiroba: the step-free food court next to Todai-ji
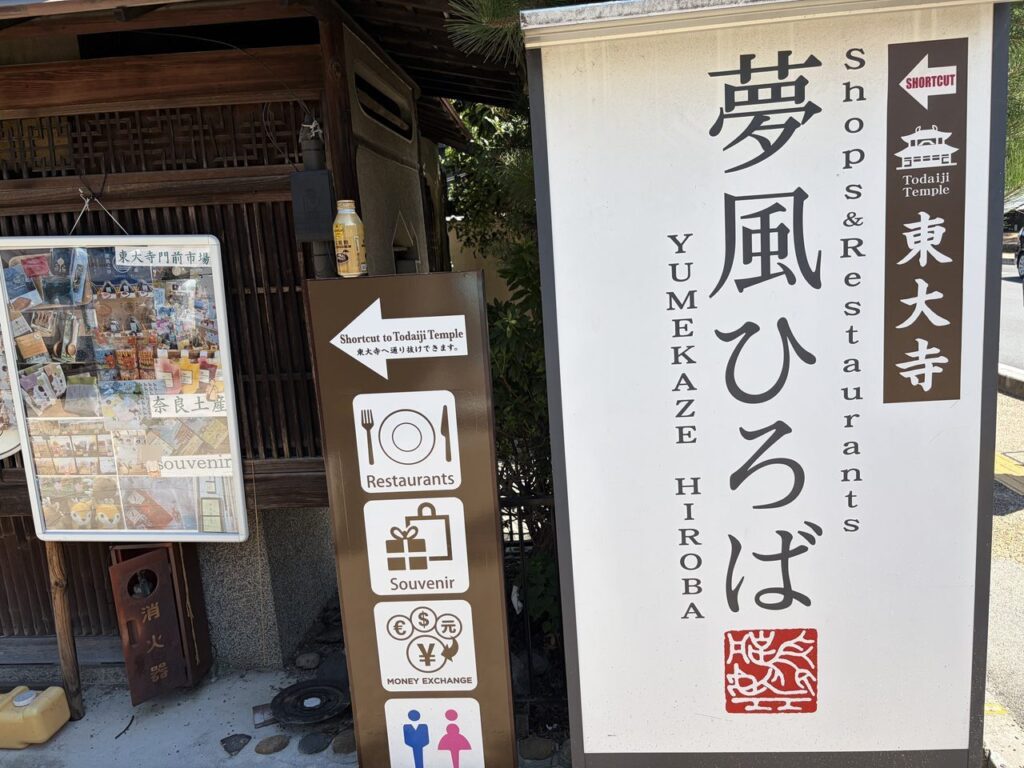
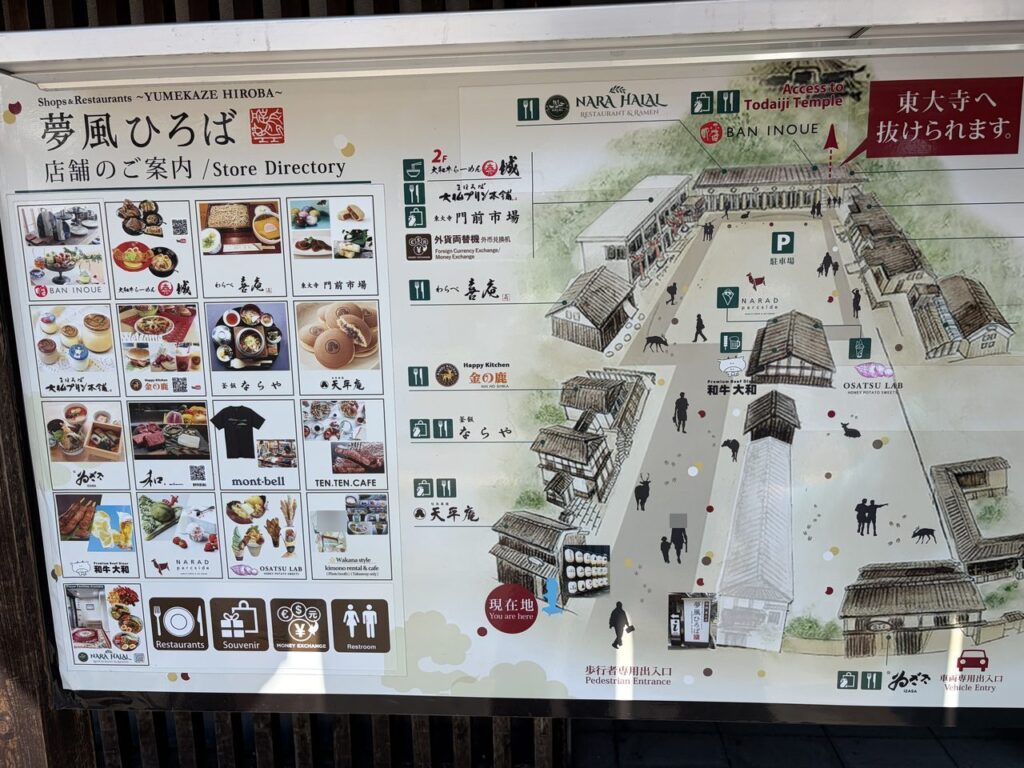
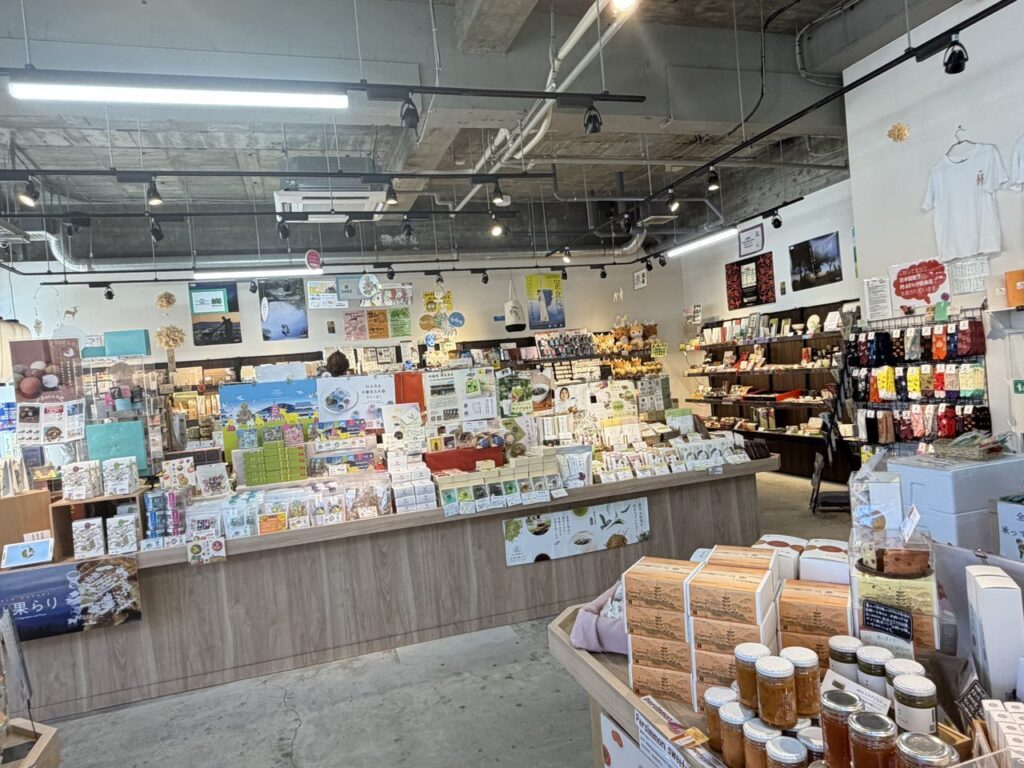
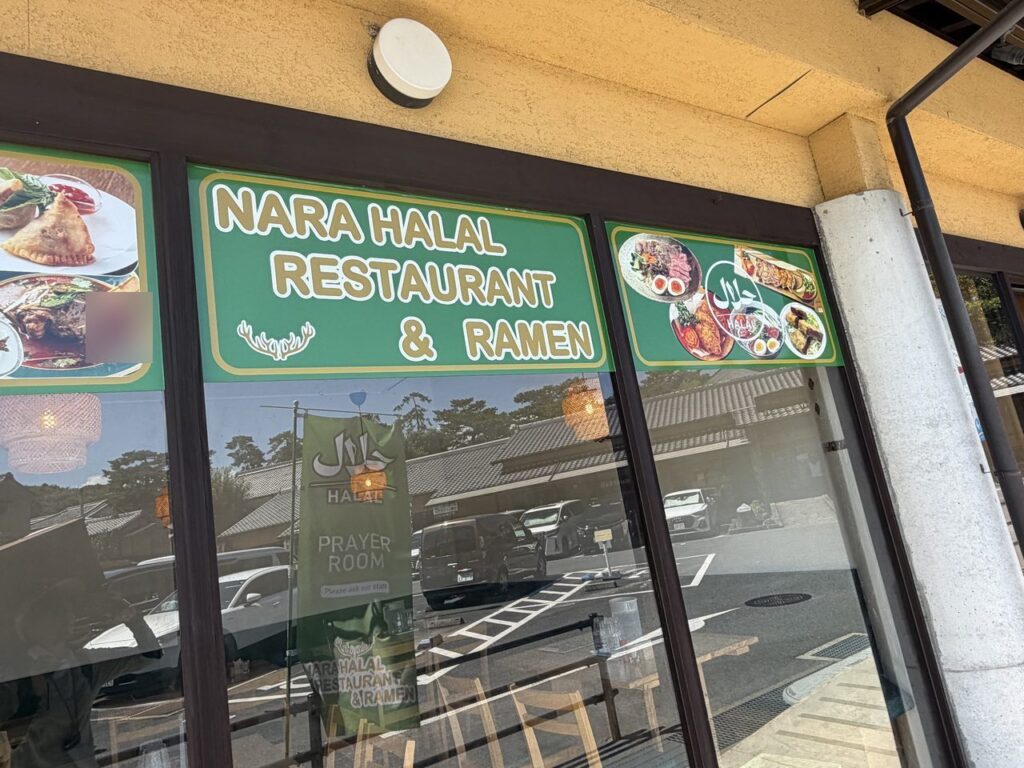
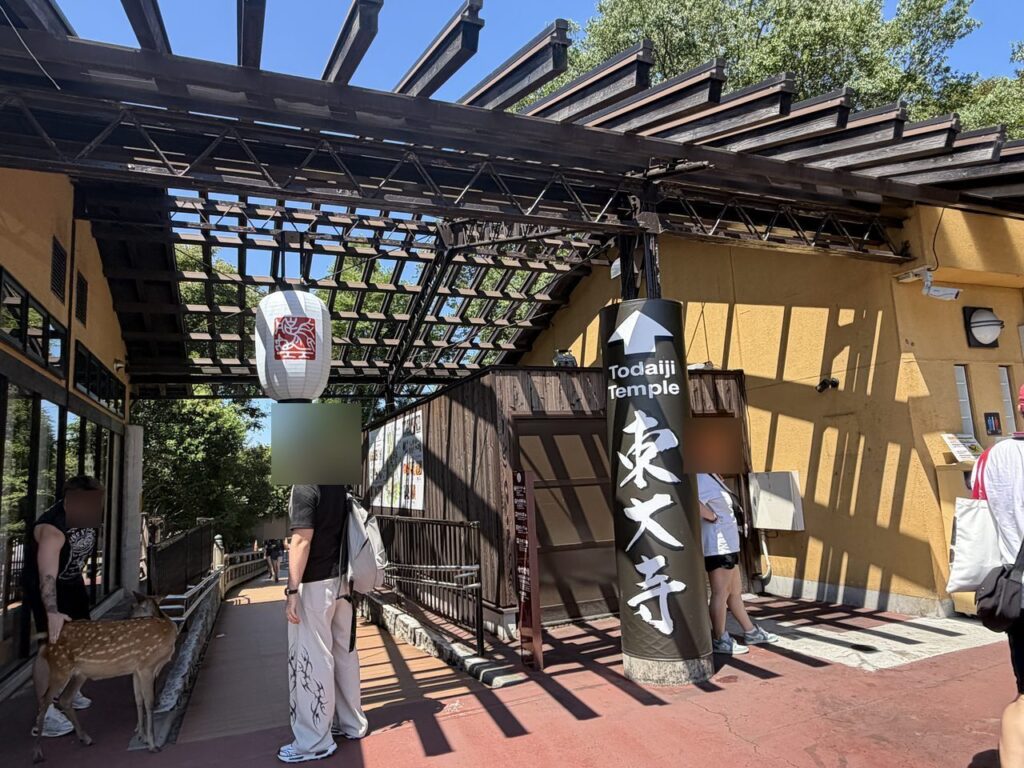
A small complex of restaurants and souvenir shops right by the temple, and the family-relevant fact is architectural: the whole site is step-free, so you can roll from shop to shop. There’s even a currency exchange machine and a halal-certified restaurant — details that matter a lot to some of you reading this.
🍼 The two most stroller-workable sit-down picks
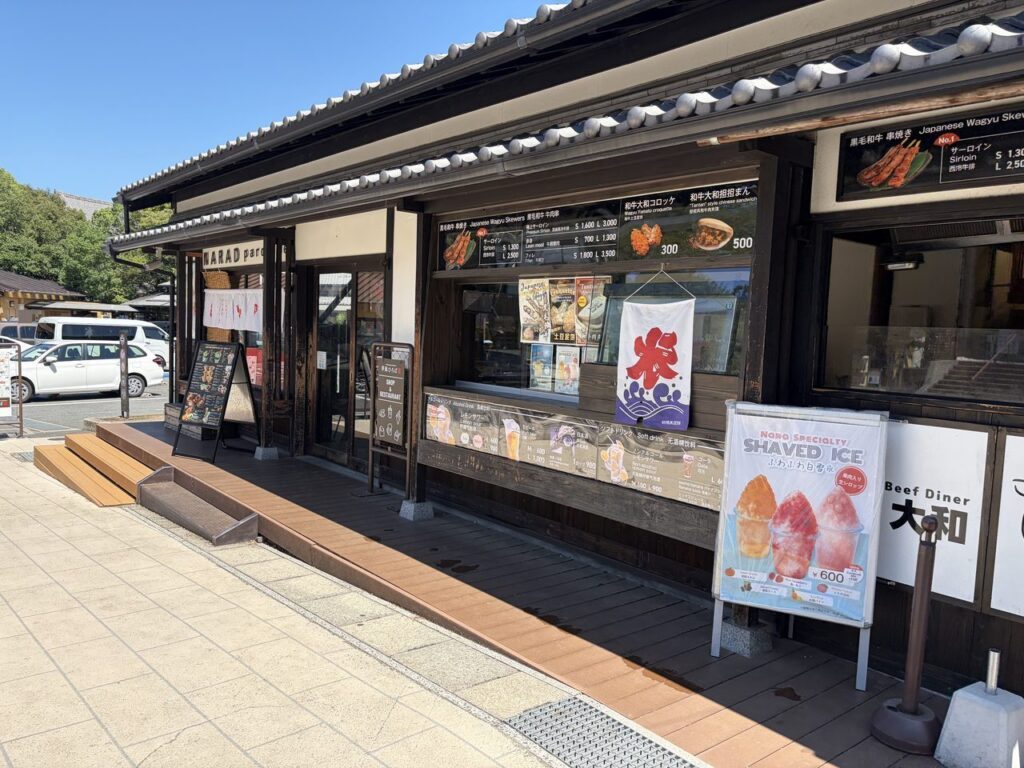
① Happy Kitchen Golden Deer — burgers, fries, pizza: reliable kid food. No official kids’ menu, but the lineup IS kid food. In summer, their rainbow shaved ice is the celebrity item.
② Yamato Gyu (beef) Ramen “Jou” — ramen and gyoza, 50 seats upstairs. Reviews say strollers are workable outside of peak crush.
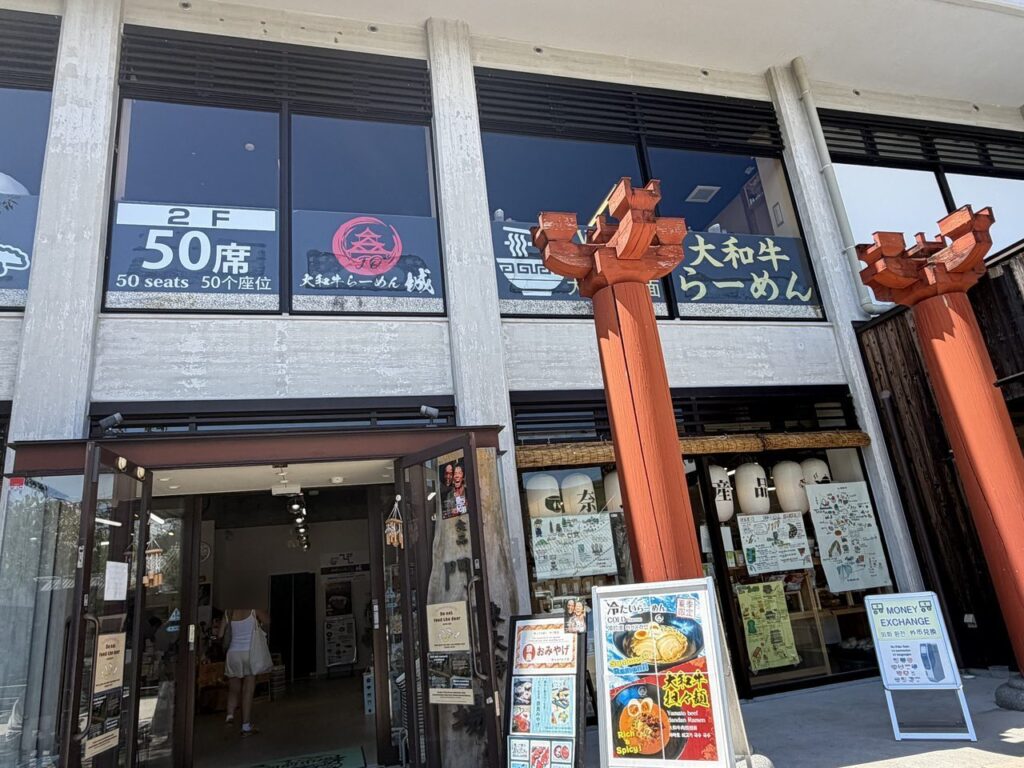
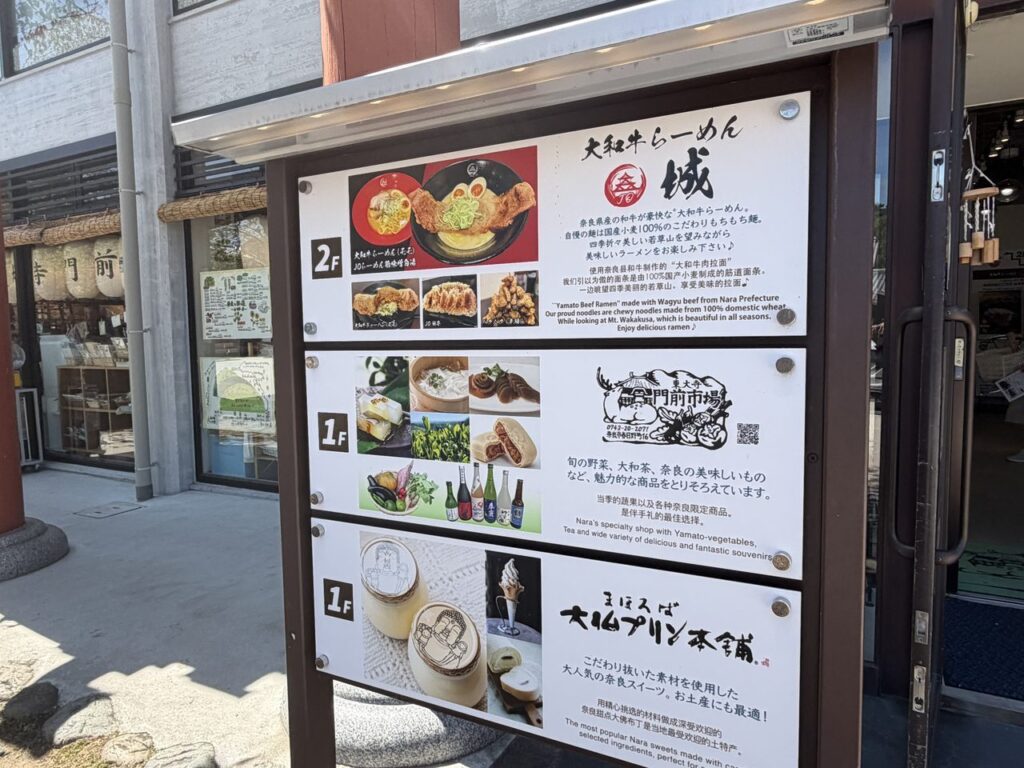
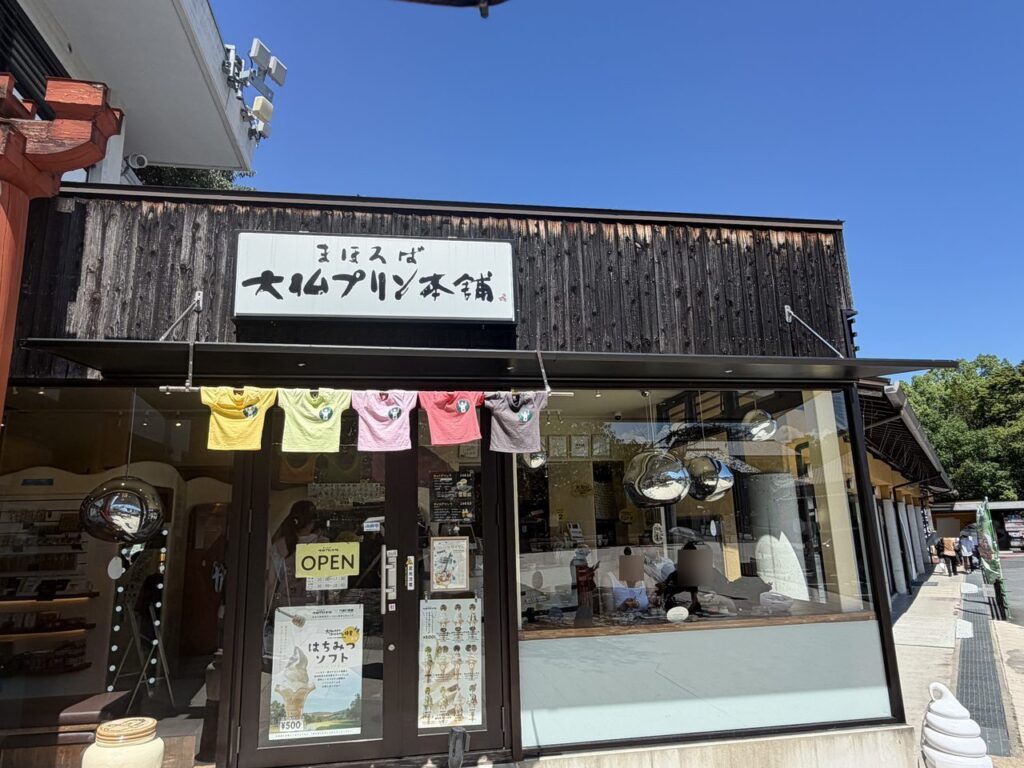
Counting the directory board: 17 shops in total. For families, the real superpower here is takeout — Daibutsu Pudding (a Nara-famous custard), crepes, baked sweet-potato desserts, dorayaki pancakes, skewers and croquettes marked “ALL TAKE OUT OK.” No table wars; kids eat before the meltdown window closes.
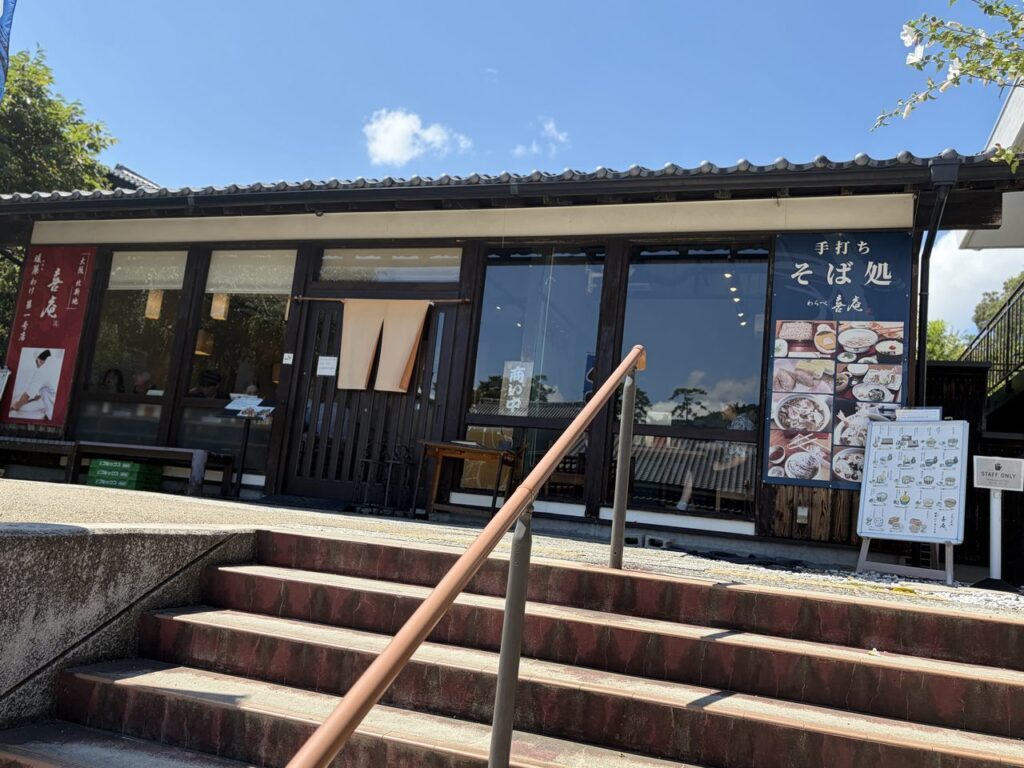
⚠️ One exception: the soba restaurant has entrance steps
Warabe Kian (handmade soba) has steps at its entrance — with a stroller, flag down the staff before committing.
Lunch&Cafe Roka: the deer-free café inside the bus terminal
Inside the Nara Park Bus Terminal building (near Todai-ji) there’s a café called Roka — and its headline feature for baby families is that it’s indoors, so no deer. Research notes: strollers reported OK, and there’s a proper kids’ menu (kids’ lunch plate and kids’ curry). When the deer have been a bit much, this is the calm room.
Legs done? There’s always the rickshaw
We kept seeing rickshaws glide past Todai-ji all day, and by 2 p.m. I understood the appeal on a cellular level. A rickshaw (jinrikisha — a two-seat carriage pulled by a very fit human) is Japan’s most photogenic way to outsource walking.
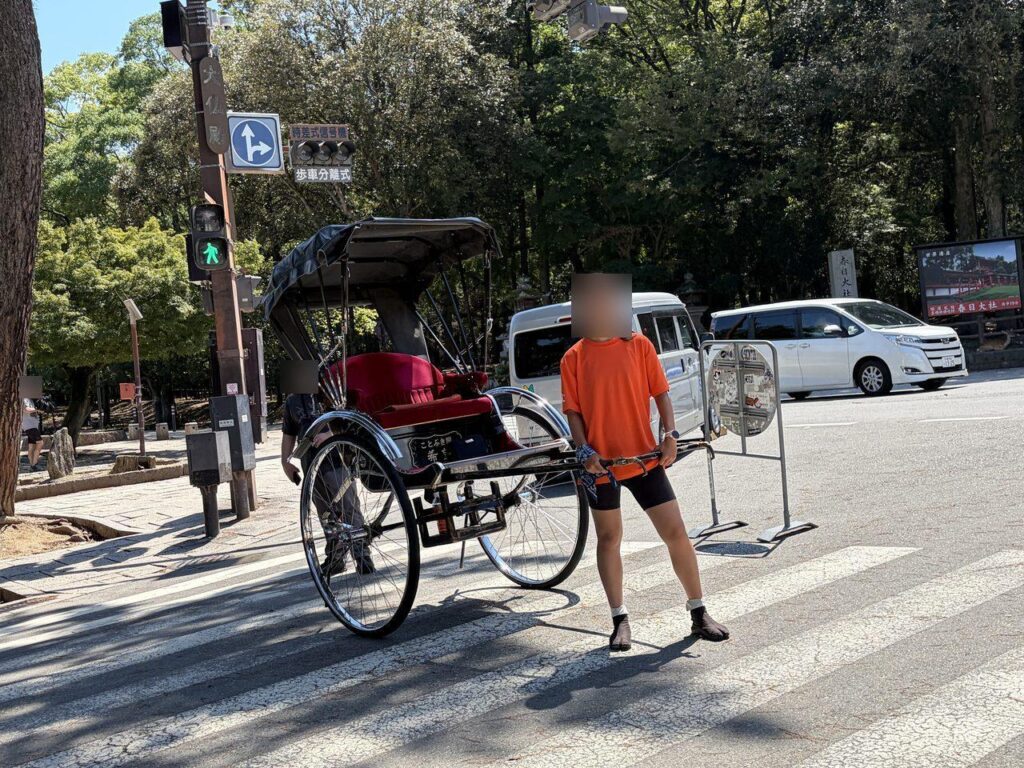
For visitors, the practical booking route is Klook, which lists a private cultural-heritage rickshaw tour around Nara Park you can reserve in English. Short rides exist too — think of it as the emergency exit for the “I can’t walk anymore” moment (theirs or yours).
\ The scenic way to rest your legs /
*Affiliate link · Check child seating & stroller storage with the operator when booking
🚕 Getting Back: Just Take the Taxi. Really.
Across the road from Yumekaze Hiroba you’ll find the taxi stand in front and the bus stop just beyond it. We were too cooked to walk anywhere else, so we taxied to JR Nara Station — and it turned out to be the best ¥1,250 of the day.
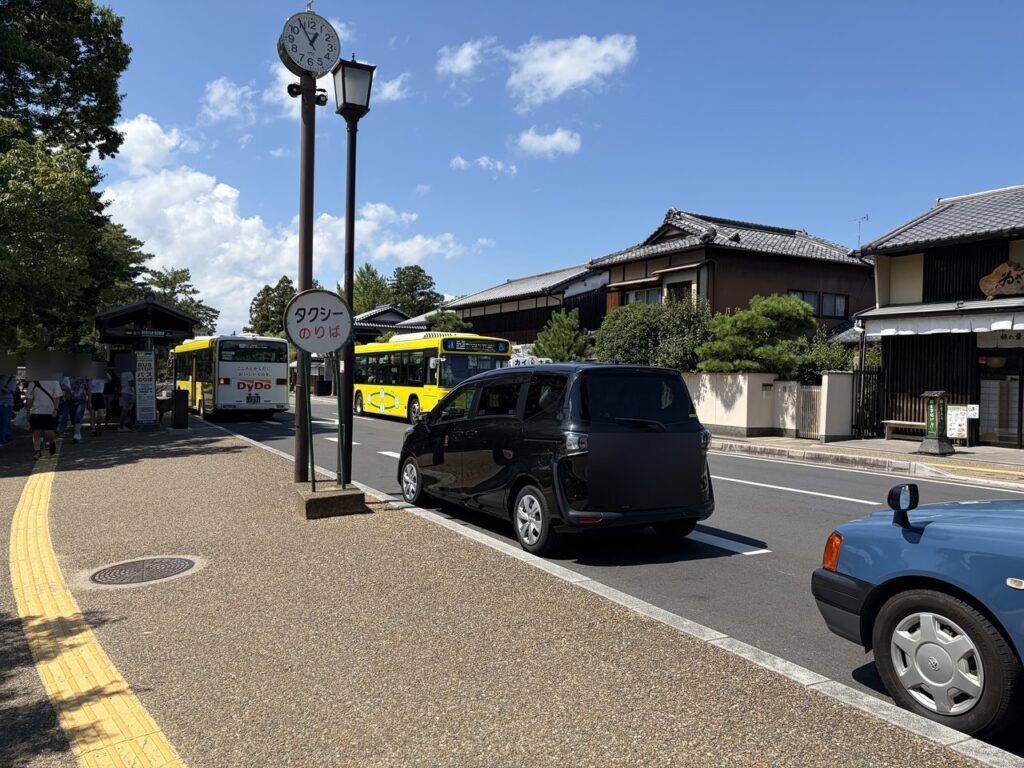
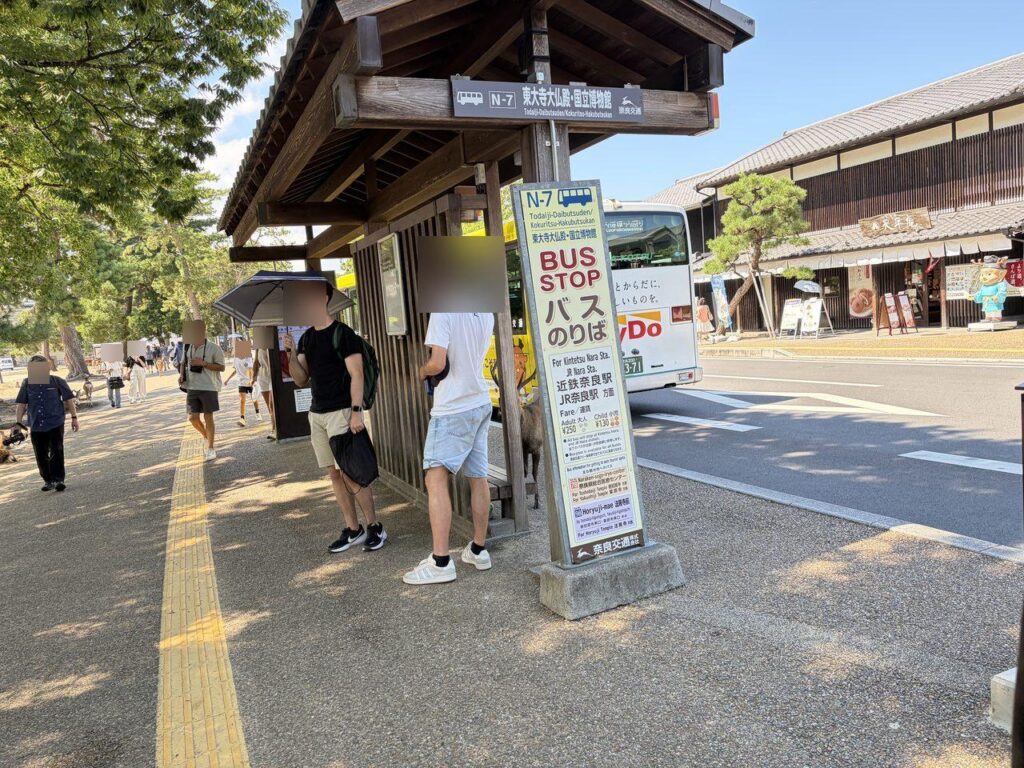
| Item | What we actually experienced |
|---|---|
| Ride time | Under 10 minutes |
| Fare | About ¥1,250 |
| Payment | Credit card accepted |
| Wait | Three taxis idling — we walked straight into one |
💡 Taxi culture notes for first-timers
- No tipping in Japan — the meter price is the price
- The rear doors open and close automatically — don’t fight them
- Our driver spoke no English and it didn’t matter: he translates with an app daily, he said, and it always works out. Showing your destination on a map does the job too
🚃 Leaving From JR Nara? Two Stops Worth Knowing
If your route home runs through JR Nara Station (JR Pass holders, this is you), the station building hides two very family-useful things.
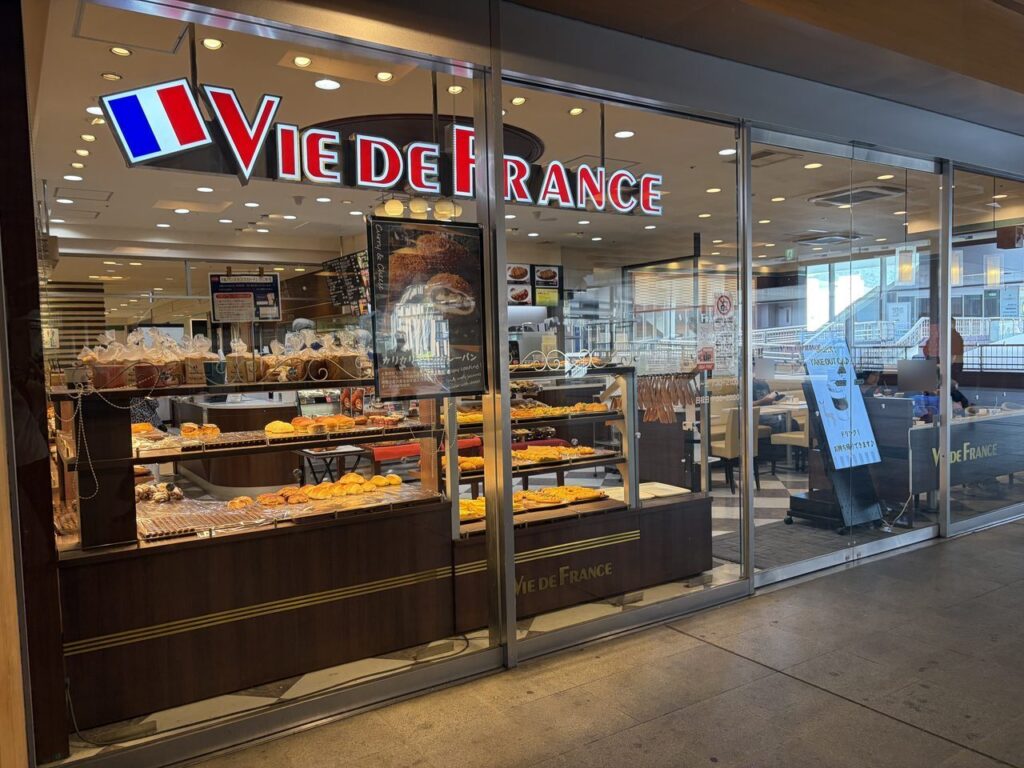
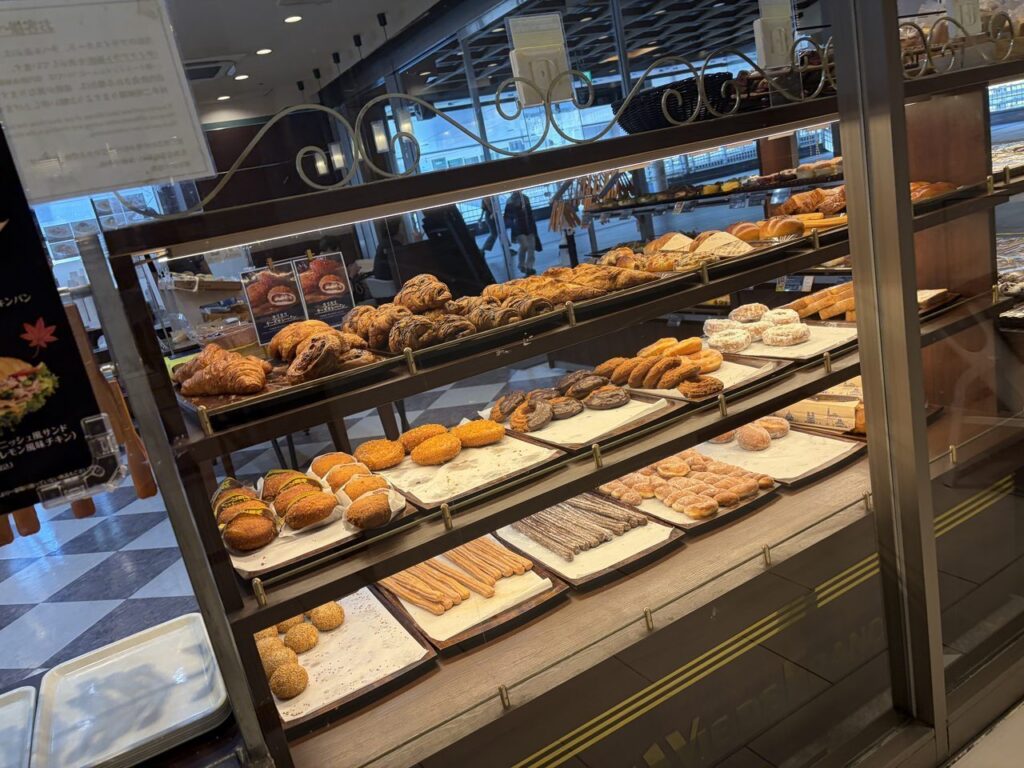
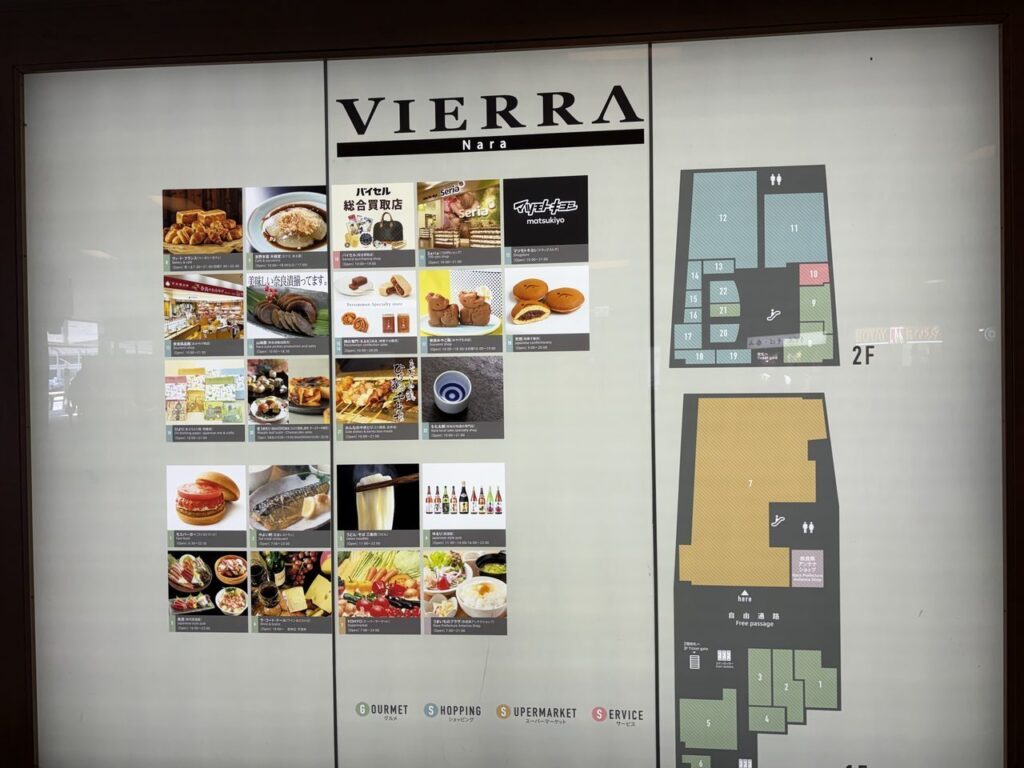
- Vie de France — a bakery chain I genuinely stop at every time I’m here. In-station, eat-in seats, flaky pastries; grabbing a bread bag for the train (or tomorrow’s park picnic) is a classic move
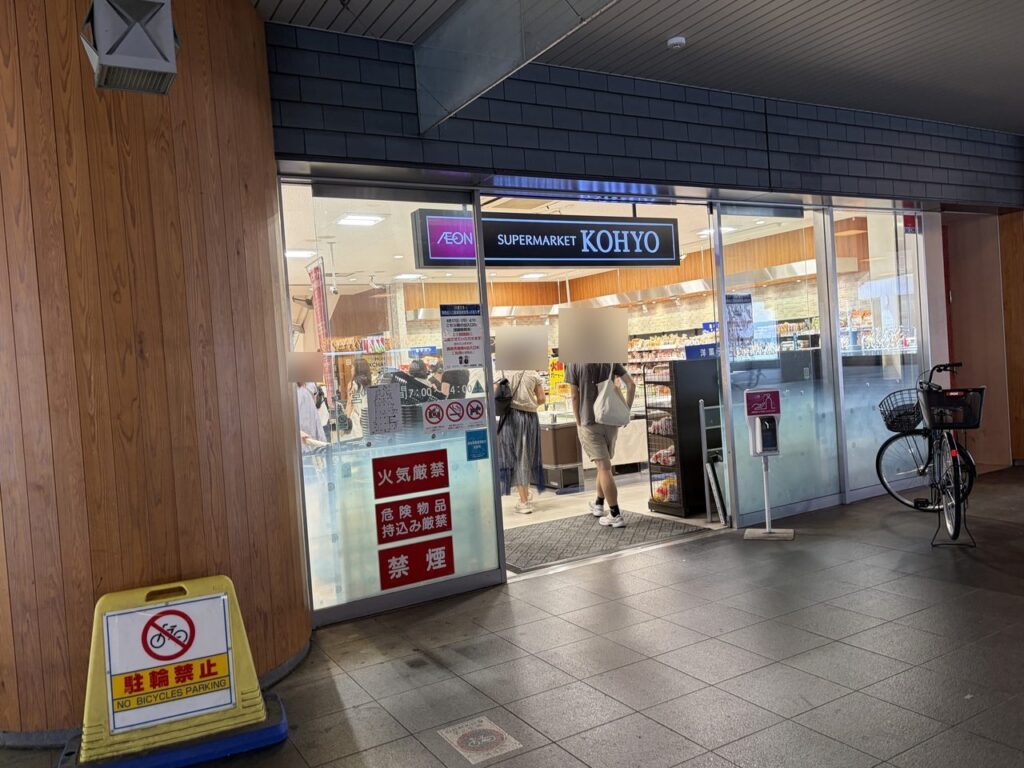
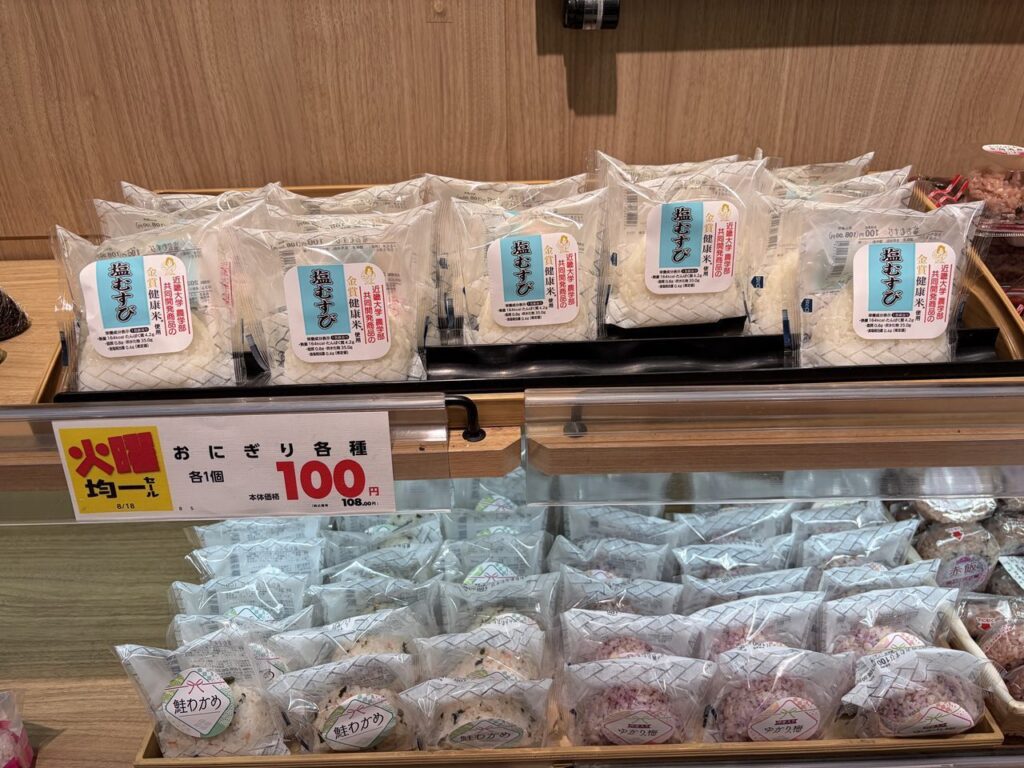
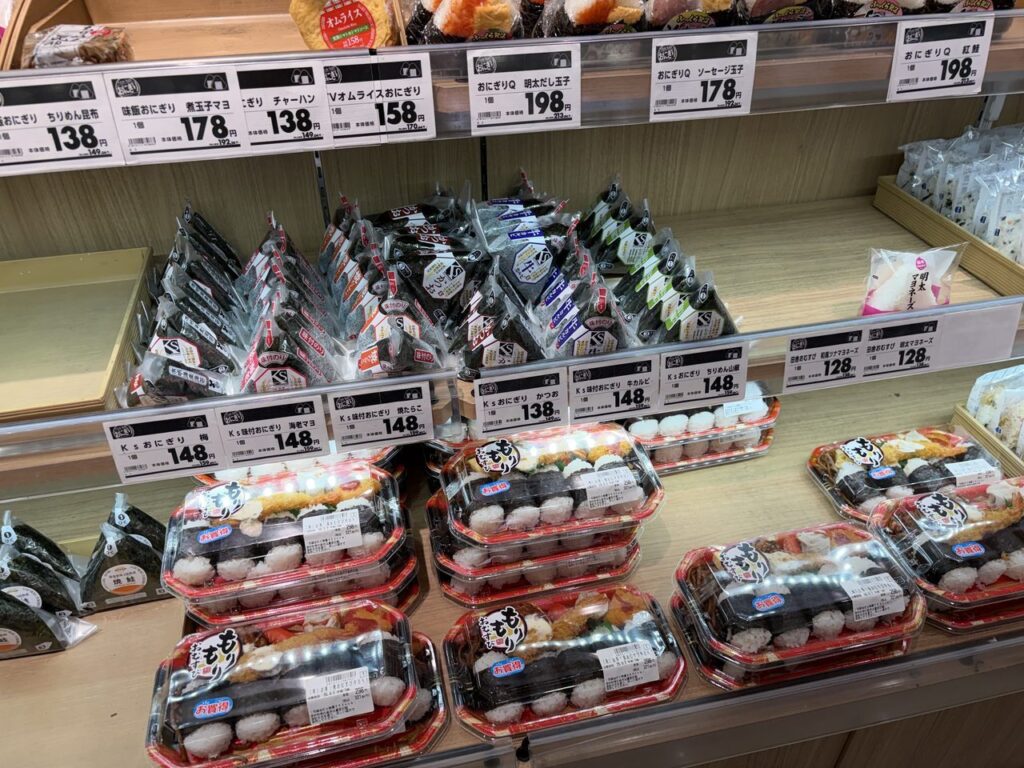
- KOHYO supermarket (AEON group) — and here is your magic phrase: shio-musubi, the plain salted rice ball with NO filling. If you travel with a picky eater, this is the safest food in Japan: soft rice, light salt, zero surprises. My own kid lives on these. In-station, cheap, sold daily
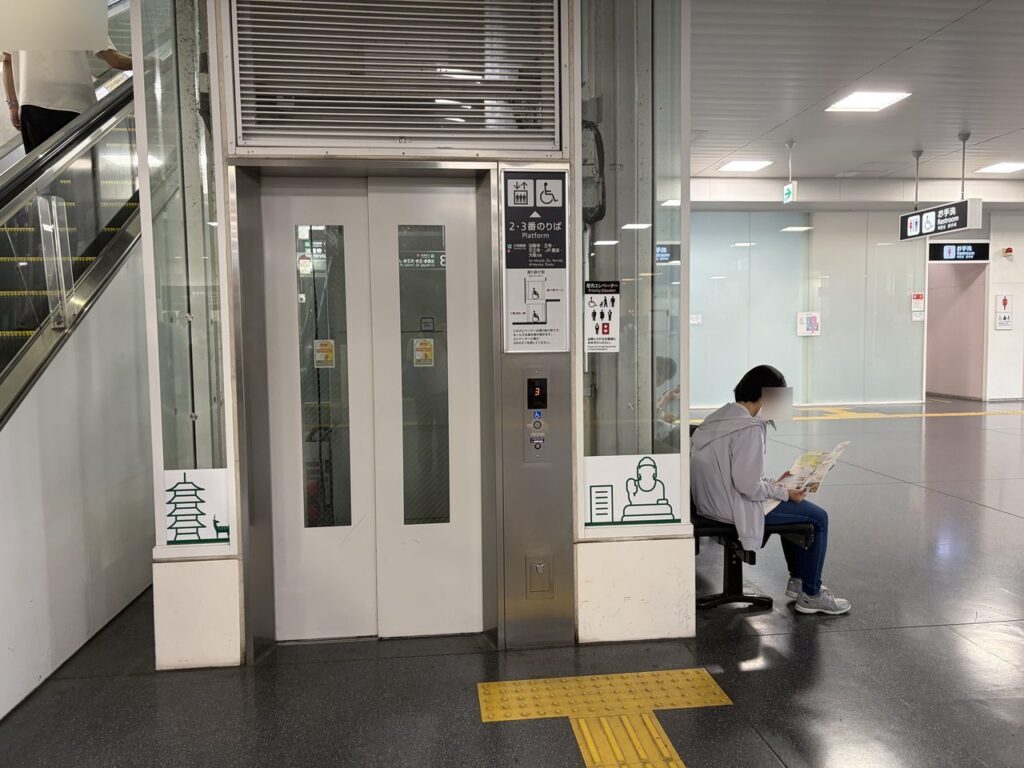
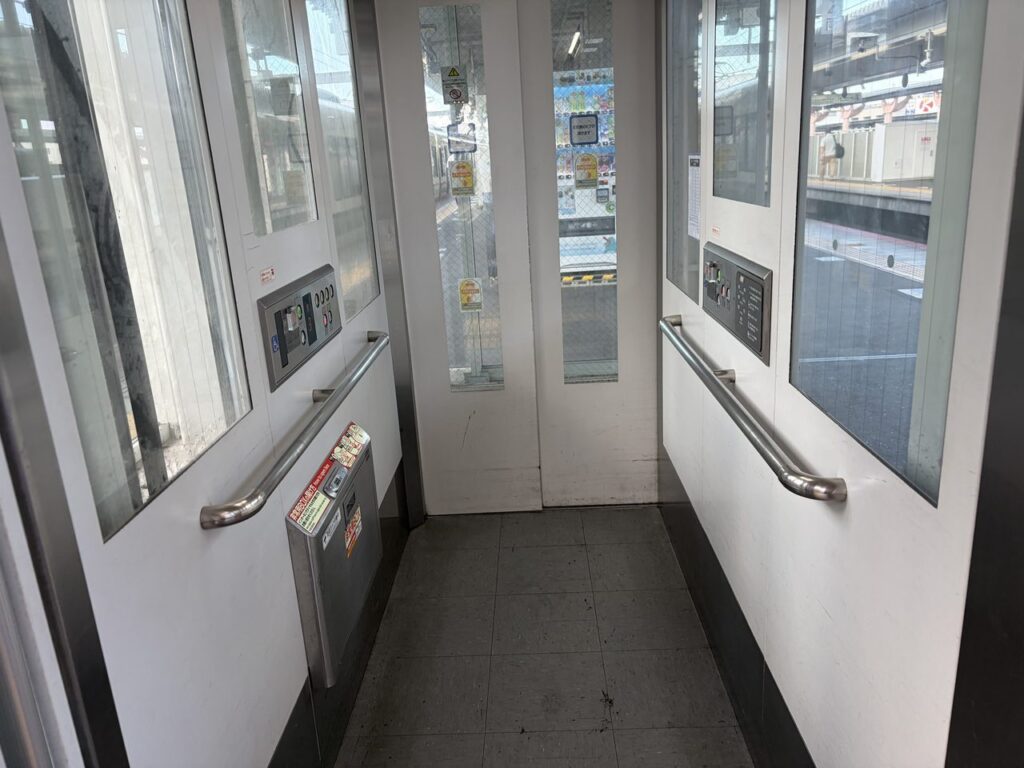
- Coin lockers and elevators: both present — the elevator to Platforms 2/3 fits a stroller easily
- The dated Sento-kun statue (Nara’s mascot) makes a fun end-of-day photo marker
👶 Nara by Age: What Actually Works at Each Stage
| Age | The honest play |
|---|---|
| Baby (0–1) | Wear the baby for the Todai-ji leg, stroller for everything else. Do the diaper stop at Kintetsu Nara’s Exit-2 restroom before the park; inside Todai-ji the changing table is in the Museum B1. Mornings only in summer |
| Toddler (1–3) | The mobbing is the risk — watch deer from outside the crowds, feed only at the calm roadside singles, and keep the option to skip Todai-ji entirely guilt-free. The Okumura Museum is your deer-free reset room |
| Preschool (4–5) | Free admission at Todai-ji. Can feed deer with an adult’s hand on the crackers. The “both palms open” trick becomes their favorite superpower |
| Elementary (6–12) | ¥400 admission. This is the golden age for Nara: solo deer-feeding, the pillar crawl, stamp collecting, and the giant Buddha actually lands. The early-bird guided tour also works from this age |
🏨 Where to Stay: One Hotel Per Station, Both Family-Vetted
Day-tripping Nara from Kyoto or Osaka is doable — but the evening trains are rush-hour trains, and a stroller in a packed train after a park day is a memory nobody needs. If you stay the night, pick by which station you’ll use. One honest note: I haven’t stayed at these two — they’re chosen from official info and reviews for their location and family features.
Near Kintetsu Nara: IROHA GRAND HOTEL Kintetsu Nara Ekimae
- 2-minute walk from Kintetsu Nara Station (Exit 4) — same station this article’s route starts from
- Opened July 2022, so everything still feels new
- Tatami rooms available — shoes-off floor, futon-style sleeping, no bed-fall worries with littles
- Wheelchair-accessible universal rooms available
- Breakfast is a buffet of 60+ Japanese and Western dishes built on local Nara ingredients
For families who want to be at the deer before the crowds, sleeping two minutes from the start line is the whole strategy.
*Affiliate links · Prices & availability update in real time
Near JR Nara: Daiwa Roynet Hotel Nara (with natural hot springs)
- About 3 minutes on foot from JR Nara Station (West Exit); roughly 15 minutes’ walk from Kintetsu Nara
- Natural hot-spring public bath on the 2nd floor (6:00–9:00 / 15:00–24:00) — a real onsen soak after a park day
- Two-seat parent-and-child washing booths in the bath area — washing a small child while seated next to them is a game-changer, and few hotels build for it
- Note: kids can join the opposite-gender bath only through preschool age (i.e., under elementary school), and babies still in diapers can’t bathe — standard Japanese onsen rules
- Coin laundry on floors 5 & 8, 24 hours, coins and e-money accepted
- Free baby crib loans for under-1s (limited stock and room types — contact ahead)
💡 Reviews mention a “¥150 hot spring fee” — that’s a tax, and kids skip it
That ¥150 per night is Nara City’s onsen bathing tax, charged to hot-spring users. Children under 12 are exempt, so your little ones soak free.
*Affiliate links · Prices & availability update in real time
🌙 The Case for Sleeping Over (From Someone Who Sees the Day-Trippers)
Stay the night and three good things happen: you stroll the park at golden hour after the tour buses leave; someone naps at the hotel while someone else drinks a hot tea sitting down; and next morning you get the deer, the lawns and the photos practically to yourselves before 9 a.m.

If you’re traveling with a baby or toddler and want the full shortlist — tatami rooms, washing-area baths, real prices — I’ve written a dedicated guide to Nara’s most baby-friendly hotels:

❓ Nara With Kids: Quick Answers
Yes — the walk from Kintetsu Nara Station to the park and Todai-ji has no stairs at all if you use the two station elevators and Exit 3 (avoid Exit 2, which is stairs-only despite the signs). At Todai-ji itself, expect 5 stroller lifts; the approach path is smooth if you stay on the flat center band of the stone paving. There is no ramp into the Great Buddha Hall, but the hall interior is step-free.
At Kintetsu Nara Station: not on the platform — use the accessible restroom near Exit 2 just outside the gates, or the changing table inside the women’s restroom next to it. At Todai-ji: the multi-purpose restroom on B1 of the Todai-ji Museum has a changing table, and the barrier-free stall near the ticket booths shows a changing-table symbol on its door.
Todai-ji is cash only — admission, medals, amulets, goshuin stamps, all of it. Bring yen. Meanwhile, our taxi took credit cards, the loop bus takes IC cards (Suica/ICOCA), and convenience stores take everything. The pattern to remember: transport and shops are cashless-friendly; temples are not.
Generally yes, with technique: they are wild animals (a protected National Natural Monument), and they mob anyone holding crackers. Keep the crackers in adult hands, start toddlers at a distance, feed the calm roadside deer rather than the stall crowds, and teach the both-palms-open “all gone” signal. If a child melts down, the Okumura Museum and the Nara Park Bus Terminal are deer-free indoor refuges.
Both work beautifully: about 45 minutes from Kyoto, 40–50 minutes from Osaka, no transfers either way. JR Pass holders ride the JR lines free to JR Nara Station, then hop the ¥250 loop bus to the park. Without a JR Pass, the Kintetsu lines drop you closer to the deer at Kintetsu Nara Station — that is the route this article walks.
Take it seriously — the road to Todai-ji has almost no shade, and I got dizzy there holding a parasol. Go in the morning, carry a large ice bag and water, use a chin-strap sun hat, and memorize the free air-conditioned Okumura Commemorative Museum (10:00–17:00, closed Mondays) as your rescue stop.
Reading all this and feeling like it’s a lot to juggle with little kids? That’s exactly why I picked out two family-friendly guided tours earlier — someone else handles the logistics, and you just enjoy the deer.
🧳 Keep Planning Your Japan Trip
Nara pairs perfectly with Kyoto and Osaka — most families do it as the gentle middle day between the two. These guides continue the planning:

📶 One practical note for this exact day trip
Everything in this article — the loop bus, the taxi-app translation, the maps — assumes your phone has data the moment you land. We use and tested an Airalo eSIM for Japan (my field-test review, with reader discount codes inside).
Have a wonderful, deer-filled day in my hometown. 🦌🐻✨





Comments